Potatoes are one of the world’s most beloved crops, forming the basis of countless meals across cultures. From mashed potatoes and fries to soups and curries, their versatility makes them a staple in kitchens everywhere. For gardeners, potatoes are also an excellent crop to grow at home—they are hardy, productive, and relatively low-maintenance.
However, to achieve big harvests of healthy, flavorful tubers, proper planting and care practices are essential. This guide covers everything you need to know, from choosing the right potato variety to planting techniques, maintenance, and harvesting strategies.
Why Grow Potatoes at Home?
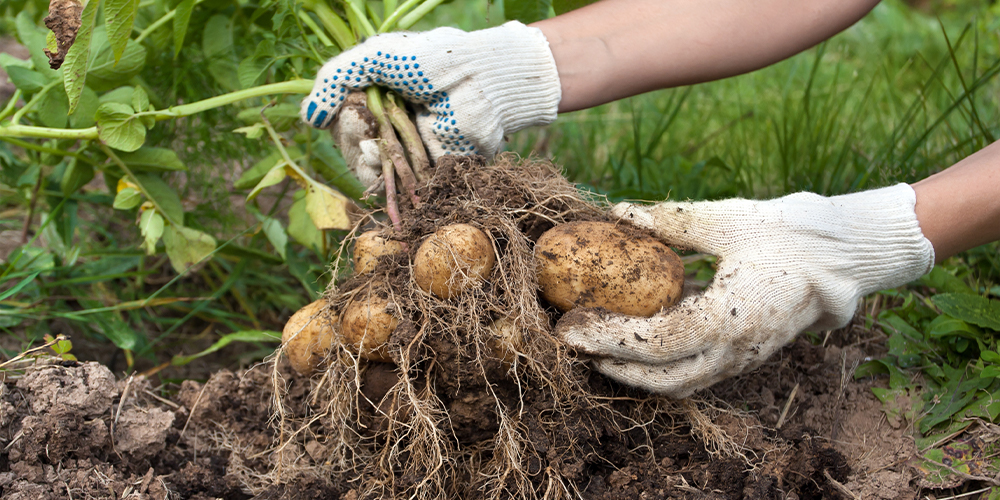
Growing potatoes offers several benefits beyond just fresh produce:
- High Yield Potential – With proper care, a single seed potato can yield 10–15 tubers.
- Nutritional Value – Potatoes are rich in carbohydrates, potassium, fiber, and vitamin C.
- Culinary Flexibility – They can be boiled, roasted, fried, baked, or used in stews.
- Storage-Friendly – When harvested and stored correctly, potatoes can last for months.
- Adaptability – Potatoes grow well in various climates, making them an excellent crop for both beginner and experienced gardeners.
Choosing the Right Potato Variety
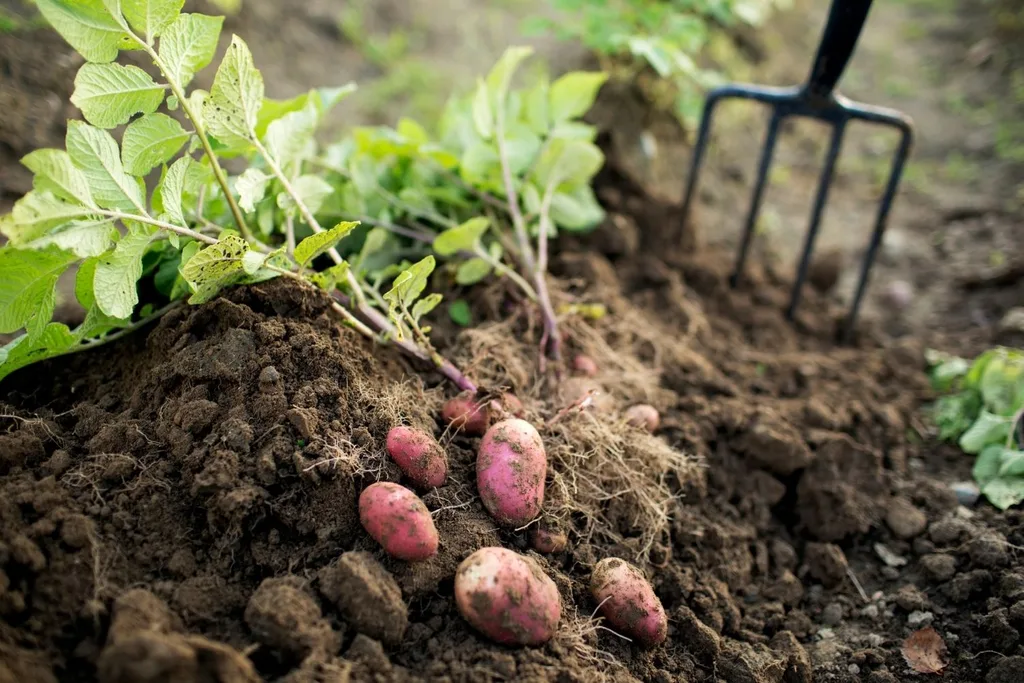
Potato varieties are categorized by their growth duration and culinary qualities. Choosing the right type ensures a better harvest tailored to your needs.
1. By Maturity Period
- Early Varieties (70–90 days): Harvest quickly, ideal for short growing seasons. Examples: ‘Rocket,’ ‘Swift.’
- Mid-Season Varieties (90–110 days): Balanced between yield and flavor. Examples: ‘Yukon Gold,’ ‘Kennebec.’
- Late Varieties (110–135 days): Produce higher yields and store well. Examples: ‘Russet Burbank,’ ‘Katahdin.’
2. By Culinary Use
- Waxy Potatoes: Hold shape well, great for salads and roasting.
- Starchy Potatoes: Fluffy texture, perfect for baking and mashing.
- All-Purpose Potatoes: Versatile and suitable for most recipes.
Tip: For big harvests and long storage, choose mid-to-late season varieties.
Preparing the Soil
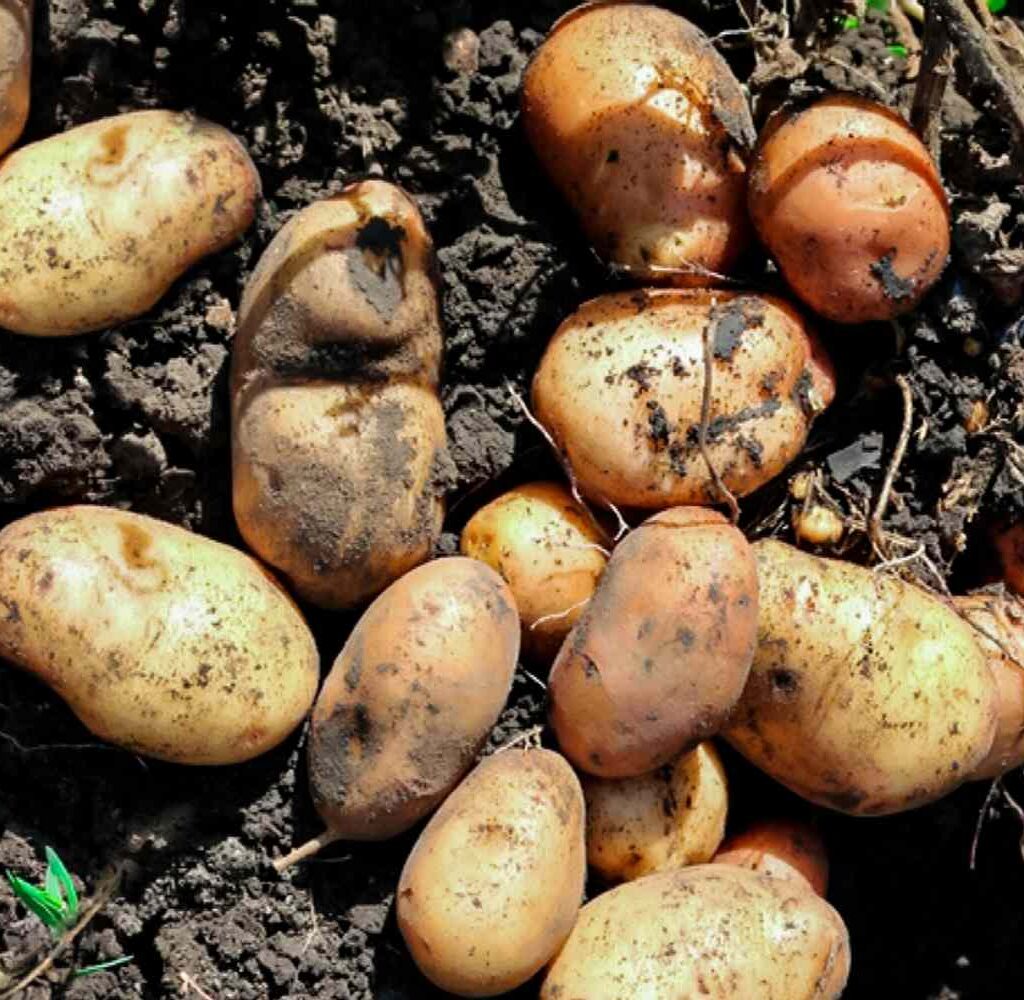
Potatoes grow best in loose, well-drained, and nutrient-rich soil that allows tubers to expand without restriction.
- Soil Type – Sandy loam is ideal. Heavy clay soils should be amended with compost and sand.
- Soil pH – Aim for a slightly acidic pH of 5.0–6.5. Acidic soil reduces the risk of scab disease.
- Nutrients – Mix in compost or aged manure before planting. Potatoes thrive on phosphorus and potassium but need moderate nitrogen. Too much nitrogen results in leafy plants with fewer tubers.
- Drainage – Raised beds or ridges are beneficial in poorly drained areas to prevent rot.
Preparing Seed Potatoes
Unlike garlic or onions, potatoes are planted from seed potatoes (small tubers or pieces of larger tubers with “eyes”).
- Choosing Seed Potatoes – Buy certified disease-free seed potatoes from a trusted supplier. Avoid supermarket potatoes as they may be treated with chemicals to prevent sprouting.
- Cutting and Curing –
- Large seed potatoes can be cut into 2-inch pieces, each with at least 1–2 eyes.
- Let cut pieces cure in a cool, dry place for 2–3 days to form a protective skin that prevents rotting.
- Chitting (Optional) – Allow seed potatoes to sprout before planting by placing them in a bright, cool area for 2–3 weeks. This jump-starts growth and improves yields.
When to Plant Potatoes
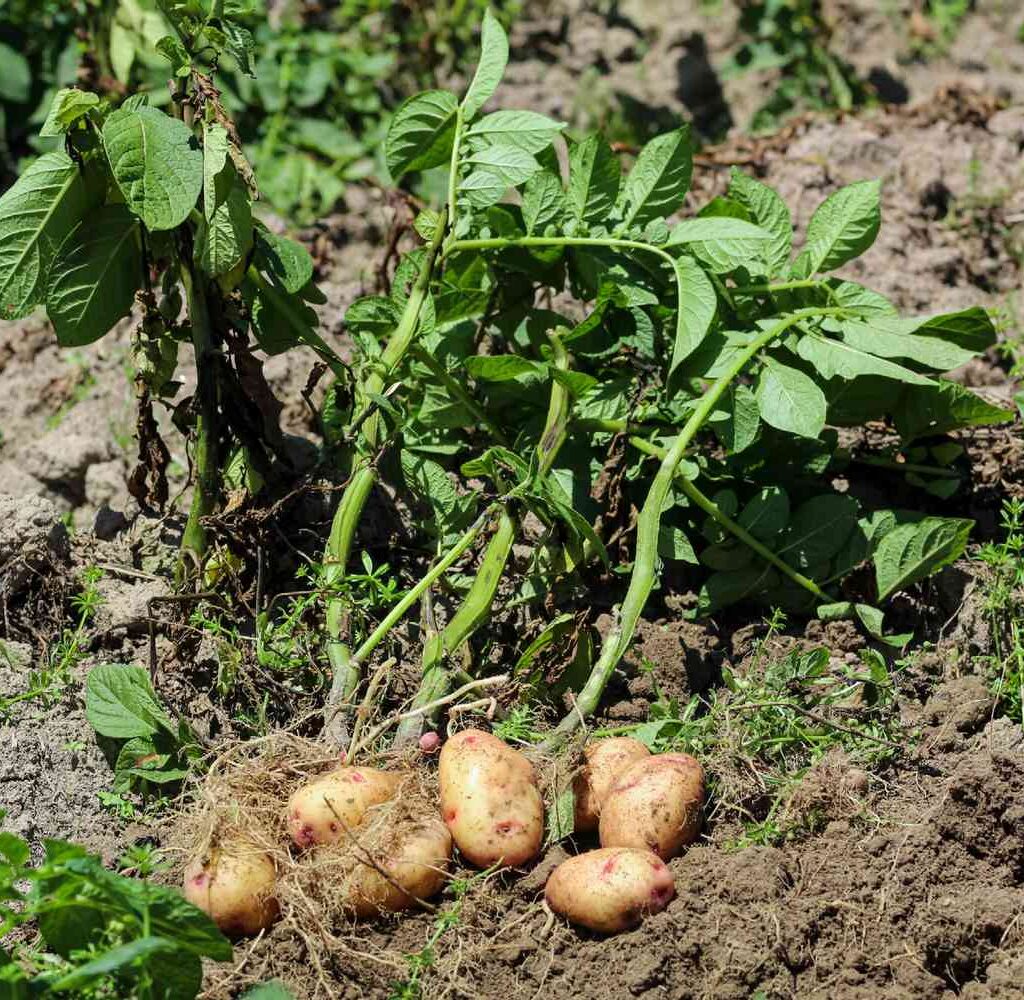
Potatoes are cool-season crops. Planting time depends on your region:
- Temperate Regions: Plant in early spring, 2–4 weeks before the last expected frost.
- Tropical/Subtropical Regions: Plant during cooler months, avoiding extreme heat.
- General Rule: Soil temperature should be at least 45°F (7°C) for successful growth.
How to Plant Potatoes
Follow these steps to ensure optimal planting:
- Planting Depth
- Dig trenches 4–6 inches deep.
- Place seed pieces eyes up in the trench.
- Spacing
- Space seed pieces 10–12 inches apart.
- Keep 2–3 feet between rows to allow room for hilling and harvesting.
- Covering
- Cover seed potatoes with 3–4 inches of soil initially.
- As plants grow, you will gradually add more soil through a process called hilling.
Caring for Potato Plants
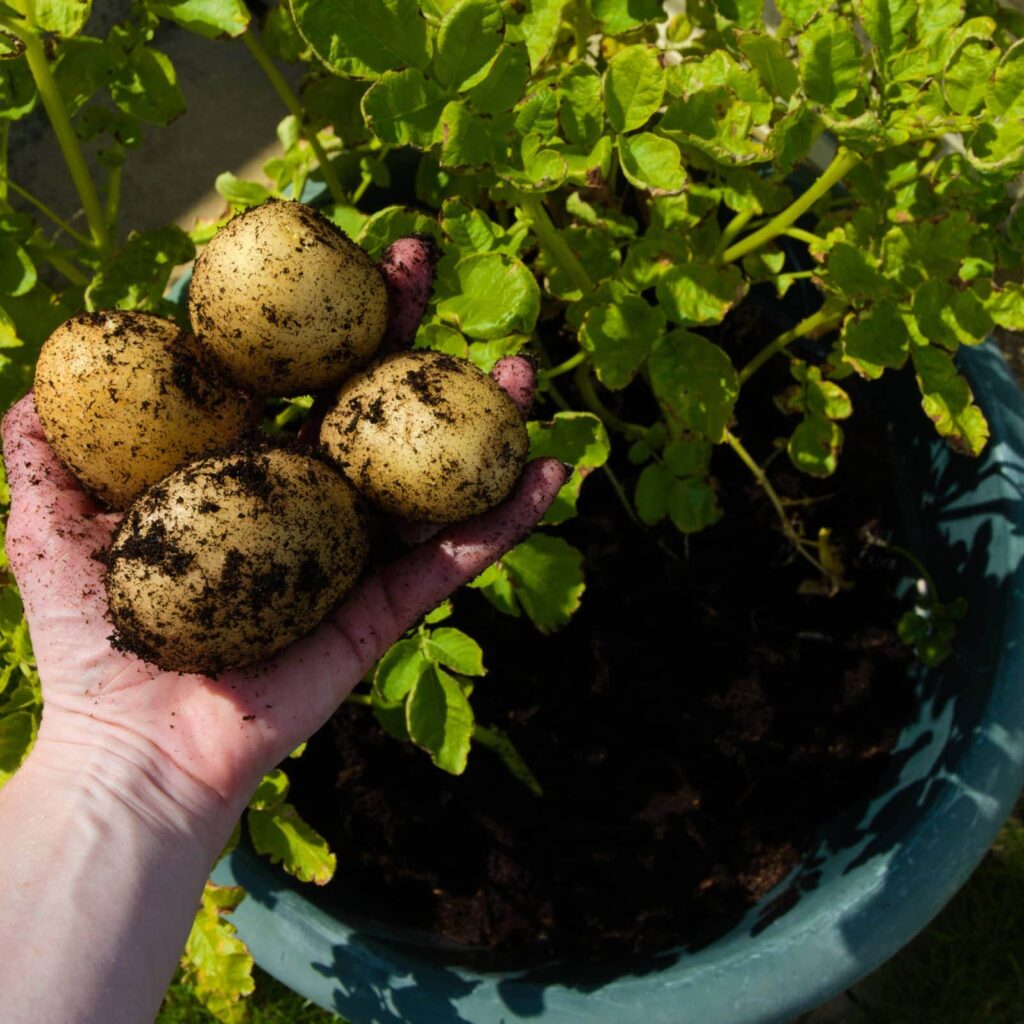
Proper care ensures large, healthy tubers at harvest time.
1. Watering
- Keep soil consistently moist, especially during tuber formation.
- Potatoes need about 1–2 inches of water per week.
- Avoid overwatering to prevent rot.
2. Hilling
- When plants reach 6–8 inches tall, mound soil around the base of each plant.
- Repeat every 2–3 weeks until mounds are 8–12 inches high.
- Hilling prevents tubers from being exposed to sunlight, which causes greening and makes them inedible.
3. Fertilization
- Use a balanced fertilizer rich in phosphorus and potassium.
- Avoid excess nitrogen after plants are established.
- Compost tea or seaweed fertilizer can be applied during flowering to boost tuber development.
4. Mulching
- Mulching with straw, leaves, or grass clippings conserves moisture, suppresses weeds, and keeps tubers cool.
5. Pest and Disease Management
- Pests: Colorado potato beetles, aphids, and wireworms are common. Hand-picking, neem oil sprays, or introducing beneficial insects can help.
- Diseases: Blight and scab are the most problematic. Crop rotation, resistant varieties, and proper spacing reduce risks.
Harvesting Potatoes
Harvesting at the right time ensures maximum yield and quality.
1. Early Harvest (New Potatoes)
- About 2–3 weeks after flowering, you can harvest small, tender “new potatoes.”
- Gently dig around the base without disturbing the main plant.
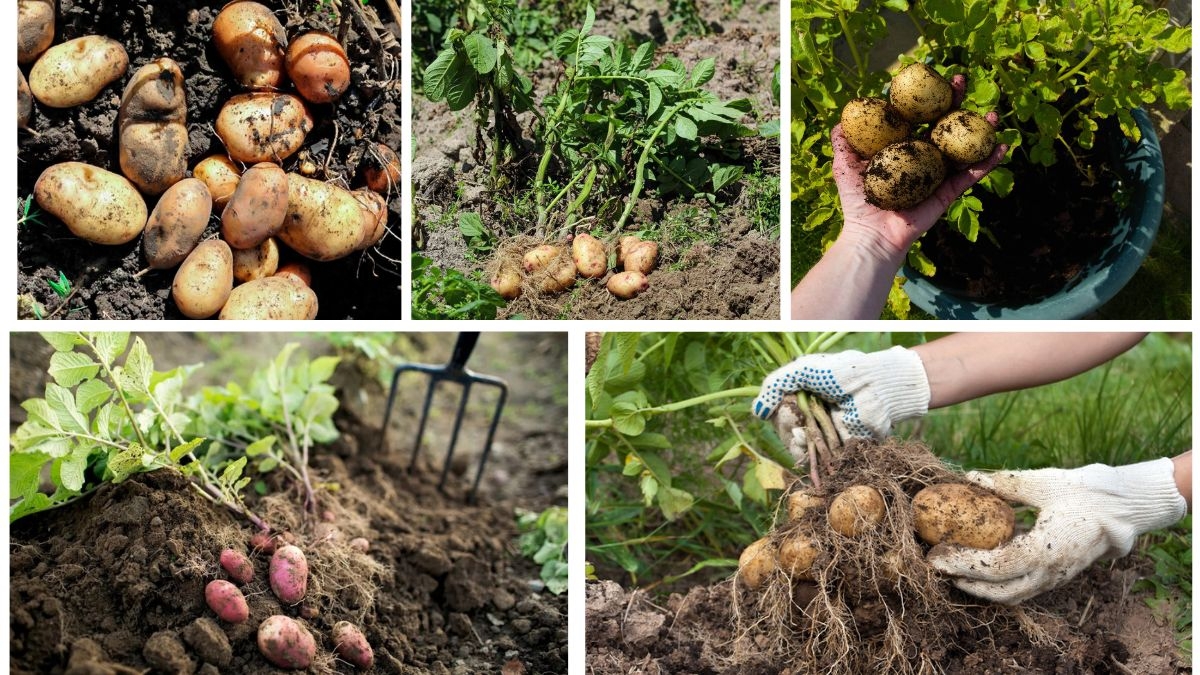
2. Full Harvest
- Wait until the foliage yellows and dies back.
- Use a garden fork to carefully lift tubers without damaging them.
- Allow potatoes to dry for a few hours before storage.
Curing and Storing Potatoes
Potatoes must be cured properly for long-term storage.
- Curing
- Place harvested potatoes in a dark, cool, and humid environment (45–60°F / 7–15°C) for 10–14 days.
- This thickens the skin and heals minor cuts, improving storage life.
- Storage
- Store cured potatoes in a cool, dark, and well-ventilated space.
- Avoid refrigeration, which converts starch to sugar and alters taste.
- Ideal storage conditions: 40–50°F (4–10°C) with 85–90% humidity.
- Properly stored potatoes can last 4–6 months.
Tips for Big Potato Harvests
- Choose Large, Healthy Seed Pieces – More eyes mean more potential sprouts.
- Hill Regularly – This boosts yields by encouraging more tubers to form along the stem.
- Provide Consistent Watering – Especially during flowering and tuber formation.
- Rotate Crops – Avoid planting potatoes in the same spot for at least 3 years to prevent disease buildup.
- Plant in Full Sun – At least 6–8 hours of direct sunlight daily.
- Avoid Overcrowding – Proper spacing ensures plants don’t compete for nutrients.
- Harvest at the Right Time – Allowing plants to fully mature ensures maximum yields and longer storage.
Common Mistakes to Avoid
- Planting in Cold, Wet Soil – Leads to rot and poor sprouting.
- Over-Fertilizing with Nitrogen – Encourages leafy growth but small tubers.
- Neglecting Hilling – Results in green, inedible tubers.
- Harvesting Too Early – Immature potatoes store poorly.
- Using Store-Bought Potatoes as Seed – Increases the risk of disease and poor yields.
Final Thoughts
Potatoes are among the most rewarding crops to grow, offering large yields with relatively simple care requirements. By selecting the right variety, preparing the soil properly, planting at the correct time, and maintaining consistent care, you can enjoy abundant harvests of healthy, delicious tubers.
With the steps outlined in this guide—from preparing seed potatoes and planting to hilling, watering, and curing—you’ll have all the knowledge needed to produce a big harvest of potatoes season after season. Growing your own potatoes not only ensures fresher food but also provides the satisfaction of cultivating one of the most essential crops in the world.


Leave A Comment