The rubber plant (Ficus elastica) is one of the most popular and resilient houseplants, loved for its bold, glossy leaves and easy adaptability. Native to Southeast Asia, this stunning plant has become a staple in modern homes and offices, not only for its decorative appeal but also for its air-purifying qualities.
For beginners, the rubber plant is an ideal choice. It grows well with minimal care and thrives in a variety of conditions, making it perfect for those just starting their indoor gardening journey. However, like all plants, the rubber plant does have certain preferences. Understanding its needs will ensure healthy growth, vibrant foliage, and a long-lasting addition to your indoor space.
This beginner’s guide covers everything you need to know about rubber plant care—from choosing the right variety and setting up the best environment to watering, pruning, repotting, and troubleshooting common issues.
Why Choose a Rubber Plant?
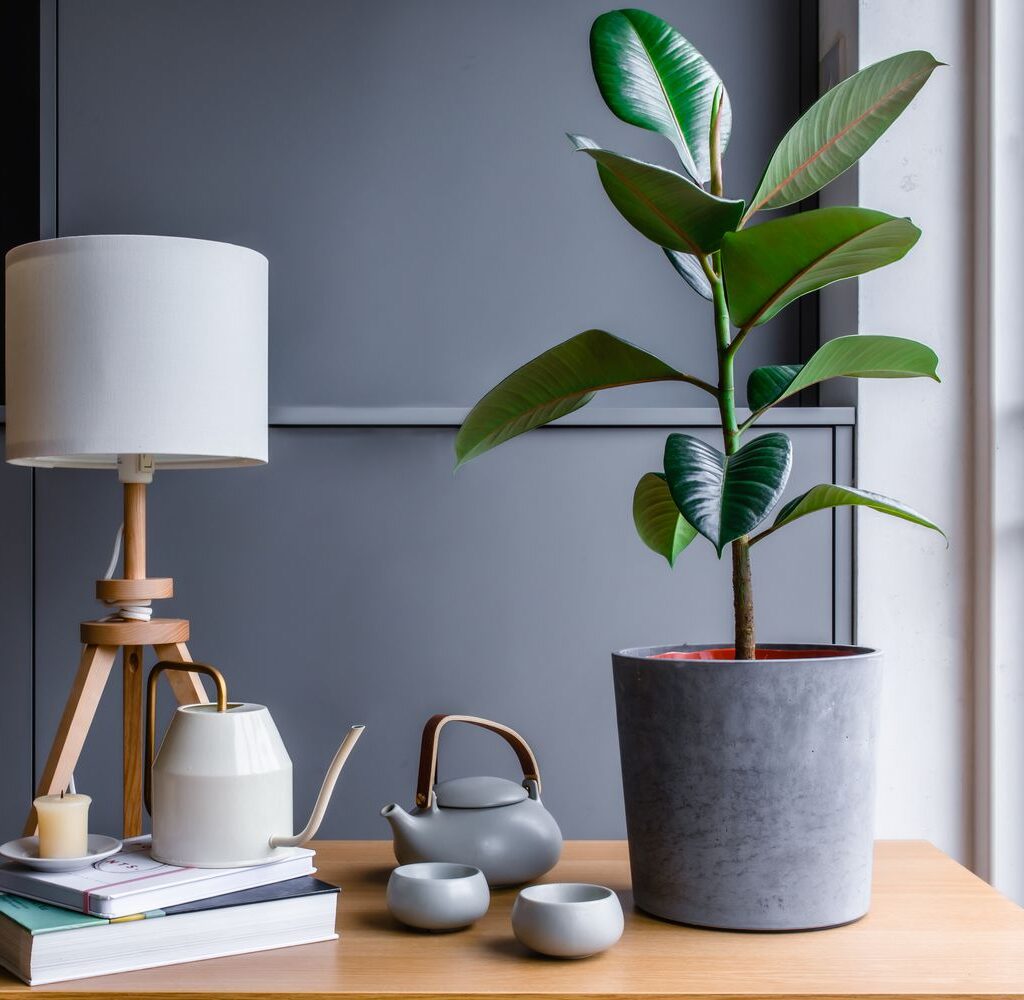
Before diving into care, let’s look at why rubber plants are such favorites:
- Aesthetic Appeal – Their broad, glossy leaves add a dramatic, tropical vibe to interiors.
- Air Purification – Rubber plants filter indoor air, removing toxins like formaldehyde.
- Low Maintenance – They don’t require constant attention, making them beginner-friendly.
- Adaptability – They tolerate a wide range of light and humidity conditions.
- Longevity – With proper care, a rubber plant can live for decades and even grow into a tree indoors.
Choosing the Right Variety
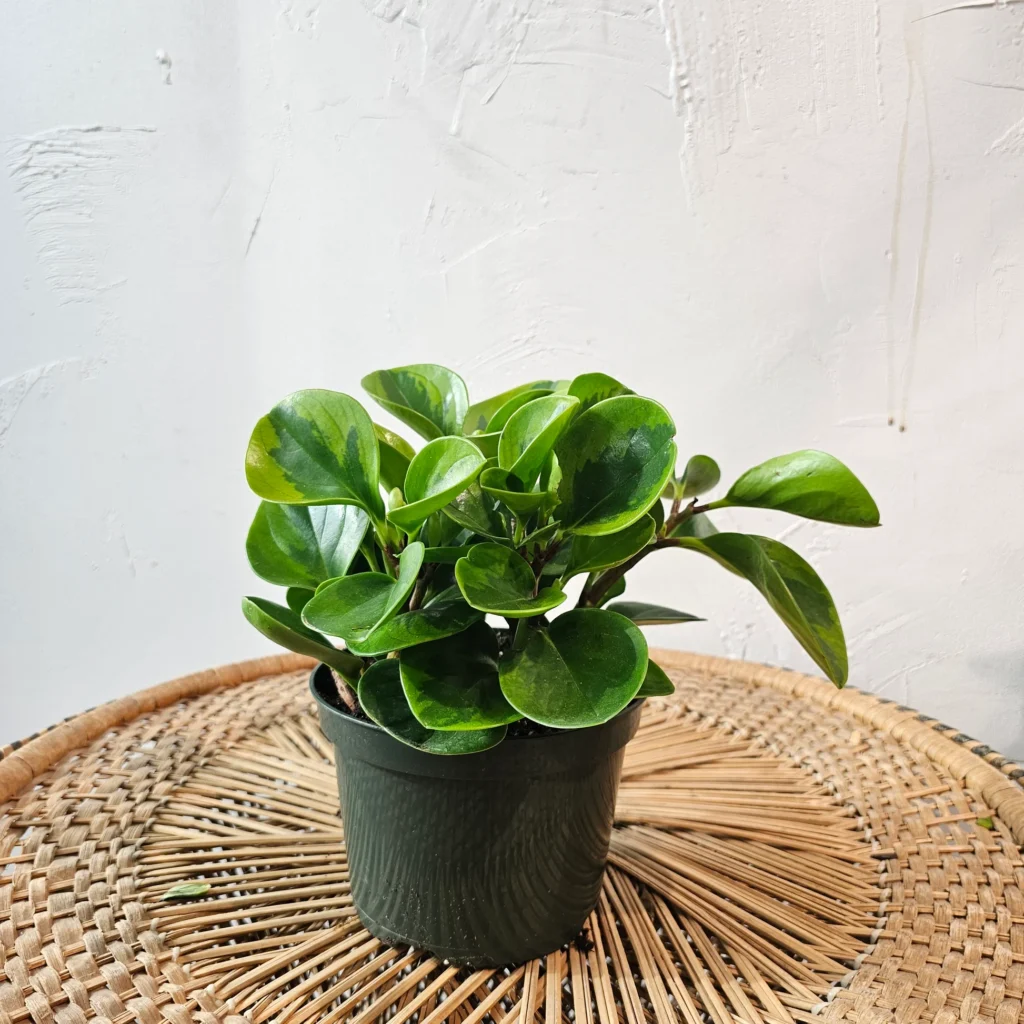
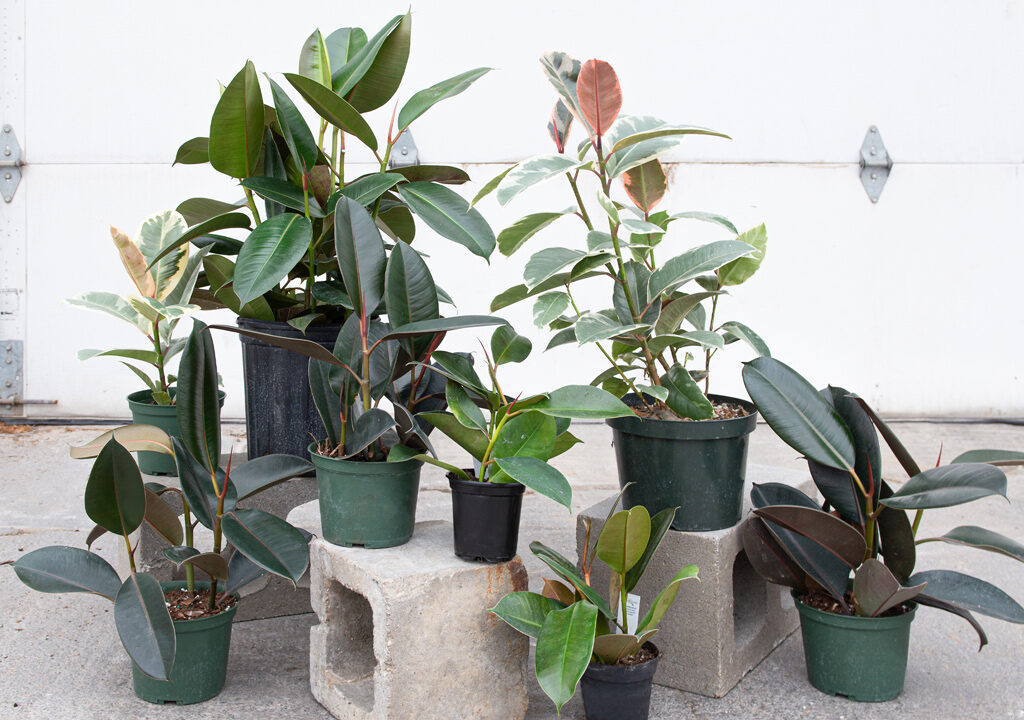
Rubber plants come in several varieties, each with unique leaf colors and patterns. Some popular options include:
- Ficus elastica ‘Robusta’ – Classic green variety with large glossy leaves.
- Ficus elastica ‘Burgundy’ – Deep, dark purple-green leaves with a dramatic look.
- Ficus elastica ‘Tineke’ – Variegated leaves with green, cream, and pink tones.
- Ficus elastica ‘Ruby’ – Pink and red-tinged foliage, perfect for a splash of color.
For beginners, ‘Robusta’ or ‘Burgundy’ are recommended because they are hardy and less fussy compared to variegated varieties.
Light Requirements
Light plays a crucial role in the growth and vibrancy of a rubber plant.
- Ideal Light: Bright, indirect light is best. Place it near an east- or south-facing window with filtered sunlight.
- Tolerances: Rubber plants can survive in low light but may grow more slowly and lose leaf vibrancy.
- Avoid Direct Sunlight: Harsh rays can scorch the leaves, causing brown spots or fading.
Tip: Rotate the plant every few weeks to ensure even growth and prevent it from leaning toward one direction.
Watering Needs
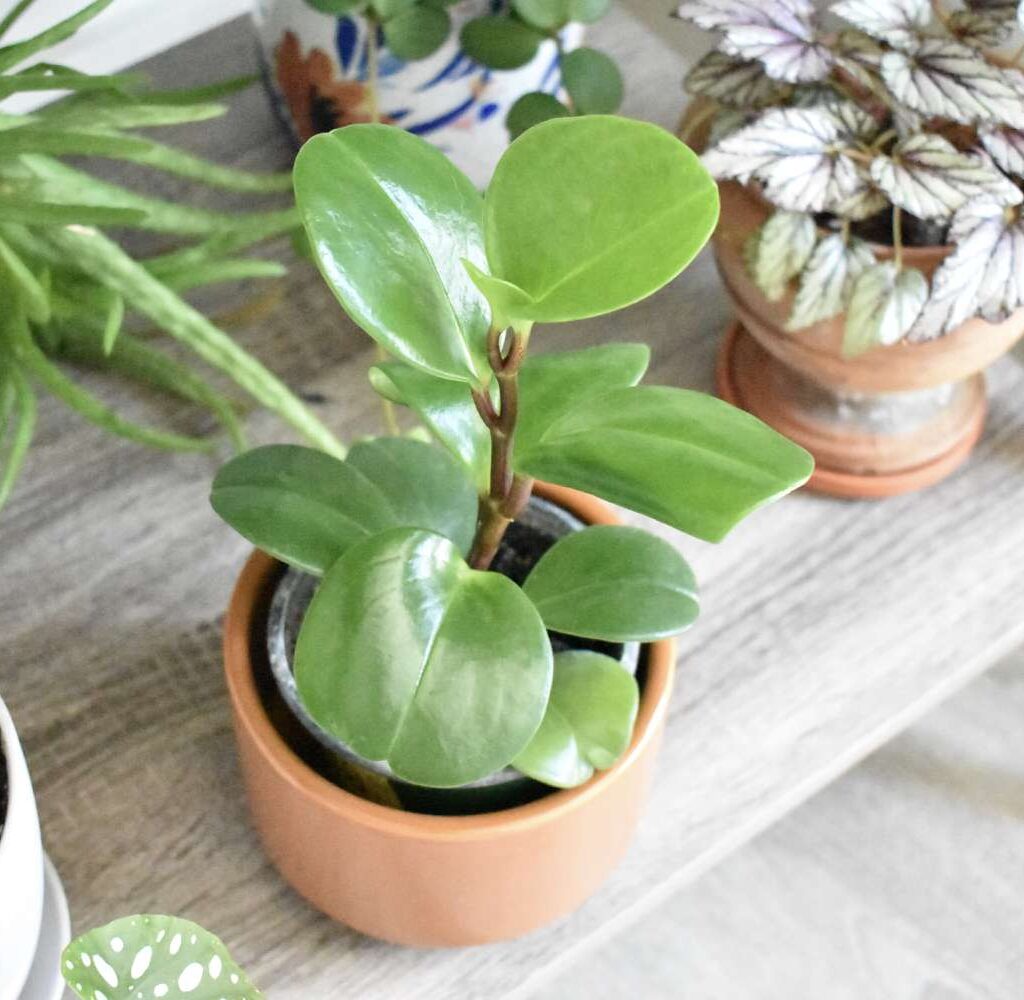
One of the most common mistakes beginners make with rubber plants is overwatering.
- General Rule: Water when the top 1–2 inches of soil feel dry to the touch.
- Growing Season (Spring/Summer): Water moderately, about once a week, keeping the soil consistently moist but not soggy.
- Dormant Season (Fall/Winter): Reduce watering to every 2–3 weeks as growth slows down.
- Drainage: Always use a pot with drainage holes to prevent waterlogging and root rot.
Warning: Yellowing leaves are often a sign of overwatering, while curling or drooping leaves may indicate underwatering.
Soil Requirements
Rubber plants thrive in well-draining, nutrient-rich soil.
- Best Mix: A combination of potting soil, perlite, and peat moss (2:1:1 ratio).
- Alternative: Use commercial potting soil labeled for indoor tropical plants.
- Drainage Layer: Adding a layer of small stones or gravel at the bottom of the pot helps prevent root rot.
Temperature and Humidity
Rubber plants are native to warm, humid climates, and they prefer similar indoor conditions.
- Temperature Range: 60–75°F (15–24°C). Avoid placing them near drafts, heaters, or air conditioners.
- Humidity Needs: Moderate humidity (40–50%) is sufficient, but they benefit from occasional misting in dry environments.
- Winter Care: Protect the plant from sudden cold drafts, which can stress and damage it.
Fertilizing Rubber Plants
Rubber plants are moderate feeders that benefit from regular fertilization during active growth.
- When to Fertilize: Spring through early fall, once every 4–6 weeks.
- Best Fertilizer: Balanced liquid fertilizer (e.g., 10-10-10 NPK) diluted to half strength.
- Winter Dormancy: Stop fertilizing during late fall and winter when growth slows down.
Over-fertilizing can cause leaf burn. Always follow package instructions.
Pruning and Training
Pruning helps maintain the shape, size, and health of your rubber plant.
- When to Prune: Best done in spring or early summer during active growth.
- How to Prune:
- Use clean, sharp scissors or pruning shears.
- Cut just above a leaf node to encourage branching.
- Remove any dead, damaged, or yellowing leaves.
- Training: You can shape your rubber plant into a bushy form by pruning regularly, or let it grow tall like a tree by limiting pruning.
Fun Fact: Rubber plant sap contains latex, so wear gloves when pruning to avoid skin irritation.
Repotting Rubber Plants
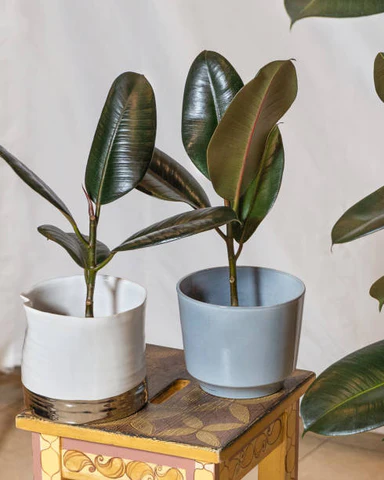
Rubber plants grow steadily and may need repotting every 2–3 years.
- Signs It’s Time to Repot: Roots growing out of drainage holes, slowed growth, or soil drying out too quickly.
- Best Time: Early spring, before the active growing season.
- Steps:
- Choose a pot 1–2 inches larger in diameter than the current one.
- Remove the plant gently and loosen the root ball.
- Place it in fresh soil mix and water thoroughly.
Tip: If your plant has outgrown its pot but you don’t want it to get taller, replace the top layer of soil instead of repotting.
Propagating Rubber Plants
Propagation is a fun way to expand your collection or share plants with friends.
- Stem Cuttings:
- Cut a 6-inch stem with at least one leaf.
- Place the cutting in water or moist soil.
- Roots will develop in 3–4 weeks.
- Air Layering:
- Make a small cut on a healthy stem.
- Wrap it with moist sphagnum moss and cover with plastic wrap.
- Roots form in a few weeks; cut and plant the new growth.
Common Problems and Solutions
- Yellow Leaves
- Cause: Overwatering or poor drainage.
- Solution: Let soil dry out, check for root rot, repot if needed.
- Drooping Leaves
- Cause: Underwatering, cold drafts, or sudden relocation.
- Solution: Adjust watering and keep in a stable environment.
- Brown Leaf Edges
- Cause: Low humidity or over-fertilization.
- Solution: Mist plant occasionally and reduce fertilizer.
- Pest Infestations
- Common pests: Spider mites, aphids, mealybugs.
- Solution: Wipe leaves with soapy water or spray with neem oil.
Styling Rubber Plants in Your Home
Rubber plants are not just easy to care for—they’re also versatile in home décor.
- Tall Statement Plant: Place in large pots as a floor-standing centerpiece.
- Minimalist Look: Pair with sleek containers in neutral shades.
- Tropical Corner: Group with other broad-leafed plants like monstera and philodendron.
- Variegated Accents: Use ‘Tineke’ or ‘Ruby’ varieties for a colorful pop indoors.
Quick Tips for Beginners
- Use room-temperature water to avoid shocking the roots.
- Dust the leaves regularly to keep them glossy and allow for better photosynthesis.
- Avoid frequent relocating, as rubber plants dislike sudden changes.
- Be patient—growth may be slow at first but will speed up in the right conditions.
Final Thoughts
The rubber plant is a timeless favorite for indoor gardeners, combining elegance with ease of care. For beginners, it offers the perfect balance between beauty and resilience. By providing the right balance of light, water, soil, and nutrients, your rubber plant will reward you with lush, vibrant foliage and steady growth.
Whether you want a dramatic statement piece for your living room, a natural air purifier, or simply a low-maintenance companion, the rubber plant is an excellent choice. With just a little attention and care, this stunning plant can thrive for years, bringing life, freshness, and elegance to your home.


Leave A Comment