Few fruits capture the essence of summer like the watermelon. Sweet, juicy, and refreshing, watermelon is not only a favorite snack for hot days but also a rewarding crop for gardeners who want to enjoy their own homegrown harvest. What makes watermelon even more exciting is how such a massive, delicious fruit can grow from something as tiny and unassuming as a seed. With the right guidance, even beginners can turn those small seeds into sprawling vines heavy with succulent fruits.
This article will take you through everything you need to know—from seed selection and planting to nurturing and harvesting—to grow juicy watermelons right in your garden.
Why Grow Watermelon at Home?
Before diving into the “how,” let’s look at why watermelons are worth growing:

- Freshness and Flavor – Store-bought watermelons are often picked before full ripeness for transport. Homegrown melons, on the other hand, are harvested at their peak, offering unmatched sweetness and juiciness.
- Nutritional Value – Watermelon is packed with hydration (over 90% water), vitamins A and C, potassium, and antioxidants like lycopene.
- Cost Savings – A single watermelon plant can yield multiple fruits, saving you money over buying them.
- Satisfaction – There’s nothing more rewarding than slicing into a fruit you’ve nurtured from a tiny seed.
Step 1: Choosing the Right Watermelon Variety
Different watermelon varieties cater to different climates, spaces, and taste preferences. Some popular ones include:
- Sugar Baby – A small, early-maturing variety (6–10 lbs) perfect for small gardens.
- Crimson Sweet – A classic, large, sweet variety weighing 20–25 lbs.
- Jubilee – Known for its striped rind and high yield, ideal for warm regions.
- Yellow Doll – A unique variety with yellow flesh and a sweet, honey-like flavor.
Tip: If you have a short growing season, choose early-maturing varieties like Sugar Baby. In warm climates with long summers, larger varieties can thrive.
Step 2: Preparing Seeds for Planting
Watermelon seeds germinate best in warm soil. Here’s how to prepare:

- Timing – Start seeds indoors 3–4 weeks before your last frost date or sow directly outdoors when soil temperatures reach at least 70°F (21°C).
- Pre-Soaking (Optional) – Soak seeds for 4–6 hours before planting to speed up germination.
- Soil Preparation – Use light, well-draining soil rich in organic matter. Watermelons don’t like soggy conditions.
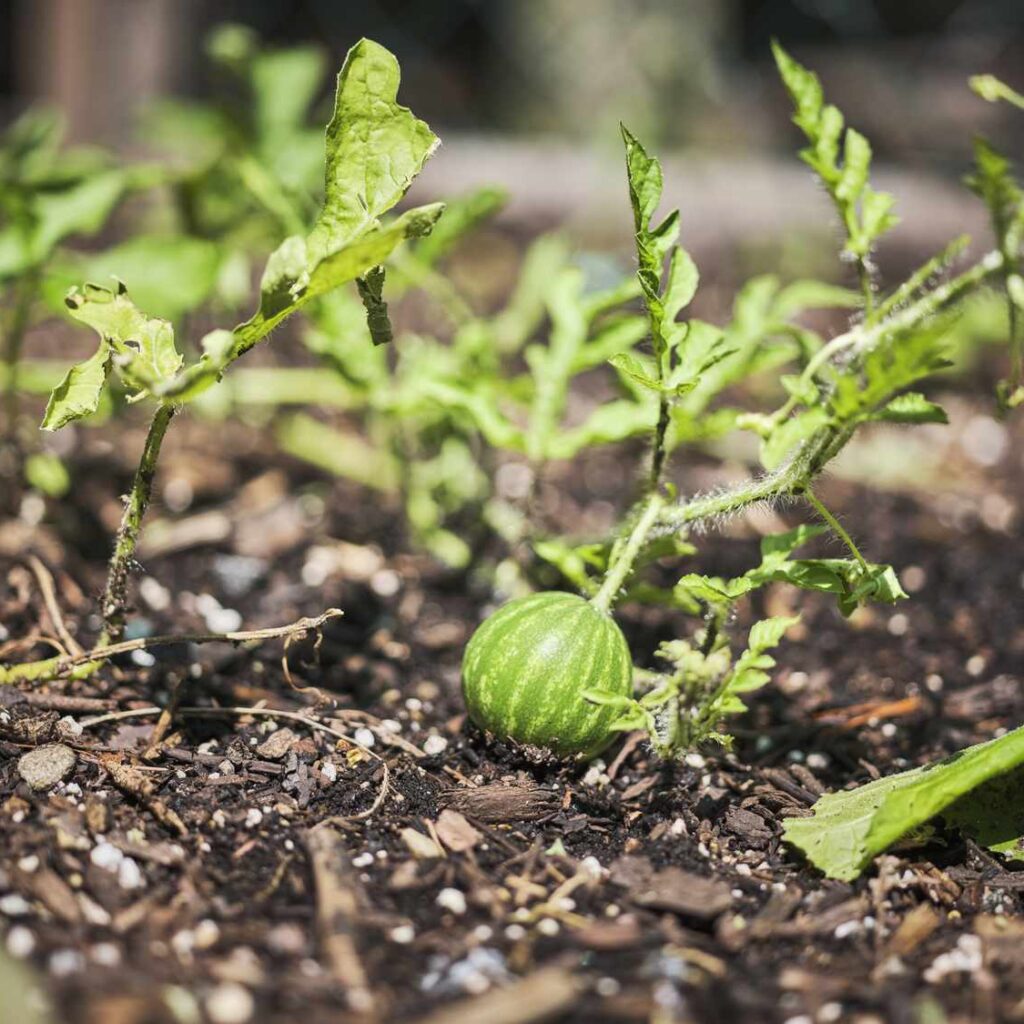
Step 3: Planting Watermelon Seeds
- Location – Choose a sunny spot. Watermelons need at least 8–10 hours of direct sunlight daily.
- Spacing – Plant seeds in mounds or hills. Sow 2–3 seeds per mound, spacing hills 3–5 feet apart. Thin to the strongest seedling later.
- Depth – Plant seeds 1 inch deep.
- Watering – Gently water after sowing, keeping the soil moist but not waterlogged.
Step 4: Caring for Young Watermelon Plants
Once seedlings sprout, they’ll need consistent care to grow into strong vines:
- Thinning – If multiple seeds sprout in a mound, keep the healthiest one.
- Mulching – Add straw or black plastic mulch to retain moisture, suppress weeds, and warm the soil.
- Fertilizing – Use a balanced fertilizer (10-10-10) early, then switch to one higher in potassium and phosphorus as fruits develop.
- Watering – Provide 1–2 inches of water per week. Use drip irrigation or water at the base to avoid wetting leaves, reducing disease risk.
Step 5: Training the Vines
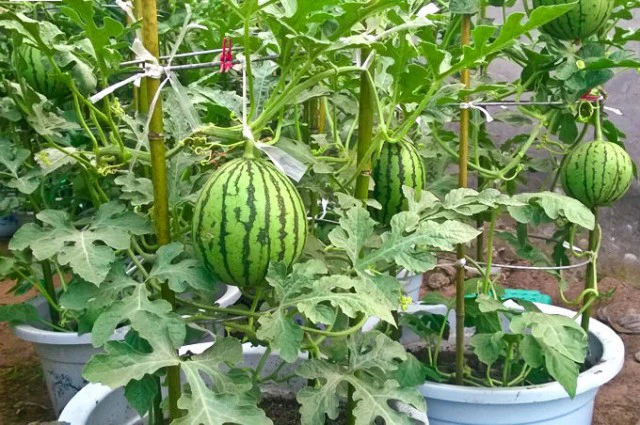
Watermelon vines spread rapidly and need space.
- Sprawl Method – Allow vines to grow freely in open ground.
- Trellising (for small varieties) – Support vines vertically with slings for fruits. This saves space but requires extra support.
- Pruning – Remove small or excess fruits so the plant can focus energy on fewer, larger watermelons.
Step 6: Pollination—The Key to Fruit Formation
Watermelons rely on pollinators, mainly bees, for fruit set.

- Flowers – Plants produce male flowers first, followed by female flowers (recognizable by the tiny fruit at their base).
- Pollination Needs – If bees are scarce, hand-pollinate by transferring pollen from a male flower to a female flower with a small brush.
- Encouraging Pollinators – Grow bee-friendly flowers nearby to attract pollinators.
Step 7: Common Problems and Solutions
Even with care, watermelons may face challenges. Here’s how to address them:
Pests
- Aphids: Cause leaf curling. Spray with insecticidal soap.
- Cucumber beetles: Spread bacterial wilt. Use row covers until flowering begins.
- Squash bugs: Hand-pick or use neem oil.
Diseases
- Powdery Mildew: White spots on leaves. Improve air circulation and treat with fungicidal sprays.
- Fusarium Wilt: Yellowing and wilting. Rotate crops and use resistant varieties.
- Anthracnose: Dark lesions on leaves. Avoid overhead watering and practice crop rotation.
Environmental Issues
- Blossom End Rot: Caused by calcium deficiency or inconsistent watering. Keep soil evenly moist.
- Fruit Cracking: Prevent with consistent watering and mulching.
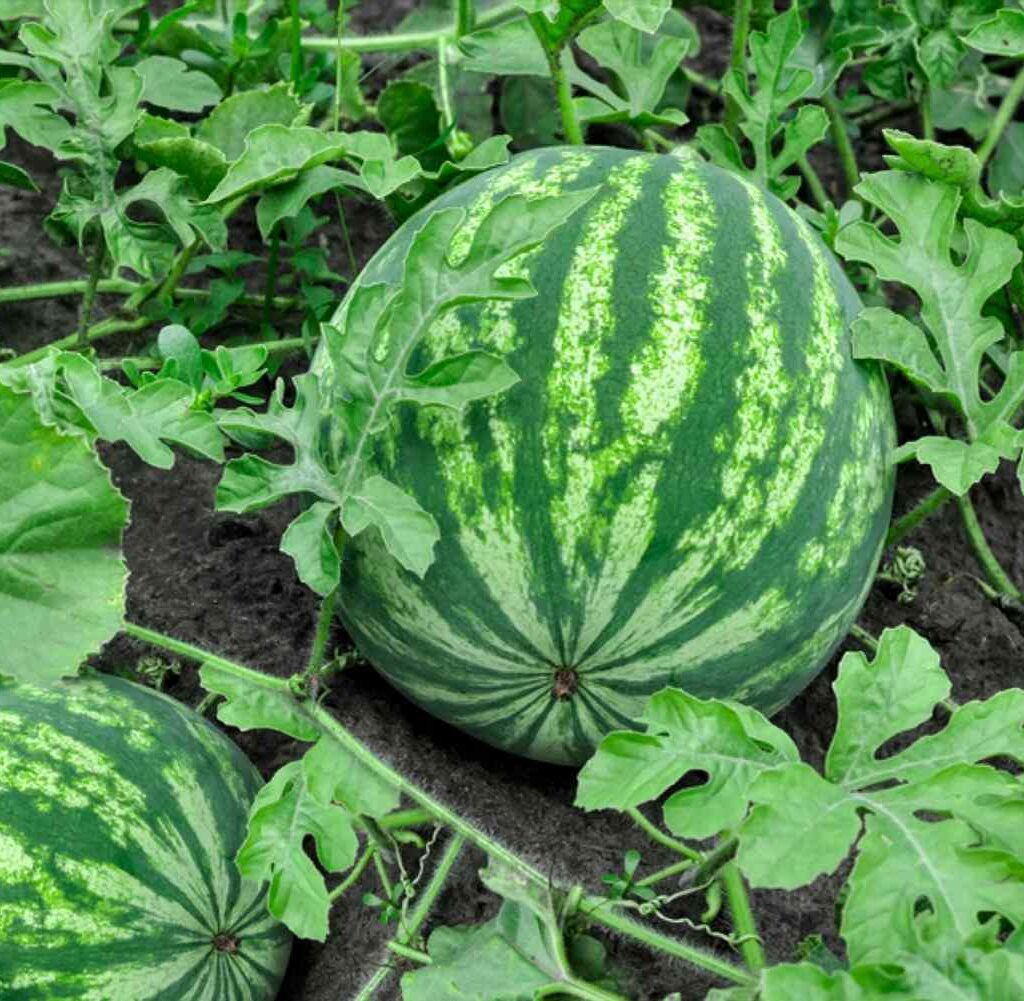
Step 8: Harvesting Watermelons
The biggest question new growers ask is: How do I know when a watermelon is ripe? Since they don’t continue ripening after harvest, timing is crucial. Look for these signs:
- Tendrils Drying – The curly tendril closest to the fruit stem turns brown and dries up.
- Ground Spot – The underside of the watermelon (where it rests on the soil) changes from white to creamy yellow.
- Sound Test – A ripe melon produces a deep, hollow sound when tapped.
- Dull Rind – The surface becomes less shiny and more matte.
Use sharp pruning shears to cut the melon from the vine, leaving a short stem attached.

Step 9: Storing and Enjoying Your Harvest
- Room Temperature – Whole melons can be stored for about 1 week.
- Refrigerated – Cut pieces last 3–5 days in the fridge.
- Freezing – For smoothies or desserts, freeze chunks of watermelon.
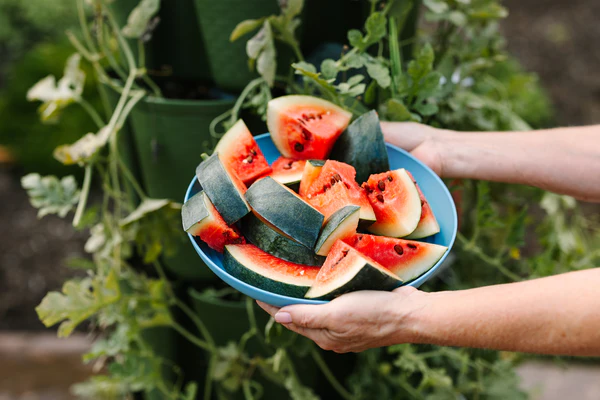
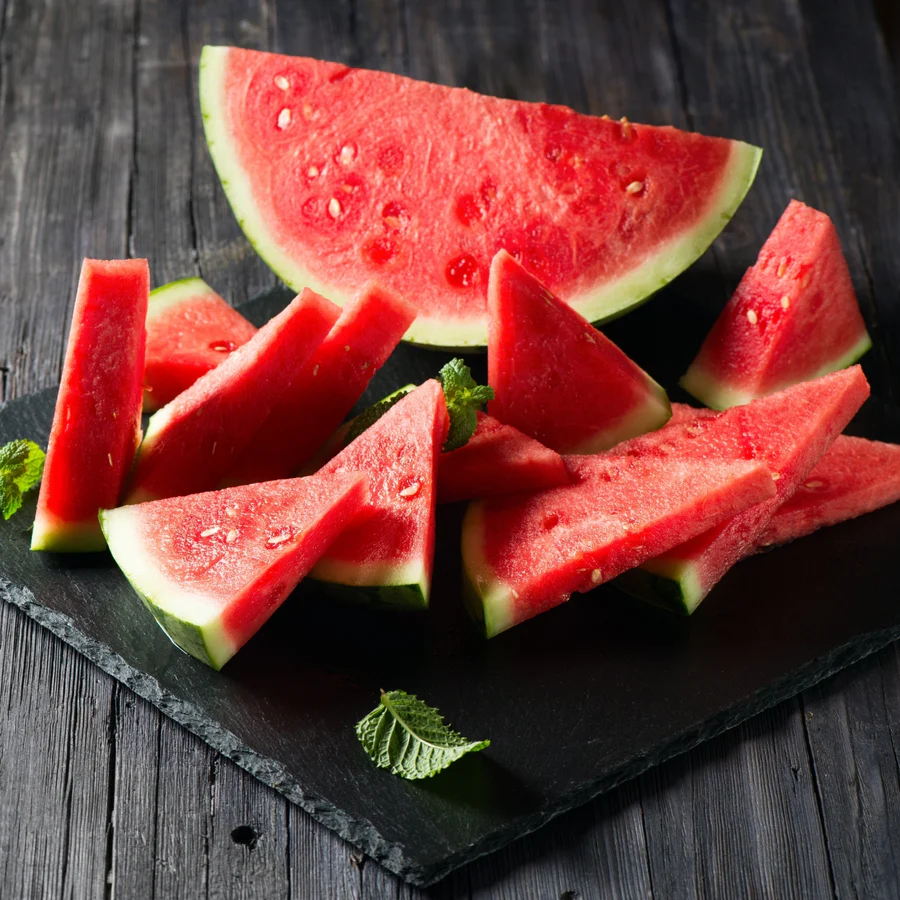
Delicious Ideas: Fresh slices, watermelon juice, fruit salads, popsicles, or even grilled watermelon for a smoky twist!
Extra Tips for Juicy Success
- Rotate crops each year to prevent soil-borne diseases.
- Use black plastic mulch to increase soil warmth and speed growth.
- Don’t over-fertilize with nitrogen—it encourages leaves, not fruits.
- Grow companion plants like marigolds to deter pests naturally.
Conclusion
From a tiny seed to a sprawling vine and finally to a juicy, refreshing fruit, the journey of growing watermelon is truly magical. With patience, care, and the right techniques, anyone can enjoy a sweet harvest right from their backyard. Not only does it offer unbeatable flavor and nutrition, but it also delivers the joy of watching life flourish under your care.
If you’ve been dreaming of juicy, homegrown watermelon slices on a summer afternoon, let this guide be your roadmap. Plant those tiny seeds, nurture them with love, and soon you’ll be enjoying the wonders of watermelon straight from your garden.

Leave A Comment