Dragon fruit, also known as pitaya or pitahaya, is one of the most visually striking and nutritious fruits you can grow at home. With its bright pink or yellow skin, speckled white or red flesh, and unique cactus-like growth habit, dragon fruit has gained worldwide popularity not just for its exotic beauty but also for its health benefits. While many people assume it’s difficult to cultivate, growing dragon fruit is surprisingly rewarding if you know the right hacks.
This guide will take you step by step through the entire process of growing dragon fruit—from starting seeds to achieving a bountiful, stunning harvest. Along the way, you’ll discover practical tips, clever shortcuts, and science-backed hacks that will help your plants thrive.
Why Grow Dragon Fruit?
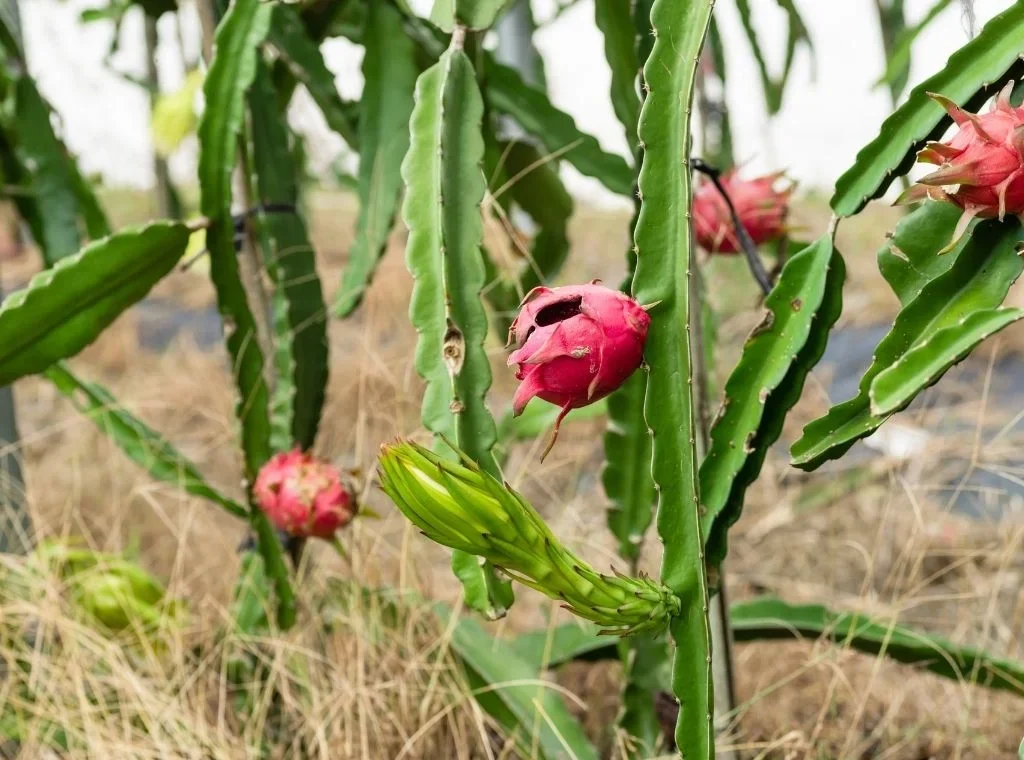
Before diving into the growing process, it’s worth understanding why dragon fruit is such a fantastic crop to cultivate:
- Nutritional powerhouse – Dragon fruit is rich in antioxidants, vitamin C, magnesium, iron, and fiber, making it a great addition to a healthy diet.
- Low-maintenance cactus – Unlike many fruits, dragon fruit is a cactus species (Hylocereus), meaning it thrives with minimal watering and is drought-tolerant.
- Exotic appeal – The plant itself has a dramatic look with sprawling stems and large, fragrant night-blooming flowers.
- High yield potential – Once established, a single plant can produce dozens of fruits each season.
- Profitability – In many regions, dragon fruit fetches a high price in markets due to its exotic nature and rising demand.
Choosing Between Seeds and Cuttings
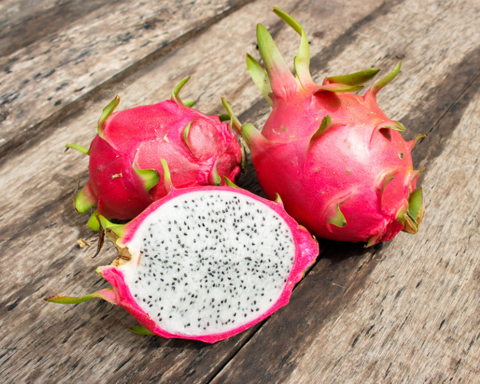
Dragon fruit can be propagated in two main ways: from seeds or from cuttings. Each method has its pros and cons.
- Seeds – Starting from seeds is fun and rewarding, but it takes longer (3–5 years) for the plant to bear fruit. Seeds are ideal if you want to experiment or grow unique hybrids.
- Cuttings – Using stem cuttings from a mature plant is the fastest method. Plants grown this way can produce fruit in just 1–2 years.
Hack: If your goal is a quick harvest, always use cuttings. If you’re patient or want genetic diversity, try seeds. For the best of both worlds, you can start a few seeds while also planting cuttings.
Step 1: Starting Dragon Fruit Seeds
- Collect fresh seeds – Scoop out seeds from a ripe dragon fruit and wash away pulp. Dry them on a paper towel for 24 hours.
- Prepare soil – Use a well-draining cactus mix or create your own by combining garden soil, sand, and compost.
- Plant shallowly – Sprinkle seeds over the soil surface and lightly cover with a thin layer of sand or soil.
- Moisture & warmth – Keep the soil lightly moist but not soggy. Place the container in a warm, bright area (25–30°C).
- Germination – Seeds usually sprout within 1–3 weeks. Thin seedlings to avoid overcrowding.
Hack: Speed up germination by soaking seeds in water for 12 hours before planting. Using a mini greenhouse or clear plastic cover also boosts germination rates.
Step 2: Growing from Cuttings
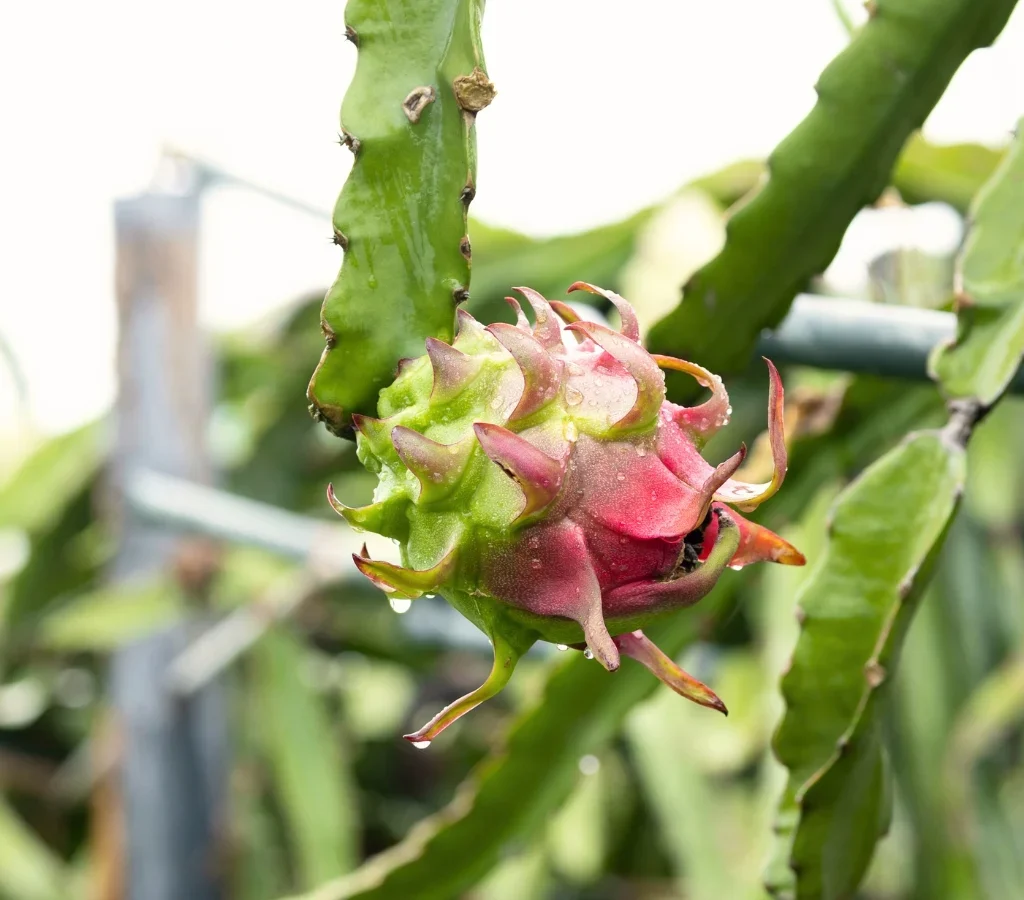
If you can source a cutting, you’ll save years of waiting.
- Cut selection – Choose a healthy, mature stem about 12–15 inches long.
- Drying period – Allow the cutting to dry in shade for 5–7 days. This helps form a callus and prevents rotting when planted.
- Planting – Insert the callused end into sandy, well-draining soil. Bury at least 2–3 inches of the cutting.
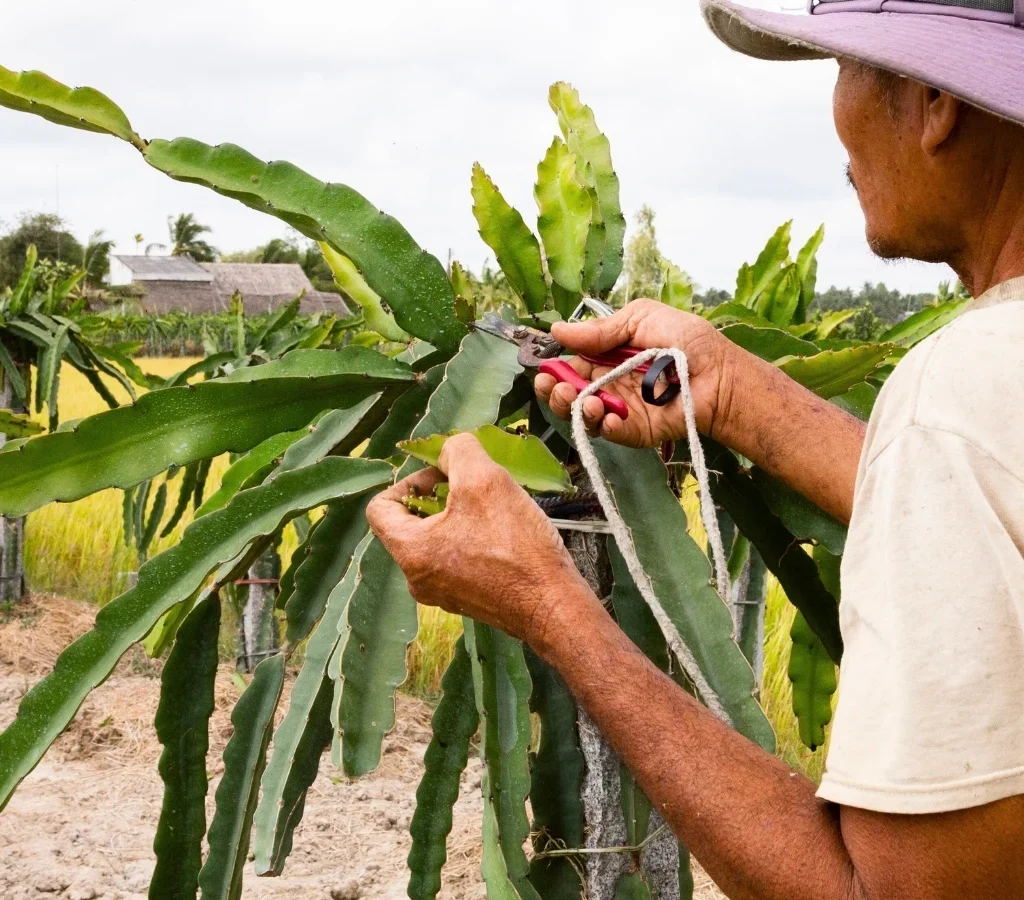
- Support structure – Dragon fruit is a climbing cactus. Use a trellis, post, or frame for vertical growth.
Hack: Plant multiple cuttings around a single post to increase productivity and encourage cross-pollination.
Step 3: Soil & Location Requirements
- Soil type – Well-draining sandy loam with organic matter is ideal. Avoid clay-heavy soils.
- pH range – Slightly acidic to neutral (6–7).
- Sunlight – At least 6–8 hours of direct sunlight daily.
- Temperature – Thrives in warm climates (18–32°C). Can tolerate mild cold but suffers below 5°C.
Hack: If your soil is heavy, build raised beds filled with sandy soil and compost. This prevents waterlogging, a common cause of root rot.
Step 4: Watering Hacks
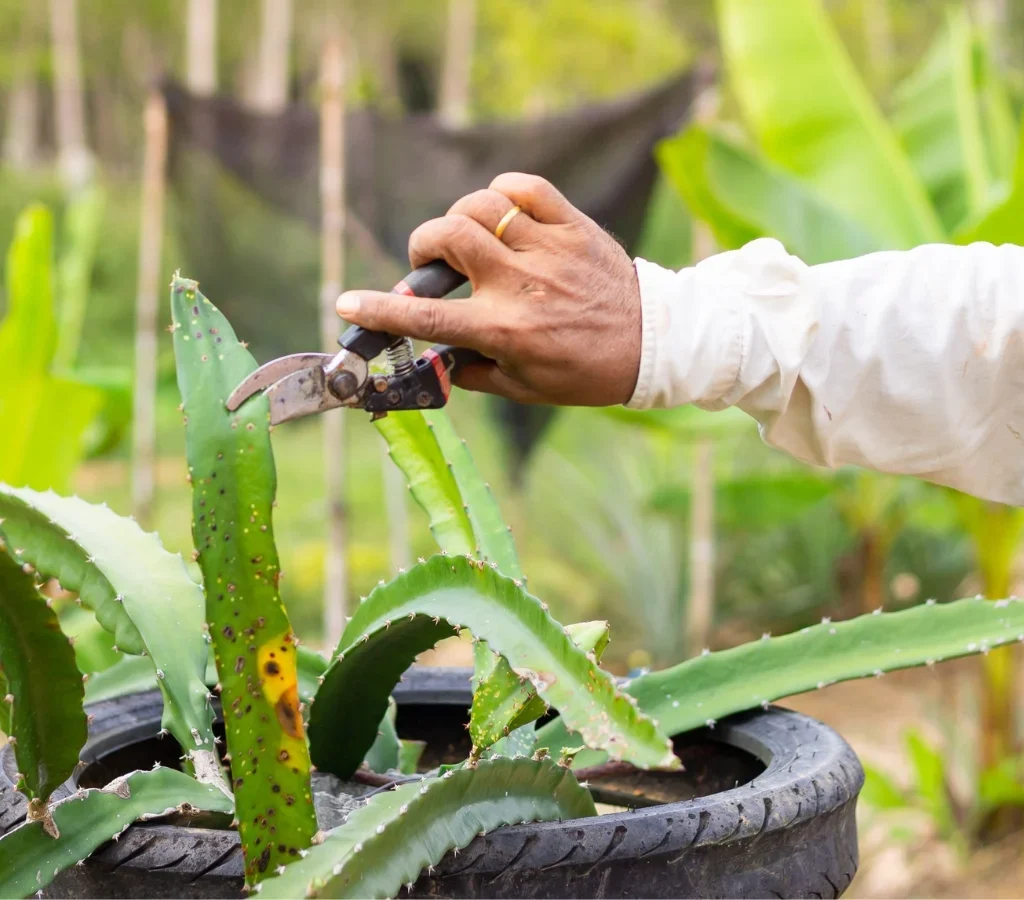
Dragon fruit is a cactus, but it still needs regular watering during the growing season.
- Young plants – Water every 2–3 days in warm weather, keeping soil moist but never soggy.
- Mature plants – Deeply water once a week. Allow soil to dry slightly between waterings.
- Rainy season – Reduce watering drastically to avoid root rot.
Hack: Use drip irrigation for consistent watering. Mulching around the base reduces evaporation and keeps roots cool.
Step 5: Fertilizing for Fast Growth
Dragon fruit is a heavy feeder compared to other cacti.
- Organic fertilizers – Compost, cow manure, or vermicompost enrich the soil naturally.
- Balanced NPK fertilizers – Use a 10-10-10 or 13-13-13 fertilizer every 2 months.
- Flowering stage – Switch to a high-phosphorus fertilizer to encourage blooms.
Hack: Apply Epsom salt (magnesium sulfate) once every 2 months to boost chlorophyll production and enhance fruit sweetness.
Step 6: Supporting & Training the Plant
Dragon fruit stems grow long and sprawl if not supported.
- Trellising – The most common method is a vertical concrete or wooden post with a circular top frame.
- Pruning – Trim excess branches to allow airflow and channel energy into main stems.
- Training – Guide stems upward, then let them hang over the frame for flowering.
Hack: Use recycled tires, metal hoops, or bamboo as cost-effective trellis materials.
Step 7: Pollination Hacks
Dragon fruit flowers are huge, white, and fragrant, but they bloom only at night and last for a single night. Some varieties are self-pollinating, while others require cross-pollination.
- Hand pollination – Use a small brush or cotton swab to transfer pollen from the stamen to the stigma between 9 PM and 2 AM.
- Cross-pollination – If you grow more than one variety, you’ll likely get bigger, better fruits.
Hack: Store pollen in the fridge for a few days to use on later blooms. This way, you don’t have to wait for multiple plants to flower at the same time.
Step 8: Harvesting Dragon Fruit
- Timeline – Fruits are usually ready 30–50 days after flowering.
- Signs of ripeness – Skin turns bright pink or yellow (depending on variety), scales begin to wither, and the fruit softens slightly.
- Harvest method – Twist fruit gently or cut with pruning shears. Avoid pulling, as it may damage the plant.
💡 Hack: Harvest in the morning when fruits are cool and firm. This extends storage life and preserves flavor.
Common Problems and Quick Fixes
- Root rot – Caused by waterlogging. Fix: Improve drainage, reduce watering.
- Pests (mealybugs, ants, aphids) – Fix: Neem oil spray or insecticidal soap.
- Poor flowering – Often due to lack of sunlight or excess nitrogen. Fix: Increase sunlight, add phosphorus.
- Fruit drop – Can occur due to poor pollination. Fix: Practice hand pollination.
Extra Hacks for Bigger Harvests
- Multiple plants = better yield – Growing several varieties together boosts pollination success.
- Prune regularly – This keeps energy focused on productive branches.
- Graft for faster results – Advanced growers graft cuttings onto mature rootstock to speed up fruiting.
- Container growing – If you lack space, dragon fruit can thrive in large pots (at least 20 gallons) with proper support.
Final Thoughts
Growing dragon fruit is not just about cultivating a fruit—it’s about nurturing an exotic plant that brings beauty, flavor, and health benefits to your garden. Whether you start from seeds for the joy of seeing tiny sprouts emerge or use cuttings for faster harvests, the right hacks make the journey much easier.
By applying these tips—using well-draining soil, providing sturdy support, mastering hand pollination, and maintaining consistent care—you can transform your dragon fruit plants into prolific producers. In just a few seasons, you’ll be enjoying stunning harvests of this tropical jewel, fresh from your very own garden.


Leave A Comment