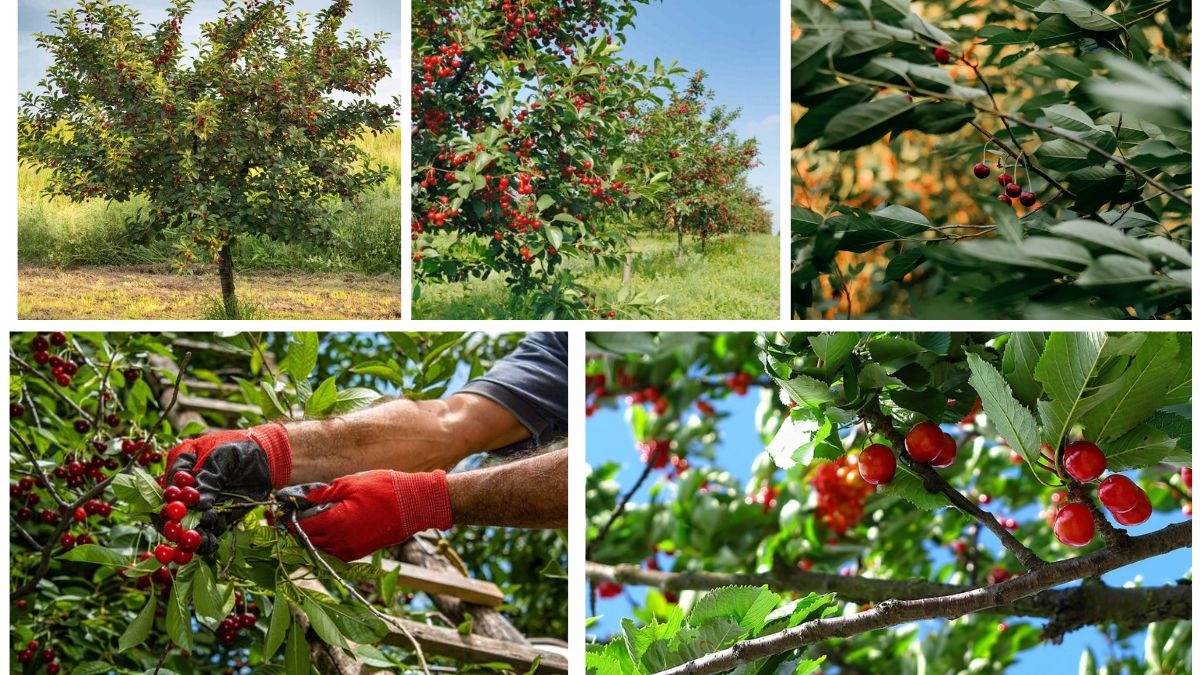
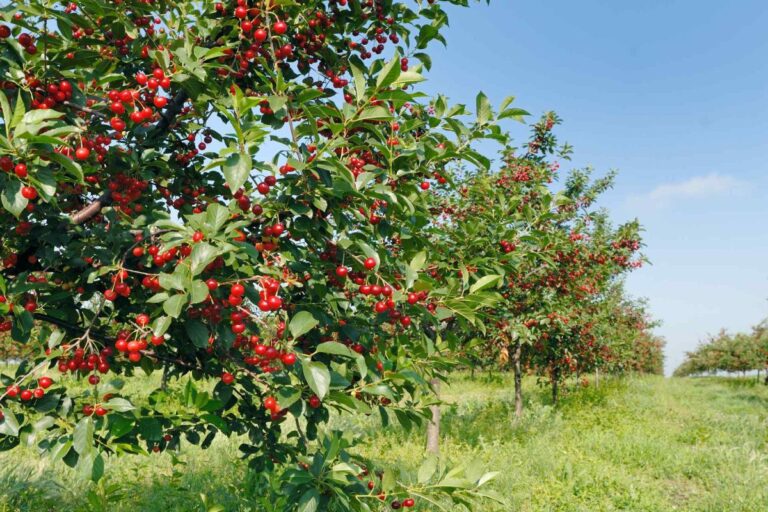
Cherry trees are among the most cherished fruit trees, admired not only for their deliciously sweet or tart fruits but also for their stunning blossoms that herald the arrival of spring. While many gardeners opt for nursery-grown cherry saplings, did you know you can start your own cherry tree from something as simple as a pit from the cherries you eat? Growing cherry trees from pits is cost-effective, educational, and highly rewarding. It allows you to enjoy the full cycle of nature—from fruit to seed to a blossoming tree.
In this guide, we’ll break down the process into simple, practical steps, while also sharing valuable insights into cherry tree care, potential challenges, and long-term maintenance. By the end, you’ll see that growing cherry trees from pits is not only doable but also a fun and meaningful gardening project.
Why Grow Cherry Trees from Pits?
Most gardeners are familiar with buying grafted saplings, so why start with pits? Here are a few compelling reasons:
- Affordability: All you need is a cherry pit from a store-bought or homegrown cherry.
- Sustainability: You’re recycling seeds that would otherwise be discarded.
- Educational Value: Perfect for kids and beginners to learn about plant life cycles.
- Satisfaction: Watching a tree grow from a tiny pit into a fruit-bearing plant is deeply rewarding.
However, keep in mind that trees grown from pits may not always produce fruits identical to the parent cherry. Hybrid varieties often differ, but even then, the tree can be beautiful and productive.

Step 1: Selecting the Right Cherry Pits
Not all cherries are suitable for growing in every climate. Before starting, identify which type of cherry grows best in your region:
- Sweet Cherries (Prunus avium): Popular varieties like Bing or Rainier thrive in warmer zones (USDA zones 5–7). They require long, warm summers and cold winters.
- Tart or Sour Cherries (Prunus cerasus): Varieties like Montmorency are hardier and do well in colder regions (zones 4–6).
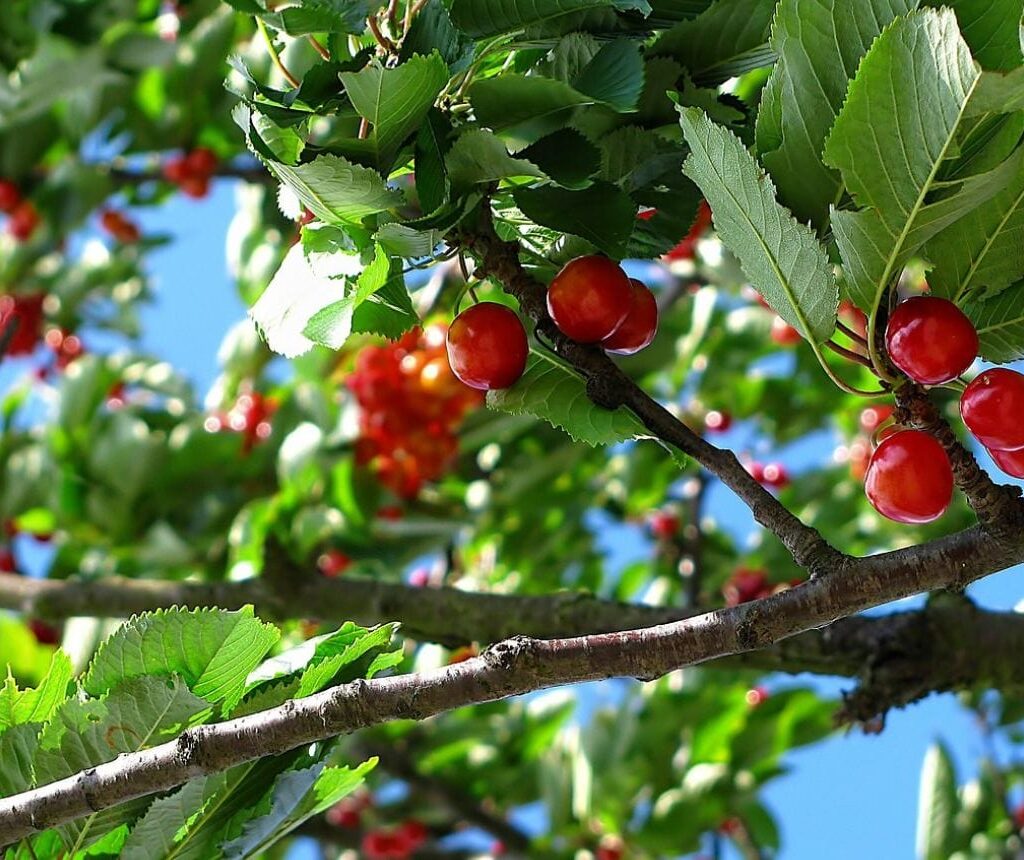
When you enjoy fresh cherries, set aside the pits. Choose fully ripe, healthy cherries, as immature or damaged fruits may not contain viable seeds.
Step 2: Cleaning and Preparing the Pits
The pit inside the fruit is a hard shell protecting the seed. Proper preparation is essential:
- Clean the pits: Rinse the pits thoroughly to remove any leftover fruit flesh, as this can encourage mold.
- Dry them: Spread the pits on a paper towel for a few days in a cool, dry place.
- Crack or leave intact?: Some gardeners carefully crack the outer shell with a nutcracker to speed germination, but this step isn’t required if you follow proper stratification.
Step 3: Cold Stratification – Mimicking Nature
Cherry pits need a period of cold dormancy before they sprout. This process, called cold stratification, simulates winter conditions. Here’s how:

- Moisture prep: Place the cleaned pits in a moist medium such as peat moss, sand, or a damp paper towel.
- Sealed container: Put them in a resealable plastic bag or container.
- Refrigerate: Store in the refrigerator (not freezer) for 8–12 weeks at around 1–5°C (34–41°F).
Check the pits every couple of weeks to ensure they remain moist but not waterlogged. If you notice mold, clean the pit and replace the medium. After this cold period, the pits are ready to germinate.
Step 4: Germinating the Cherry Pits
Once stratification is complete, it’s time to bring your cherry pits to life:
- Potting soil: Fill small pots with nutrient-rich potting soil mixed with sand or perlite for good drainage.
- Planting depth: Place each pit about 1–2 inches deep in the soil.
- Location: Keep the pots in a sunny spot or under grow lights with consistent warmth (around 20–25°C or 68–77°F).
- Watering: Keep the soil moist but not soggy.
With patience, sprouts will emerge within a few weeks to a couple of months. This is the most exciting stage, as you’ll see the cherry seedling pushing through the soil!
Step 5: Transplanting Seedlings Outdoors
When seedlings are about 6 inches tall and strong enough to handle, they can be moved outdoors if the weather is suitable. Follow these tips for success:
- Choose the right season: Transplant in spring after the last frost or in early fall.
- Site selection: Cherry trees need full sun (6–8 hours daily) and well-drained soil. Avoid low-lying spots prone to waterlogging.
- Spacing: Sweet cherries can grow tall (up to 30 feet), while sour cherries are smaller (around 15 feet). Space accordingly.
- Planting hole: Dig a hole twice as wide and as deep as the root system. Place the seedling, fill with soil, and gently pat down.
Mulch around the base to retain moisture and suppress weeds, but keep mulch away from the trunk.
Step 6: Caring for Your Cherry Tree
Once established, cherry trees require consistent care:
- Watering: Young trees need regular watering until roots are established. Mature trees tolerate some drought but still prefer even moisture.
- Fertilizing: Apply balanced fertilizer in spring to encourage growth and blossoms.
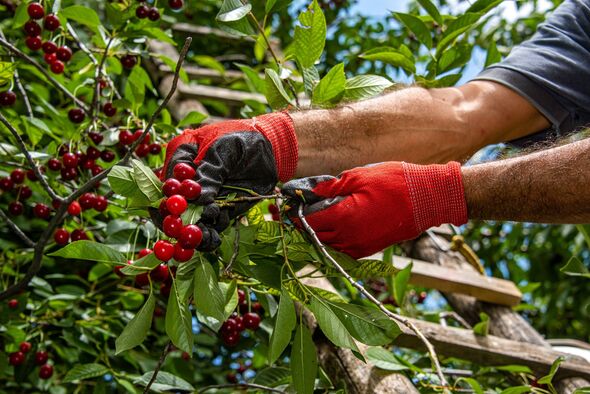
- Pruning: Prune during late winter or early spring to shape the tree and remove dead branches. This improves airflow and reduces disease risk.
- Pollination: Some sweet cherry varieties need cross-pollination, so planting two different cultivars nearby may be necessary. Sour cherries are usually self-pollinating.
Step 7: Waiting for Fruit
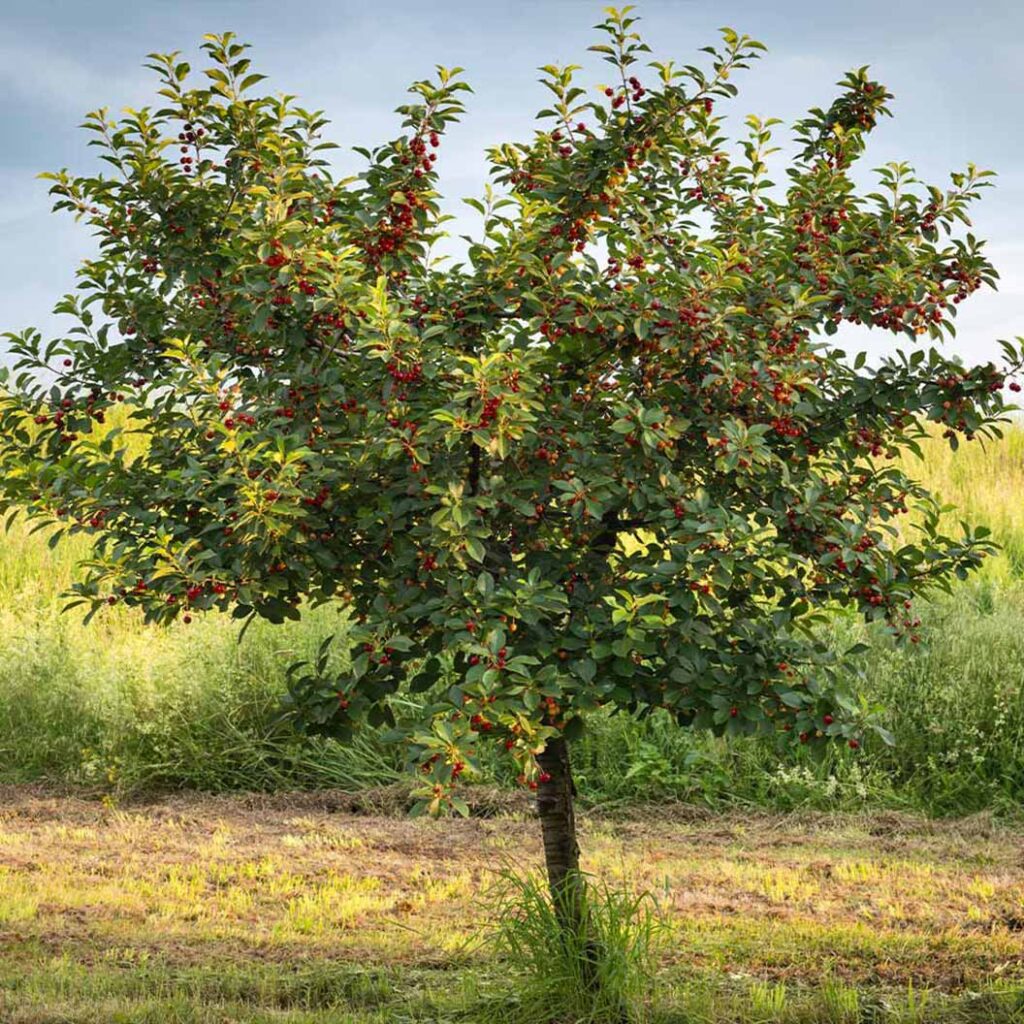
Patience is key. Unlike nursery saplings, cherry trees grown from pits can take 7 to 10 years to bear fruit. While this is a long wait, the journey itself is rewarding. Even if your tree doesn’t yield identical cherries to the parent fruit, it will still beautify your yard with blossoms and greenery.
Common Challenges and Solutions
- Pests and Diseases: Watch for aphids, Japanese beetles, or fungal issues like brown rot. Use organic sprays or natural predators when possible.
- Climate Issues: If late frosts damage blossoms, you may lose a year’s harvest. Planting in a slightly sheltered spot can help.
- Seed Viability: Not all pits germinate, so start with several to increase your chances.
Benefits Beyond Fruit
Even if your pit-grown cherry tree doesn’t produce abundant fruits, it still offers:

- Shade and beauty: With their lovely blossoms, cherry trees add aesthetic charm to gardens.
- Wildlife support: Birds and pollinators benefit from the flowers and fruits.
- Environmental value: Trees help reduce carbon dioxide and improve air quality.
Final Thoughts
Growing cherry trees from pits is a practice that combines patience, care, and curiosity. While it’s not the fastest route to fruit production, it allows you to witness one of nature’s most fascinating transformations. From a simple pit discarded after eating a cherry to a flourishing tree gracing your yard, the journey is deeply satisfying.
If you’re a beginner gardener, this project teaches you fundamental skills such as stratification, germination, transplanting, and tree care. If you’re an experienced gardener, it offers a chance to experiment and enjoy the challenge of nurturing life from seed.
So the next time you enjoy a sweet or tart cherry, don’t toss that pit—give it a second life. With a little patience and care, you could be planting the foundation of a beautiful cherry tree that future generations will appreciate.

Leave A Comment