
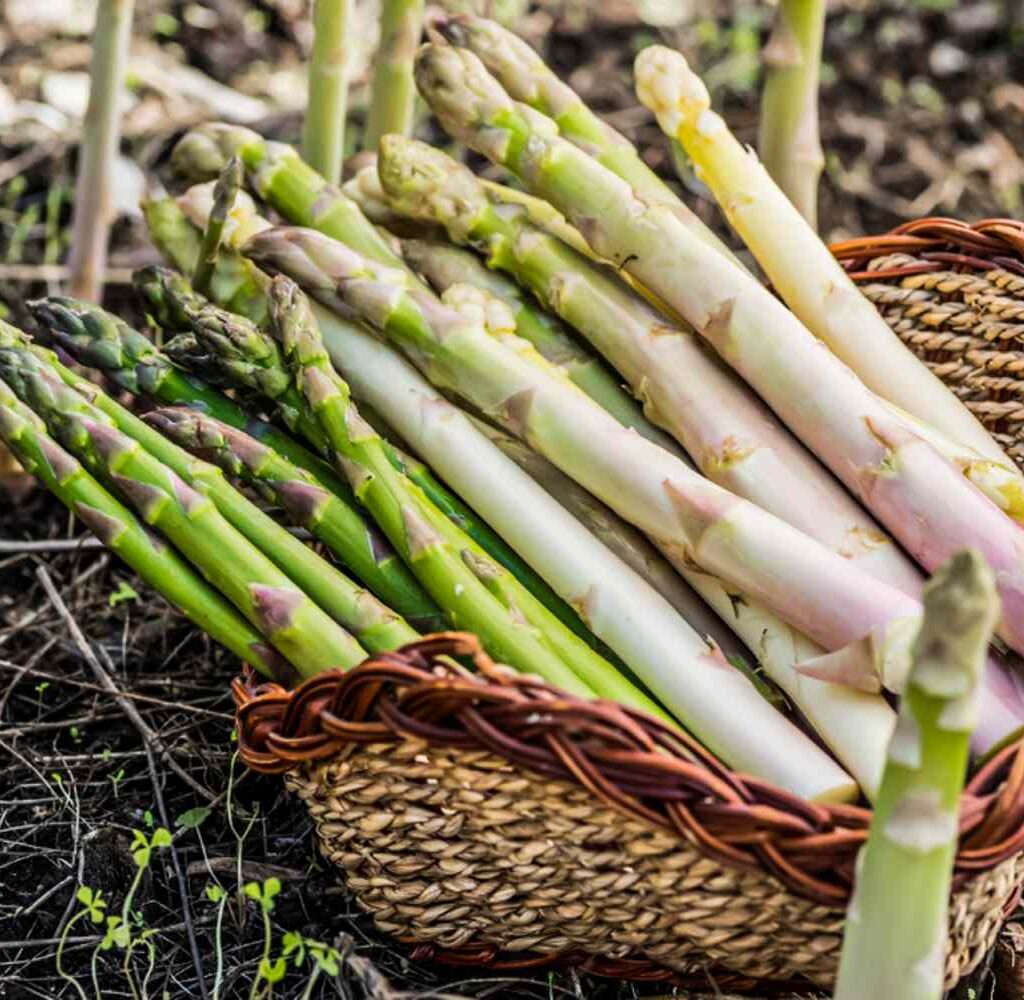
Asparagus (Asparagus officinalis) is one of the most rewarding perennial vegetables you can grow at home. Known for its tender, spear-like shoots that signal the arrival of spring, asparagus offers both a gourmet experience in the kitchen and a long-term investment in the garden. Once established, asparagus beds can provide harvests for 15–20 years with minimal maintenance, making them an invaluable addition to any home garden.
This guide will walk you step by step through everything you need to know about growing asparagus plants, from soil preparation to harvesting, ensuring you enjoy delicious, homegrown meals year after year.
Why Grow Asparagus?
Before diving into the cultivation process, it’s worth noting why asparagus is such a special crop:
- Longevity: Unlike many vegetables that need to be replanted annually, asparagus is perennial and comes back stronger each spring.
- Nutritional Value: Asparagus is rich in vitamins A, C, E, and K, along with folate, fiber, and antioxidants.
- Culinary Versatility: It can be grilled, roasted, steamed, or even eaten raw in salads.
- Early Harvest: Asparagus is one of the first crops ready to harvest in spring, giving you fresh food early in the season.
Choosing the Right Location

Asparagus is a hardy plant, but it thrives best under specific growing conditions. Since the bed will last for many years, careful site selection is critical.
- Sunlight: Choose a location that gets 6–8 hours of direct sunlight daily.
- Soil Type: Asparagus prefers well-draining sandy or loamy soil. Heavy clay soils should be amended with organic matter to improve drainage.
- Soil pH: Aim for a slightly acidic to neutral soil with a pH between 6.5 and 7.5.
- Space: Each asparagus crown (the root system) needs about 12–18 inches of spacing, and rows should be about 3 feet apart to allow for growth.
Preparing the Soil
Because asparagus plants stay in the same spot for years, preparing the soil beforehand is vital.
- Clear the Area: Remove weeds, grasses, and debris thoroughly. Weeds compete heavily with asparagus during establishment.
- Deep Cultivation: Dig the soil at least 12–18 inches deep to allow the roots to spread.
- Add Organic Matter: Mix in compost, aged manure, or peat moss to improve fertility and drainage.
- Fertilization: Add a balanced fertilizer (10-10-10 NPK) or slow-release organic fertilizer to enrich the bed.
Planting Asparagus
You can start asparagus either from seeds or crowns (1- or 2-year-old roots). While seeds are cheaper, crowns are more common and provide quicker harvests.
Planting Crowns (Preferred Method)
- Dig Trenches: Make trenches about 6–8 inches deep and 12 inches wide.
- Form Mounds: Create small mounds of soil at the bottom of the trench.
- Place Crowns: Spread roots over the mound, spacing crowns 12–18 inches apart.
- Cover with Soil: Initially cover with 2 inches of soil. As shoots emerge, gradually fill the trench until level with the ground.
Planting from Seed
- Start seeds indoors 8–10 weeks before the last frost.
- Transplant seedlings when they are 12 weeks old into prepared beds.
- Growing from seed delays harvesting by an additional year compared to crowns.
Watering and Fertilization
- Watering: Asparagus requires about 1–2 inches of water weekly during the growing season. Keep the soil moist but not waterlogged. Mulching helps retain soil moisture.
- Fertilizing:
- Early Spring: Apply a balanced fertilizer (10-10-10).
- After Harvest: Feed with a nitrogen-rich fertilizer to encourage strong root development.
- Organic gardeners can use fish emulsion, compost tea, or aged manure.
Mulching and Weed Control
Weeds are the biggest competitors for young asparagus plants. Mulching helps control weeds and conserve soil moisture.
- Use straw, shredded leaves, or compost as mulch.
- Keep mulch 2–3 inches thick around the plants, but not directly on the crown.
- Hand-pull weeds carefully; avoid hoeing deep as it can damage roots.
Common Pests and Diseases
Although asparagus is relatively pest-resistant, it can still be affected by some problems:
- Asparagus Beetle: Small beetles that feed on spears and ferns. Control with neem oil, hand-picking, or insecticidal soap.
- Cutworms: These can damage young shoots. Prevent with row covers or by hand removal.
- Fusarium Wilt: A soil-borne disease that causes yellowing and dieback. Prevent by rotating crops and planting disease-resistant crowns.
- Rust: Fungal disease causing reddish-brown spots on leaves. Improve air circulation and treat with organic fungicides.
Patience in Harvesting

One of the hardest parts of growing asparagus is waiting for the first harvest. Patience ensures stronger plants and better long-term yields.
- Year 1: No harvesting. Allow ferns to grow and strengthen the root system.
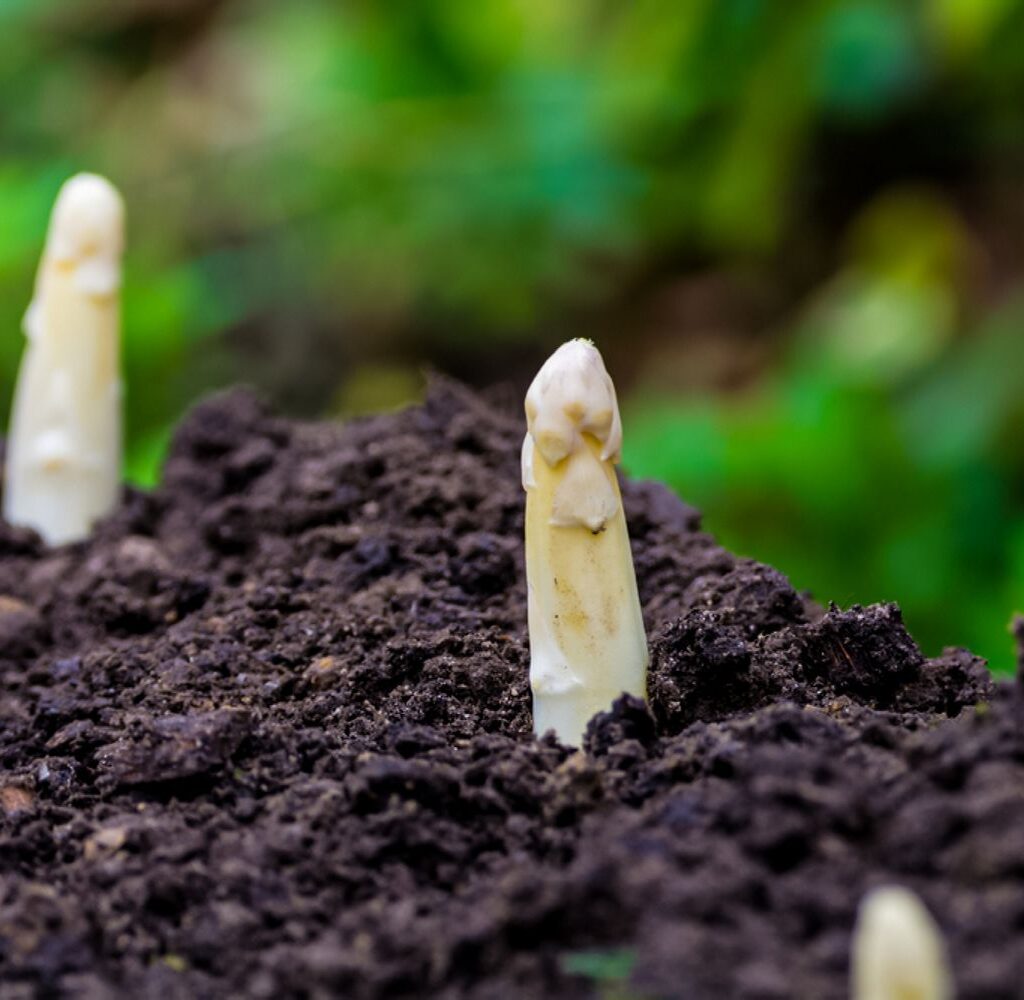
- Year 2: Harvest sparingly—only for 2–3 weeks. Pick spears when 6–8 inches tall.
- Year 3 Onwards: Full harvests are possible for 6–8 weeks each spring.
When harvesting, cut spears at ground level or snap them off gently. Stop harvesting once spears thin to less than a pencil’s width, allowing the plant to restore energy.
Maintaining the Asparagus Bed
After the harvest season ends:
- Allow ferns to grow fully. These fern-like leaves photosynthesize and store energy in the crowns for the next year.
- In late fall, after ferns have turned yellow or brown, cut them back to the ground.
- Mulch heavily for winter protection, especially in colder climates.
Companion Planting
Asparagus pairs well with certain plants that deter pests and improve soil quality.

- Good Companions: Tomatoes, basil, parsley, and marigolds.
- Bad Companions: Garlic, onions, and potatoes, as they may inhibit asparagus growth.
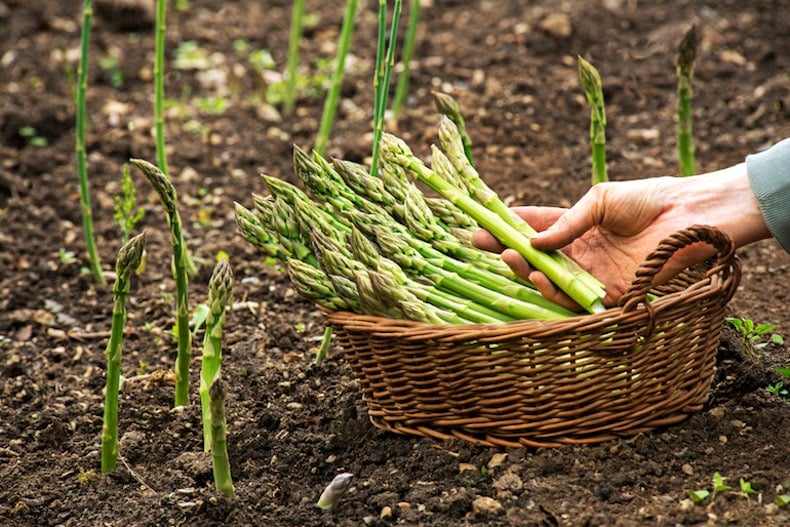
Harvesting and Cooking Asparagus
When harvest time finally arrives, the reward is worth the wait. Asparagus spears are sweetest when freshly cut.
- Storage: Keep harvested asparagus in the refrigerator, standing upright in a jar with water at the base, or wrapped in a damp cloth. Consume within 3–4 days for maximum freshness.
- Cooking: Roast, steam, grill, or sauté spears with olive oil, butter, or lemon. Their delicate flavor complements everything from pasta dishes to soups and omelets.
Conclusion
Growing asparagus requires patience, but it is an incredibly rewarding experience for gardeners who want a sustainable and delicious vegetable in their yard. By preparing the soil properly, planting crowns, managing weeds, and waiting patiently for full harvests, you can enjoy homegrown asparagus for decades.
As one of the earliest spring vegetables, asparagus not only nourishes the body with essential nutrients but also adds a gourmet touch to meals. If you invest the time and care in establishing a bed, you’ll reap the rewards of fresh, tender spears for many seasons to come.
Leave A Comment