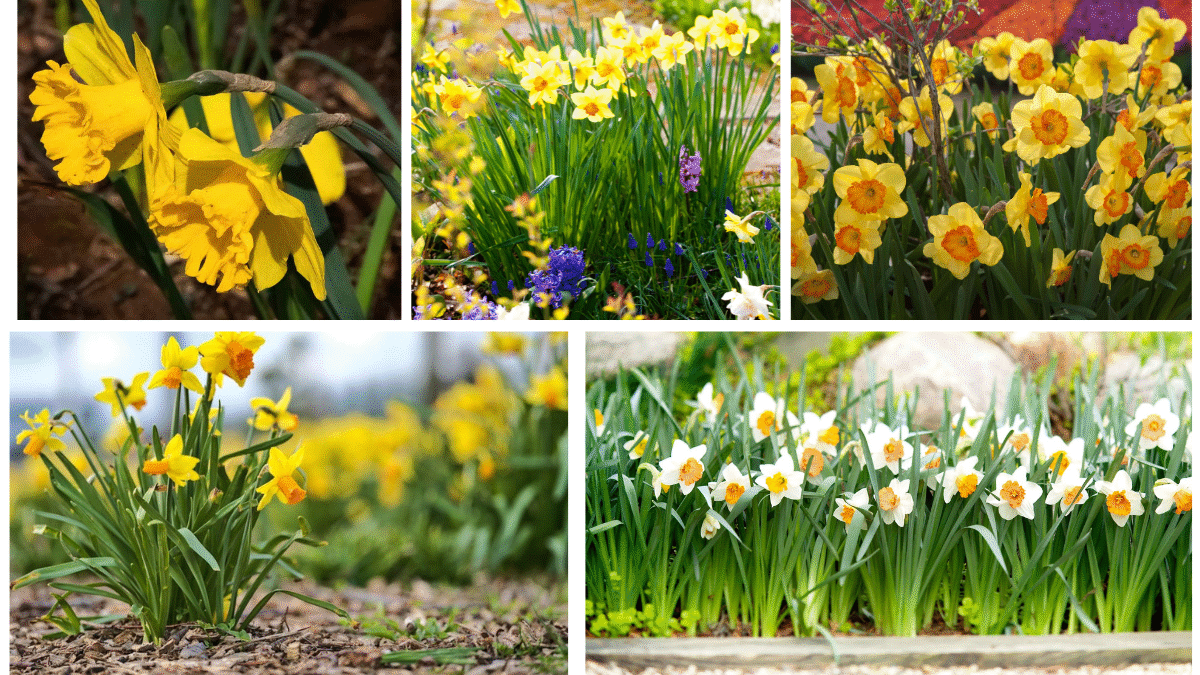
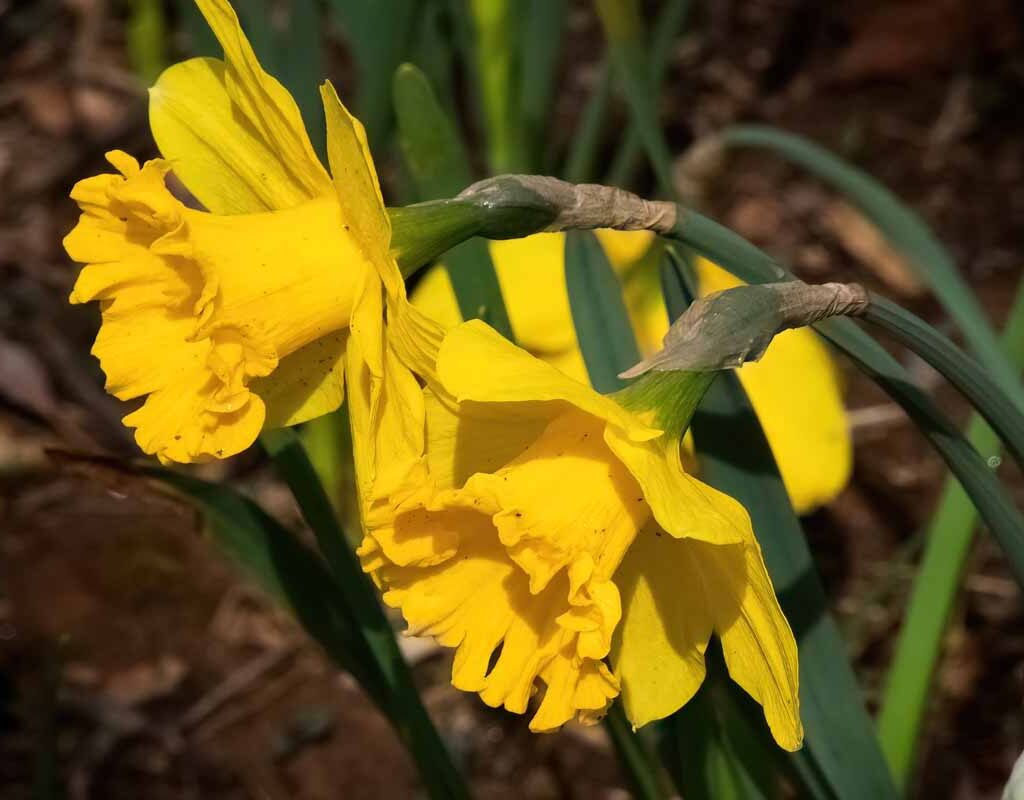
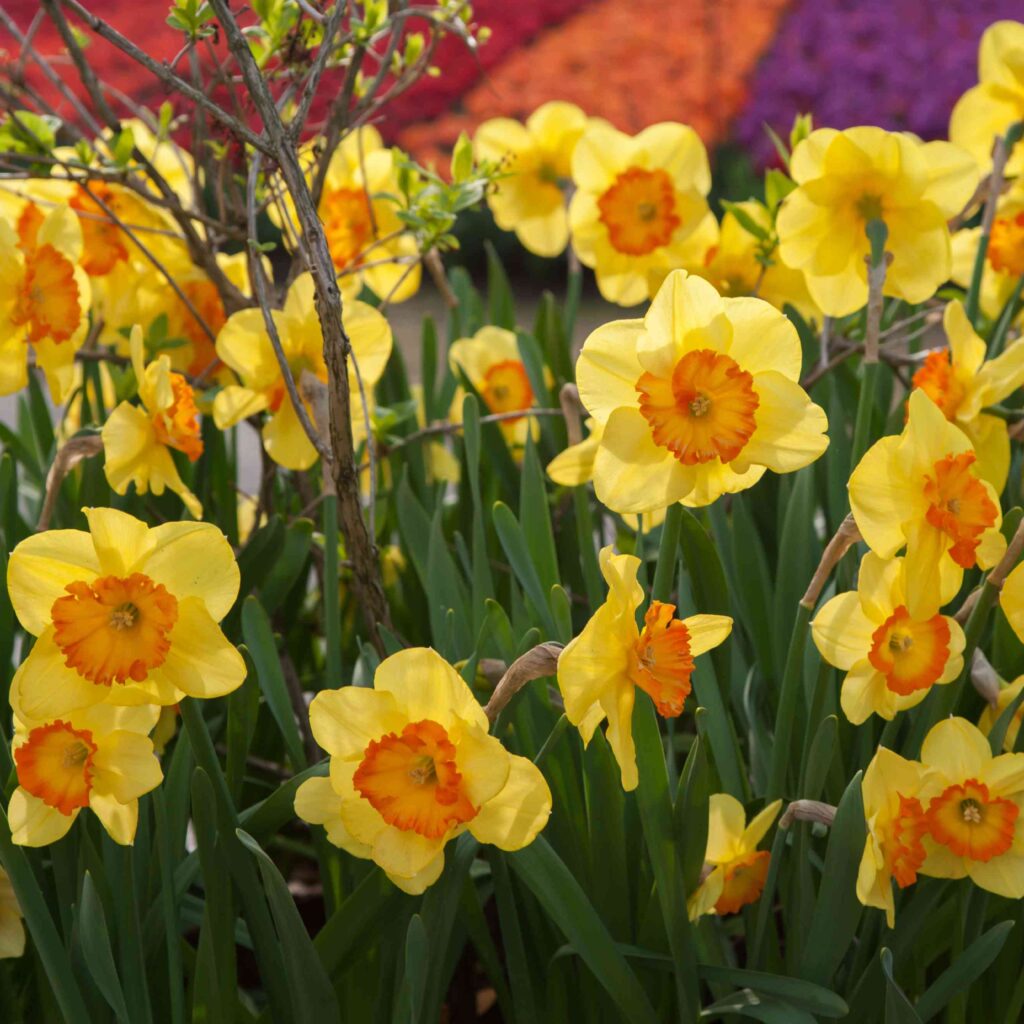
Daffodils are among the most cheerful and iconic spring flowers, known for their golden-yellow, trumpet-like blooms that brighten gardens after the long winter months. These resilient, easy-to-grow perennials symbolize renewal and new beginnings, making them a favorite among home gardeners and landscape designers. Growing daffodils from bulbs is a rewarding and straightforward process that, once done right, ensures beautiful blooms year after year.
This step-by-step guide will walk you through everything you need to know about growing daffodils—from choosing bulbs to planting, caring, and ensuring long-lasting displays of spring beauty.
Why Choose Daffodils?
Before diving into the details of planting and care, let’s understand why daffodils are so popular:
- Low Maintenance: Daffodils require minimal care once established.
- Cold-Hardy: They thrive in temperate climates and even bloom reliably after harsh winters.
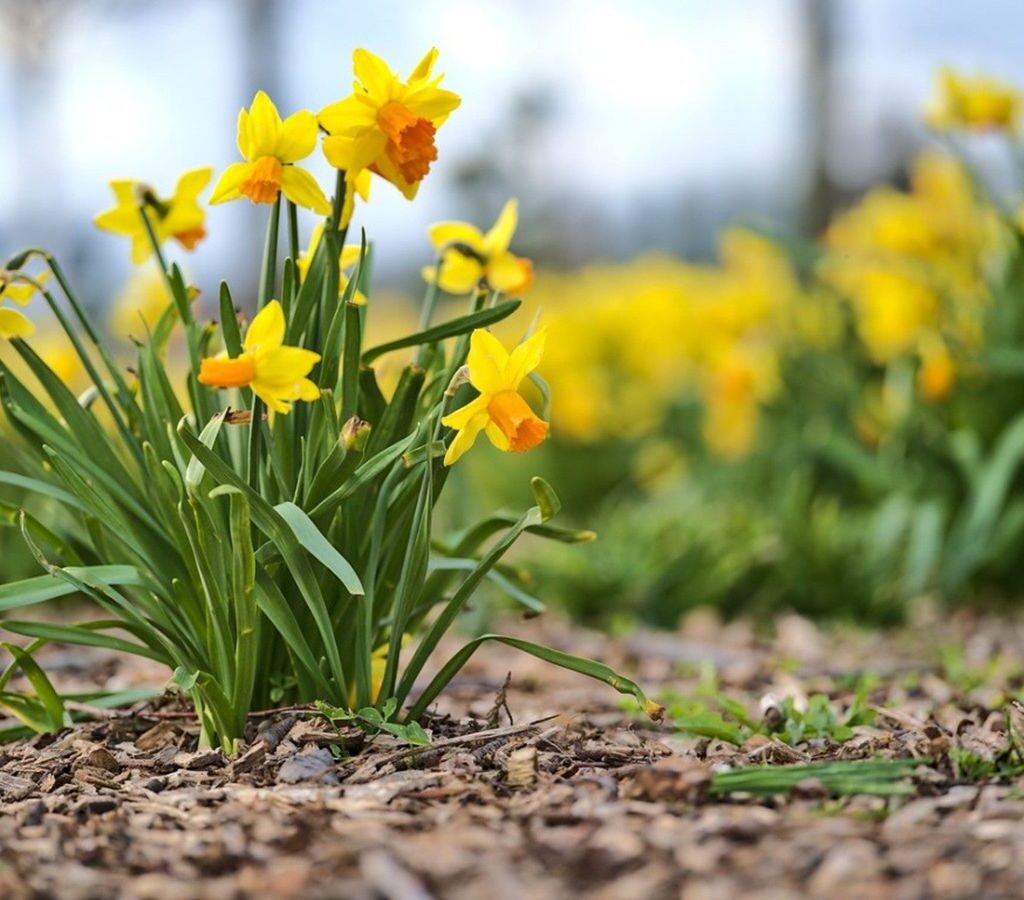
- Naturalizing Ability: Daffodils multiply naturally, creating larger clusters over time.
- Versatile Planting Options: They can be planted in garden beds, containers, under trees, or along pathways.
- Deer and Rodent Resistant: Unlike tulips and crocuses, daffodils are rarely damaged by hungry critters.
These features make daffodils an excellent choice for both beginners and experienced gardeners.
Step 1: Choosing the Right Daffodil Bulbs
The success of your daffodils largely depends on the quality of the bulbs you choose.

- Size Matters: Bigger bulbs produce stronger stems and larger flowers.
- Firmness: Select bulbs that are firm to the touch without soft spots or mold.
- Varieties: There are many daffodil types, including trumpet daffodils, large-cupped, small-cupped, and doubles. Choose varieties based on your garden design and bloom time preferences.
For continuous blooms, plant a mix of early-, mid-, and late-season varieties.
Step 2: When to Plant Daffodil Bulbs
Timing is crucial for planting daffodils.
- Best Season: Plant daffodil bulbs in the fall (September–November), about 2–4 weeks before the ground freezes.
- Spring Planting?: While fall is ideal, you can plant pre-chilled bulbs in early spring. However, the first year’s blooms may be smaller.
Planting in fall allows bulbs to develop roots before winter dormancy, ensuring healthy spring flowers.
Step 3: Where to Plant Daffodils
Daffodils adapt well to many garden spots but perform best in:
- Full Sun to Partial Shade: Aim for at least 6 hours of sunlight daily.
- Well-Drained Soil: Avoid soggy areas, as bulbs may rot.
- Garden Beds, Borders, or Containers: They thrive in all these settings, adding bursts of color wherever planted.
Pro tip: Avoid planting daffodils in overly rich soil, which encourages excessive leaf growth at the expense of flowers.
Step 4: How to Plant Daffodil Bulbs
Follow this step-by-step method for successful planting:
- Prepare the Soil: Loosen the soil and add compost or well-rotted manure for nutrients.
- Digging Depth: Plant bulbs at a depth of 6–8 inches (about three times the bulb’s height).
- Spacing: Place bulbs 4–6 inches apart. Plant in clusters or drifts for a natural look.
- Positioning: Place the pointed end of the bulb facing upward.
- Cover and Water: Fill the hole with soil, gently firm it down, and water thoroughly.
For container planting, use a well-draining potting mix and ensure the container has proper drainage holes.
Step 5: Caring for Daffodils After Planting

Daffodils are hardy, but a little care ensures they return strong each year.
- Watering: After planting, water well. During active growth in spring, keep soil moist but not soggy. Reduce watering after blooming.
- Fertilizing: Apply a balanced bulb fertilizer (like 10-10-10) in early spring when shoots appear. Reapply after flowering to replenish nutrients for the next season.
- Mulching: Add mulch to conserve moisture and protect bulbs in colder climates.
- Deadheading: Remove spent flowers to prevent seed formation, which diverts energy away from the bulbs.
- Leave the Leaves: Do not cut back leaves immediately after blooming. Allow foliage to yellow and die back naturally, as it photosynthesizes and stores energy for the next year’s blooms.
Step 6: Propagating and Dividing Daffodils
Over time, daffodil clumps can become crowded, leading to fewer blooms. To keep them thriving:
- Wait Until Dormancy: Divide bulbs after the foliage has yellowed and withered (late spring or early summer).
- Lift Carefully: Use a garden fork to gently lift bulbs.
- Separate Offsets: Divide smaller bulbs (called offsets) from the parent bulb.
- Replant Immediately: Replant bulbs in fresh soil or store them in a cool, dry place until fall.
This rejuvenates the plants and ensures abundant flowering in subsequent years.
Step 7: Protecting Daffodils from Pests and Problems
Daffodils are generally pest-resistant, but some issues may arise:
- Bulb Rot: Caused by waterlogged soil. Avoid overwatering and ensure good drainage.
- Slugs and Snails: May nibble on young shoots. Use barriers or organic slug control methods.
- Fungal Diseases: Rare but possible in overly damp conditions. Planting in well-aerated soil helps prevent this.
Fortunately, deer, squirrels, and rabbits usually avoid daffodils due to their toxic alkaloids.
Step 8: Extending Bloom Displays
To keep your garden blooming longer:
- Plant early-, mid-, and late-season daffodil varieties.
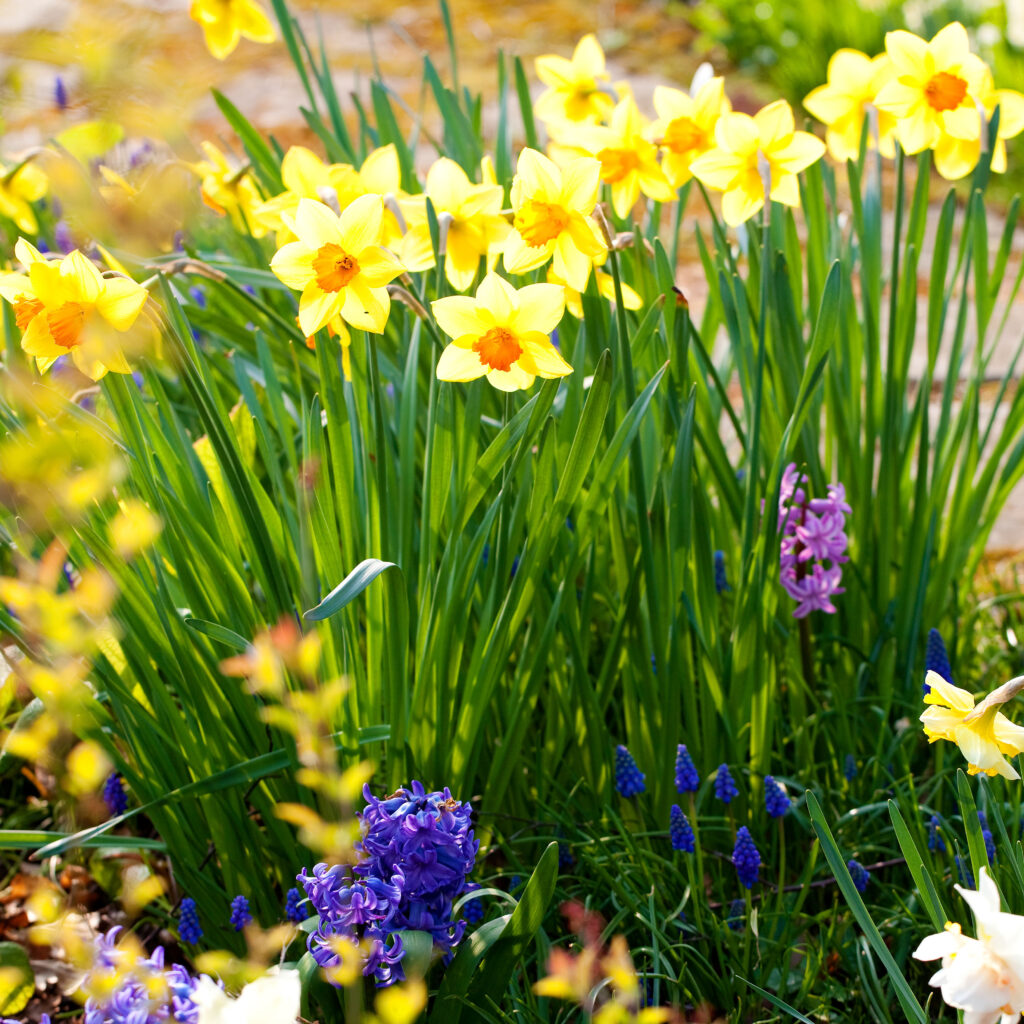
- Combine daffodils with other spring bulbs like tulips, hyacinths, and crocuses.
- Plant in layers (“lasagna planting”), with daffodils deeper and smaller bulbs like crocuses above them.
This strategy creates a continuous wave of color from early to late spring.
Step 9: Using Daffodils in Garden Design
Daffodils are versatile and can be incorporated in many ways:
- Borders and Pathways: Line garden edges for a cheerful spring display.
- Naturalized Lawns or Meadows: Scatter bulbs randomly for a wild, natural look.
- Companion Planting: Pair with perennials like daylilies, hostas, or ornamental grasses. These plants hide daffodil foliage as it dies back.
- Containers: Use daffodils in pots to brighten patios and balconies.
Their bright blooms easily complement other garden features, adding charm and warmth.
Step 10: Enjoying Cut Daffodils Indoors
Daffodils also make excellent cut flowers. To use them indoors:
- Cut stems when buds are just beginning to open.
- Place them in a vase with fresh water.
- Avoid mixing with other flowers initially, as daffodils release a sap that can shorten the life of other blooms.
For arrangements, let daffodils sit in their own vase for 24 hours before combining with other flowers.
Conclusion
Growing daffodils from bulbs is one of the simplest yet most rewarding gardening tasks. With proper planting, care, and occasional dividing, these perennials return year after year, brightening gardens with vibrant, trumpet-shaped blooms. Their resilience, low maintenance needs, and ability to naturalize make them ideal for both novice and seasoned gardeners.
By following this guide—from bulb selection to post-bloom care—you’ll be able to enjoy a stunning spring garden filled with golden daffodils, a timeless symbol of renewal and joy.
So, get your bulbs ready this fall, and by spring, you’ll be rewarded with a dazzling display of daffodils that will make your garden come alive with color and charm.
Leave A Comment