Tomatoes are one of the most popular and rewarding plants to grow in home gardens. Whether you’re a beginner or an experienced gardener, starting with healthy seedlings is one of the best ways to ensure a bountiful harvest. Unlike sowing from seeds, seedlings give you a head start, saving weeks of waiting time and reducing the chances of failure. However, successfully growing tomatoes from seedlings requires proper techniques and consistent care.
This detailed guide will walk you through everything you need to know—from choosing seedlings to transplanting, nurturing, and harvesting—so that your tomato plants thrive and reward you with delicious fruits.
Why Start with Seedlings?
Starting from seedlings instead of seeds offers several advantages:
- Time-saving: You skip the germination stage and jump directly into growing.
- Higher success rate: Seedlings are already established and stronger than fragile seeds.
- Earlier harvest: Since seedlings are several weeks old, you’ll enjoy ripe tomatoes sooner.
- Easier for beginners: New gardeners find seedlings less intimidating to handle than seeds.
By choosing healthy seedlings, you set the foundation for a productive tomato season.

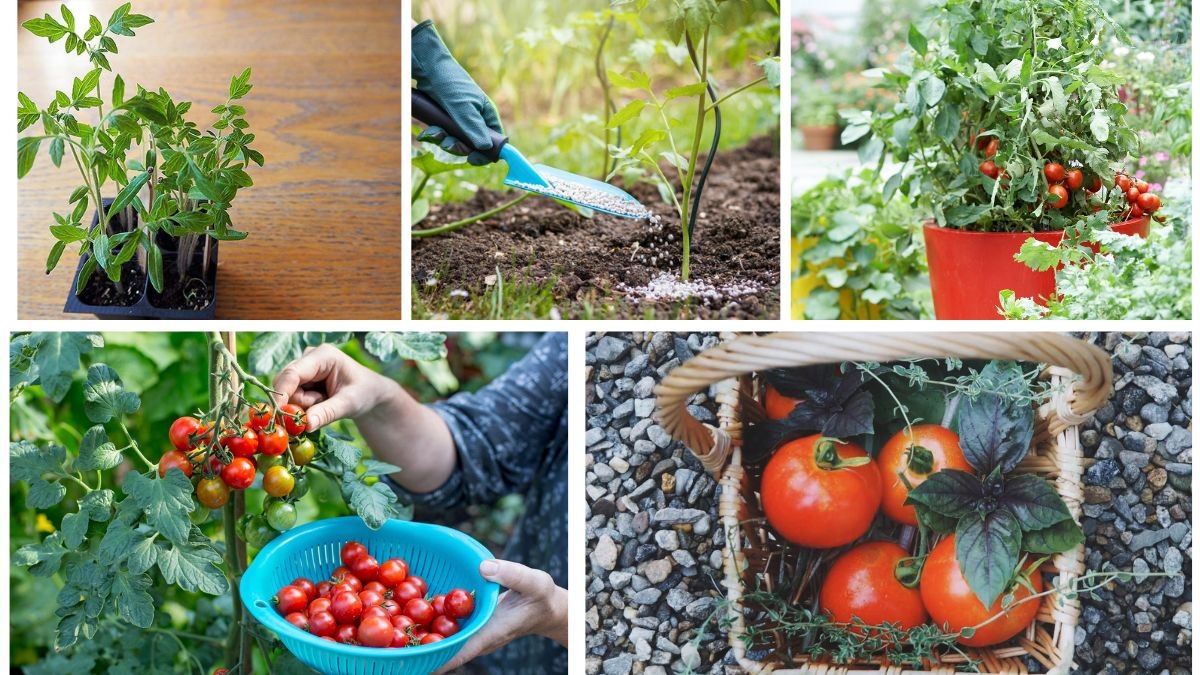
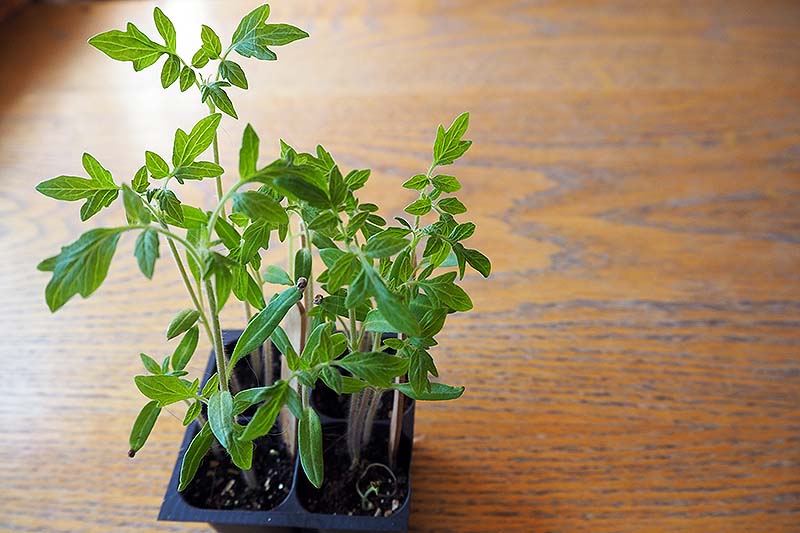
Step 1: Choosing Healthy Tomato Seedlings
The first step in your tomato-growing journey is selecting the right seedlings. When buying from a nursery or garden center, look for these qualities:
- Strong Stems – The seedling should have a thick, sturdy stem rather than a thin, weak one.
- Bright Green Leaves – Avoid plants with yellow, spotted, or wilted leaves.
- Compact Growth – Seedlings should be about 6–10 inches tall, not lanky or stretched.
- No Flowers or Fruits Yet – Seedlings that already have flowers or tiny fruits may be stressed and won’t transplant well.
- Healthy Roots – If possible, check that the roots are white and fibrous, not brown or rotting.
Pro tip: Choose disease-resistant tomato varieties suitable for your region. Labels usually indicate whether they resist common diseases like blight or wilt.
Step 2: Preparing the Soil and Location
Tomatoes are sun-loving plants and need at least 6–8 hours of direct sunlight daily. Select a bright location in your garden or balcony containers.
Soil Requirements
- Well-draining soil: Tomatoes hate waterlogged roots.
- Nutrient-rich: Mix in compost, aged manure, or organic fertilizer before planting.
- pH balance: Tomatoes prefer slightly acidic soil with a pH of 6.0–6.8.
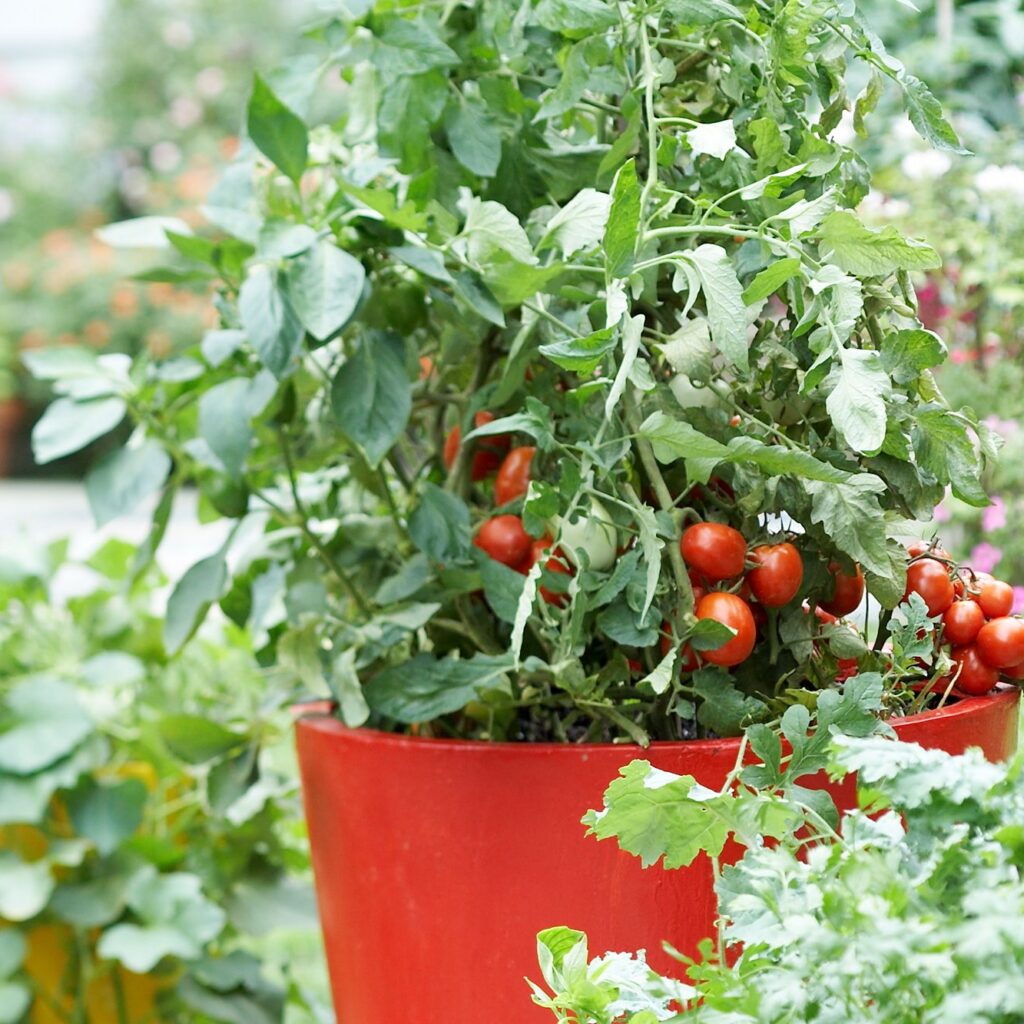
If planting in containers, choose a pot that is at least 18–24 inches deep to allow roots to spread. Use high-quality potting mix instead of plain garden soil, as it holds moisture better while providing nutrients.
Step 3: Transplanting Tomato Seedlings
Proper transplanting ensures your seedlings adapt quickly and grow strong.
- Harden Off the Seedlings
- Before planting outdoors, gradually expose seedlings to outdoor conditions for 7–10 days. Start with a few hours of sunlight and slowly increase the duration. This prevents shock.
- Digging Holes
- Dig deep holes, about 6–8 inches, because tomato seedlings can develop roots along their buried stems. Planting deep encourages a stronger root system.
- Remove Lower Leaves
- Pinch off the bottom leaves of the seedling, leaving only the top cluster. This reduces disease risk and promotes deeper rooting.
- Plant at an Angle (Optional)
- If the seedling is tall and leggy, lay it sideways in the hole and cover the stem with soil. The buried stem will sprout roots and strengthen the plant.
- Water Immediately
- After transplanting, water thoroughly to settle the soil around the roots.
Step 4: Watering the Right Way
Tomatoes need consistent moisture, but overwatering is just as harmful as underwatering.
- Deep Watering: Water deeply at the base so roots grow downwards. Shallow watering leads to weak root systems.
- Frequency: About 2–3 times per week, depending on weather and soil type. During hot summers, you may need daily watering.
- Avoid Wetting Leaves: Always water the soil, not the leaves, to prevent fungal diseases.
- Mulching: Apply a layer of straw, dried leaves, or wood chips around the base to conserve moisture and regulate soil temperature.
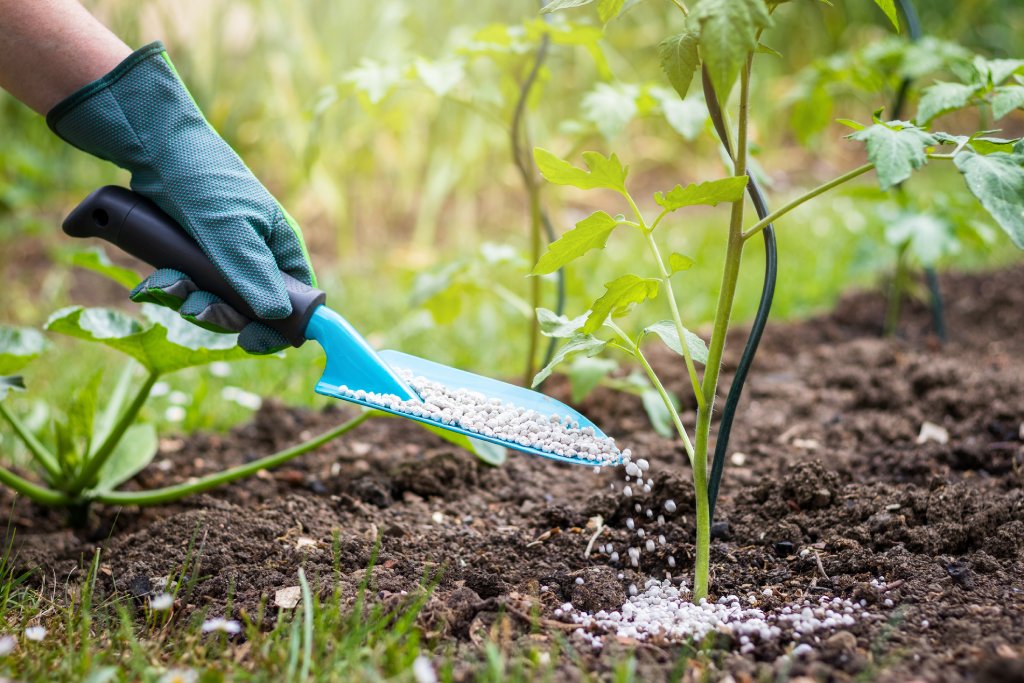
Step 5: Feeding and Fertilizing
Tomatoes are heavy feeders and need regular nutrition.
- Before Planting: Mix compost or slow-release fertilizer into the soil.
- During Growth: Feed every 2–3 weeks with a balanced liquid fertilizer or organic options like compost tea or fish emulsion.
- When Flowering Begins: Switch to a fertilizer higher in phosphorus and potassium (like a 5-10-10 ratio) to encourage blooms and fruiting.
Pro tip: Avoid excess nitrogen, as it encourages leafy growth but delays fruiting.

Step 6: Staking and Supporting Plants
As tomato plants grow taller, they need support to prevent stems from breaking and fruits from touching the ground.
- Stakes: Drive wooden or metal stakes into the ground and tie plants loosely with soft twine.
- Cages: Wire tomato cages provide 360° support and are great for beginner gardeners.
- Trellis Systems: Ideal for indeterminate (vining) varieties, which can grow 6–10 feet tall.
Supporting plants improves air circulation, reduces disease, and makes harvesting easier.
Step 7: Pruning for Healthy Growth
Pruning helps control growth and improves fruit quality.
- Remove Suckers: These are small shoots that grow between the main stem and leaf branches. Pinching them off directs energy to fruit production.
- Trim Bottom Leaves: Keep the lower 12 inches of the stem leaf-free to prevent soil-borne diseases from splashing onto leaves.
- Don’t Over-Prune: Leaves provide energy through photosynthesis. Keep enough foliage to protect fruits from sunscald.
Step 8: Preventing Common Tomato Problems
Tomatoes are prone to pests and diseases, but proactive care can minimize issues.

Common Pests
- Aphids & Whiteflies: Spray with neem oil or soapy water.
- Tomato Hornworms: Handpick or introduce natural predators like ladybugs.
Common Diseases
- Blight: Avoid overhead watering, ensure good spacing, and use resistant varieties.
- Blossom End Rot: Caused by calcium deficiency and inconsistent watering. Add crushed eggshells or lime to soil.
Regularly inspect your plants to catch problems early.
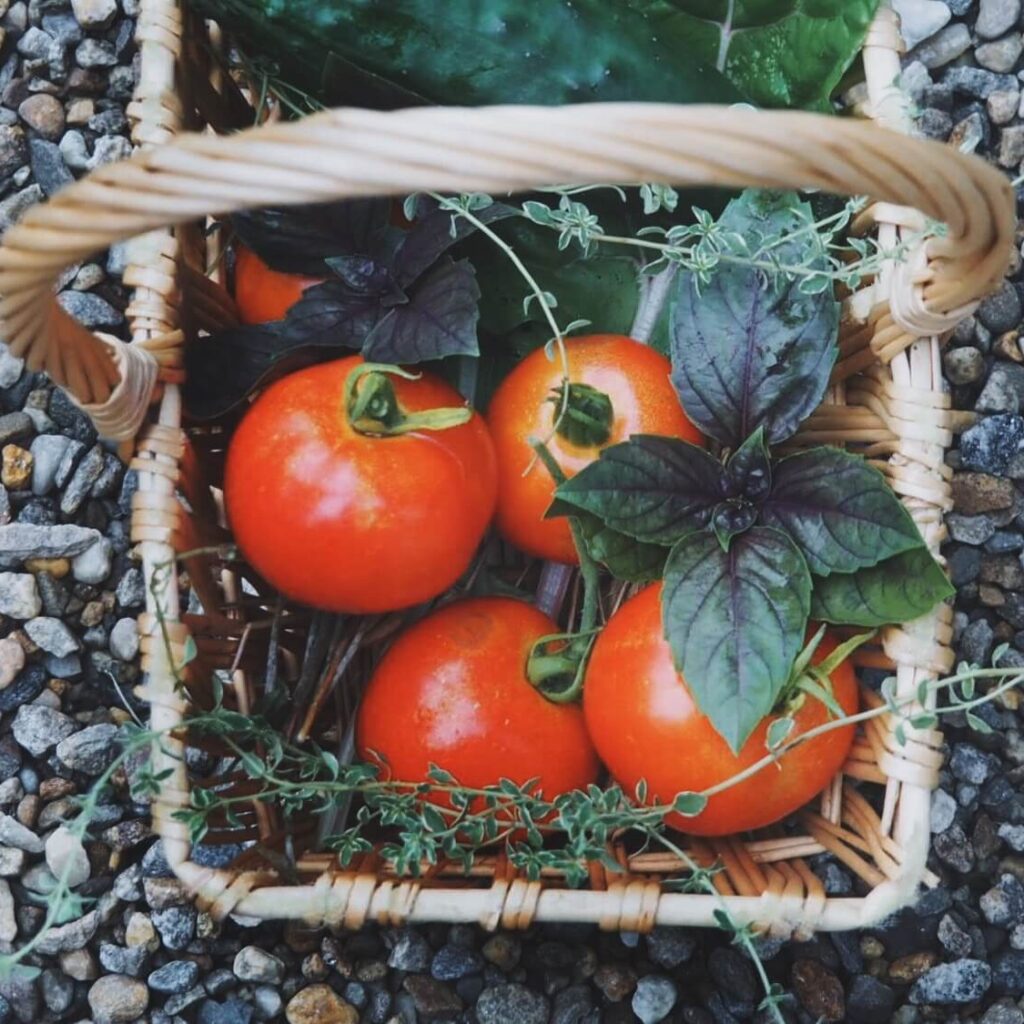
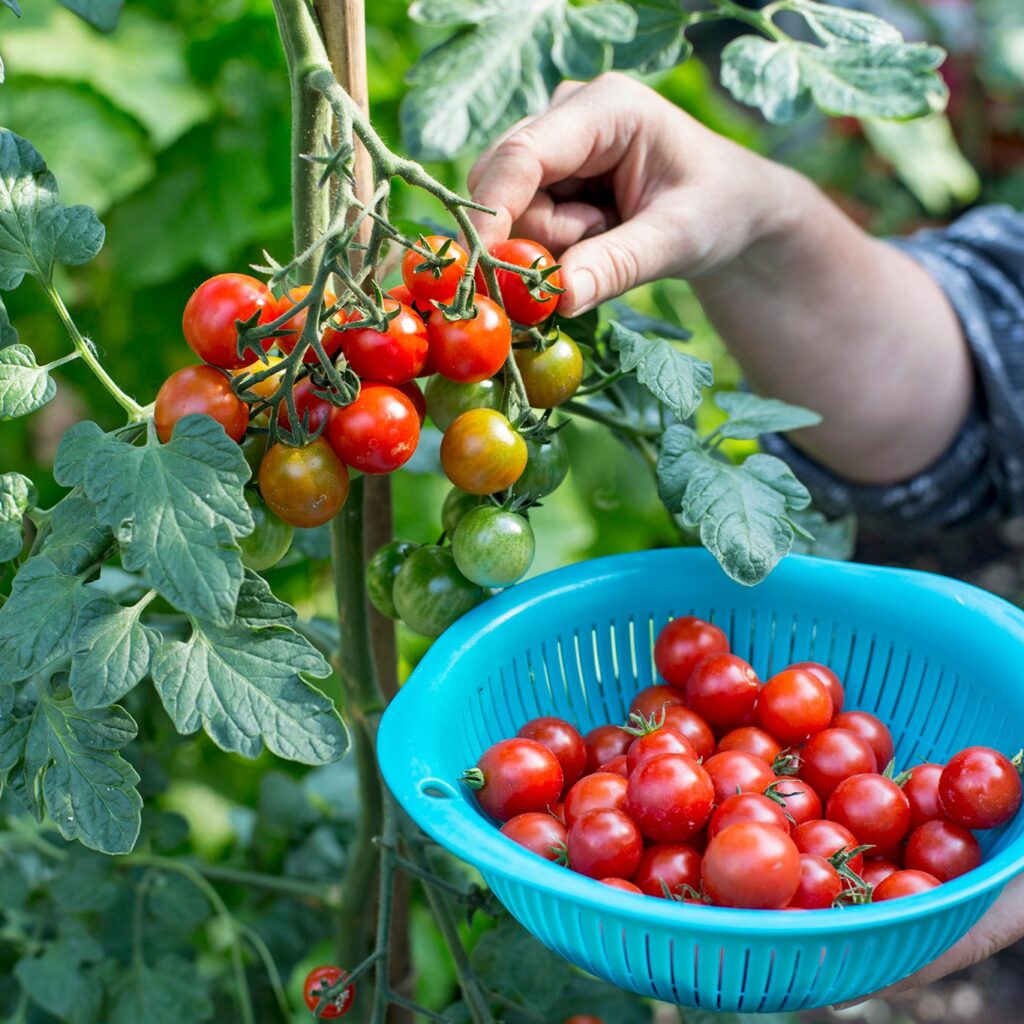
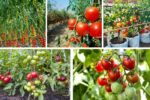
Step 9: Harvesting Tomatoes
Tomatoes are usually ready for harvest 60–85 days after transplanting seedlings, depending on the variety.
- Signs of Ripeness: Bright color (red, yellow, or purple depending on variety), firm but slightly soft to touch.
- Pick Regularly: Frequent harvesting encourages more fruit production.
- Handle Gently: Twist fruits off gently to avoid damaging stems.
If frost is expected and fruits are still green, you can pick them and let them ripen indoors.
Step 10: Extending the Harvest
To enjoy tomatoes longer:
- Succession Planting: Plant new seedlings every 3–4 weeks during the season.
- Container Growing: Use pots to move plants indoors when weather cools.
- Preservation: Freeze, dry, or can tomatoes for year-round use.
Final Thoughts
Growing tomatoes from seedlings is a rewarding gardening experience that brings fresh, flavorful fruits to your table. The key is starting with strong seedlings, transplanting correctly, and providing consistent care through watering, feeding, and pruning. With patience and proper attention, your plants will reward you with juicy tomatoes all season long.
Whether you’re cultivating them in a backyard garden or on a sunny balcony, tomatoes thrive when given the right conditions. Follow this guide step by step, and you’ll not only succeed in growing healthy tomato plants but also enjoy the satisfaction of harvesting your own homegrown produce.
Leave A Comment