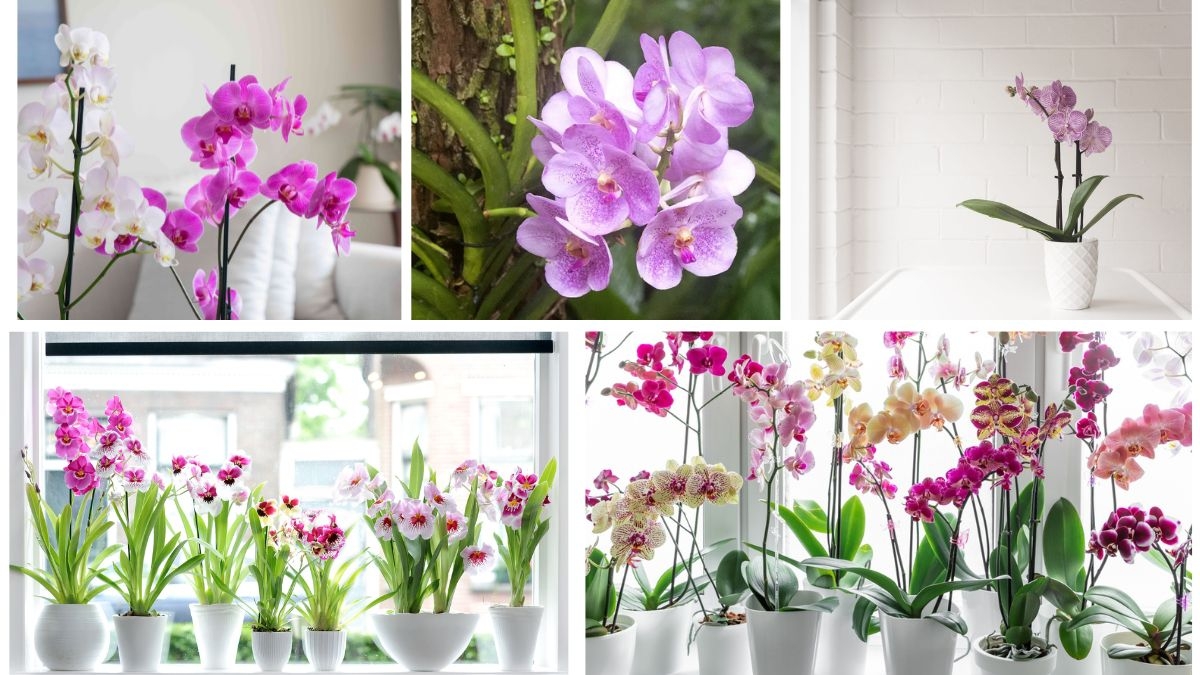
Orchids are among the most stunning flowering plants in the world, admired for their exotic beauty, long-lasting blooms, and wide variety of colors and forms. While they may seem intimidating to grow, orchids can thrive indoors or in the garden when given the right care and environment. Learning how to plant orchids correctly is the first step toward ensuring vibrant, healthy flowers that last for weeks or even months. This guide will walk you through everything you need to know about planting orchids—from choosing the right variety to providing ideal conditions and maintaining long-lasting blooms.
Understanding Orchids: A Quick Introduction
The orchid family (Orchidaceae) is one of the largest plant families, with over 25,000 species and countless hybrids. While they vary widely in size, shape, and growing requirements, most orchids share some common features:
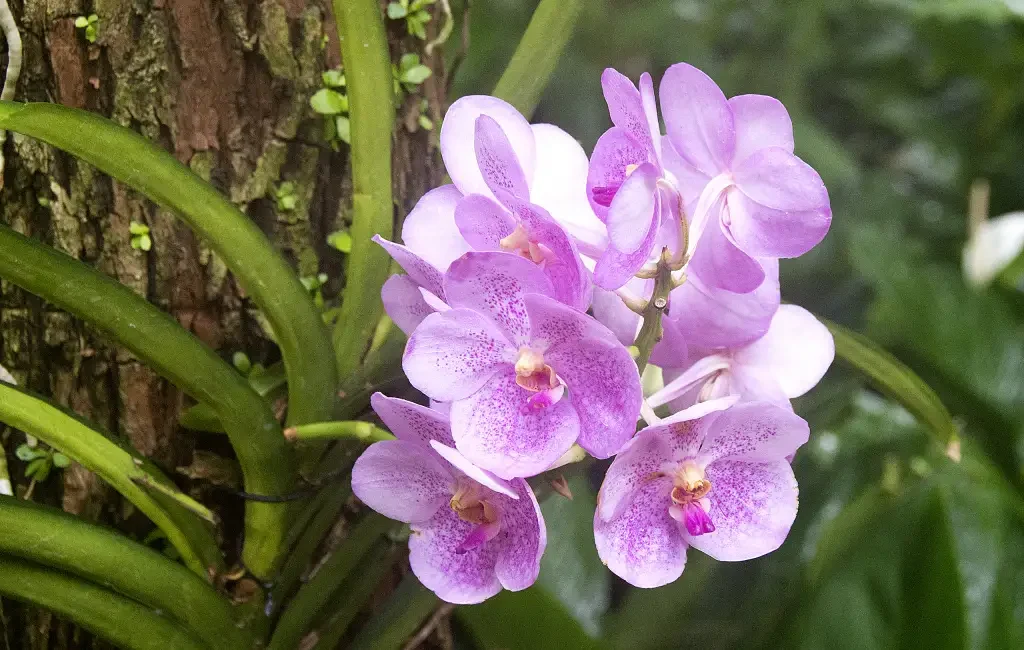
- Epiphytic nature: Many orchids grow on trees in their natural habitat, using their roots to cling to bark while absorbing water and nutrients from rain and air.
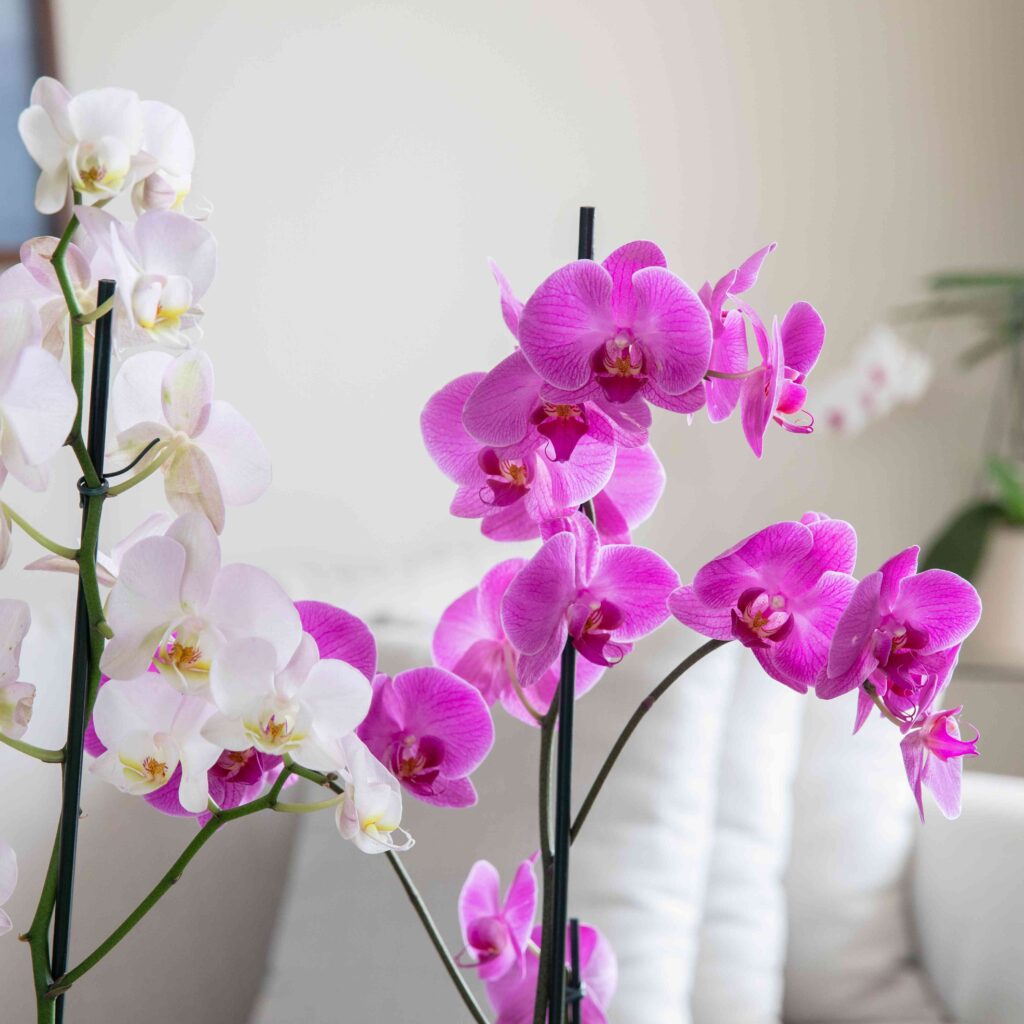
- Long-lasting blooms: Orchid flowers are known for their ability to stay vibrant for several weeks, making them a favorite for indoor decoration.
- Special root systems: Orchid roots are covered with a spongy tissue called velamen, which absorbs moisture efficiently.
Popular beginner-friendly orchids include:

- Phalaenopsis (Moth Orchid) – Easy to care for, with blooms that last months.
- Dendrobium – Tall, cane-like orchids that produce clusters of flowers.
- Cattleya – Known as the “Queen of Orchids” with large, fragrant blooms.
- Oncidium – Called “dancing lady orchids” because of their frilly, bright yellow flowers.
Step 1: Choosing the Right Orchid
Before planting, select an orchid variety suited to your environment and skill level.
- Beginners: Start with Phalaenopsis or Dendrobium since they adapt well to indoor conditions.
- For fragrance lovers: Try Cattleya orchids, which are prized for their sweet aroma.
- For cooler climates: Cymbidium orchids tolerate lower temperatures and are ideal for outdoor planting in mild regions.
Check the orchid’s specific light, temperature, and watering needs before purchasing to ensure it will thrive in your space.
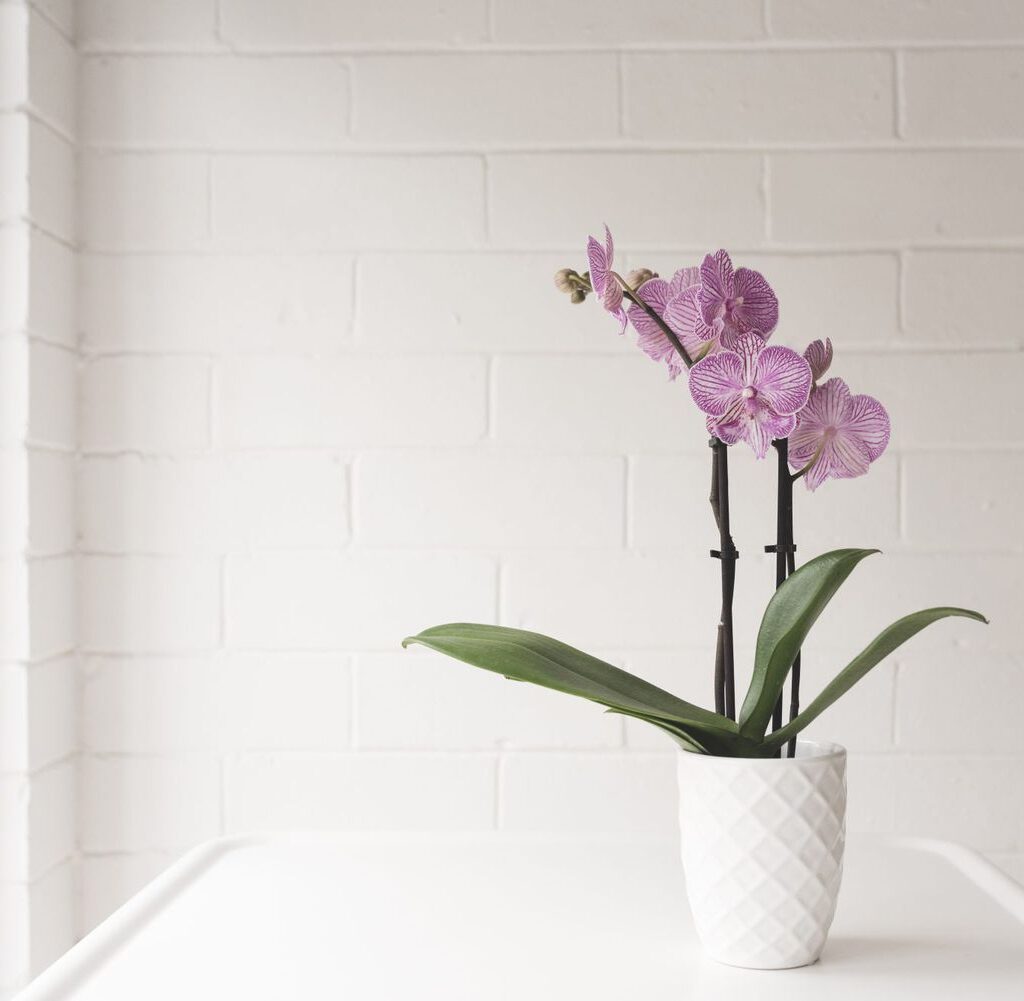
Step 2: Selecting the Right Container
Unlike traditional plants, orchids do not grow well in regular garden soil. They require containers and potting mediums that mimic their natural epiphytic conditions.

- Clear plastic pots: Popular for beginners because they allow you to monitor root health and moisture levels.
- Clay pots with holes: Provide better airflow to roots, reducing the risk of rot.
- Hanging baskets: Great for Vanda orchids, which grow with exposed roots.
Make sure the container has multiple drainage holes to prevent waterlogging, as orchids dislike standing water.
Step 3: Choosing the Right Potting Medium
The right growing medium is critical for healthy orchids. Since they don’t grow in soil, you’ll need specialized orchid potting mixes. Common options include:
- Bark chips: Provide excellent aeration; best for orchids like Phalaenopsis.
- Sphagnum moss: Retains more moisture; ideal for orchids in drier climates.
- Coconut husk chips: Long-lasting, sustainable alternative to bark.
- Perlite or charcoal: Often added to improve drainage and prevent root rot.
Choose a medium that balances moisture retention with good airflow, depending on your orchid’s needs and your home environment.

Step 4: Planting Your Orchid
Here’s a step-by-step method to pot your orchid properly:
- Prepare the pot – Ensure it is clean and has drainage holes.
- Soak the medium – Pre-soak bark or moss in water for 15–30 minutes so it doesn’t dry out roots.
- Remove old potting medium – Gently take the orchid out of its nursery pot, removing old bark and trimming dead roots.
- Position the orchid – Place the orchid in the center of the pot, spreading roots evenly.
- Add fresh medium – Fill around the roots with bark or moss, gently pressing to secure the plant but leaving room for airflow.
- Water lightly – Water the orchid just enough to settle the medium, avoiding overwatering.
Step 5: Providing the Right Growing Conditions
Orchids thrive best when given conditions close to their natural habitat.
Light
- Orchids need bright, indirect light.
- East- or south-facing windows are ideal.
- Too much direct sun may scorch leaves, while too little light prevents blooming.
Temperature
- Most orchids prefer 65–75°F (18–24°C) during the day and slightly cooler nights.
- Keep away from cold drafts or heating vents.
Humidity
- Orchids thrive in 50–70% humidity.
- Use a humidity tray, mist the leaves, or use a humidifier indoors.
Air Circulation
- Gentle airflow prevents fungal infections.
- Place a small fan nearby if your room feels stagnant.
Step 6: Watering and Feeding Orchids
Watering
- Water once a week during active growth and less during winter dormancy.
- Use the “soak and dry” method: water thoroughly, then let the medium dry before watering again.
- Always use room-temperature, chlorine-free water.
Feeding
- Orchids benefit from regular feeding with a balanced orchid fertilizer (20-20-20).
- Feed every two weeks during growth and monthly during dormancy.
- Always dilute fertilizer to half strength to avoid root burn.
Step 7: Encouraging Vibrant and Long-Lasting Blooms
Getting orchids to bloom—and rebloom—is the ultimate goal. Here are some tips:

- Meet light requirements – Flowers won’t appear if the orchid isn’t receiving enough light.
- Allow temperature fluctuations – A 10°F drop between day and night can trigger blooming.
- Do not cut healthy flower spikes – In Phalaenopsis orchids, keep the spike after blooms fall; it may produce secondary blooms.
- Repot every 1–2 years – Fresh medium ensures healthy roots and better flowering.
- Patience is key – Some orchids may only bloom once a year, but the display is worth the wait.
Step 8: Common Orchid Problems and Solutions
- Yellow leaves → Usually caused by overwatering or too much sun.
- No flowers → Insufficient light or lack of temperature drop.
- Mushy roots → Root rot from poor drainage. Repot with fresh medium.
- Wrinkled leaves → Dehydration from underwatering or damaged roots.
Regularly inspect your orchid for pests such as spider mites, aphids, or scale insects. Treat with neem oil or insecticidal soap if necessary.
Step 9: Orchid Maintenance After Blooming
When flowers fade, many beginners panic. Instead, this is the time to focus on plant health:
- Cut the flower spike down to the base (except for Phalaenopsis, which may rebloom on the same spike).
- Continue regular watering and feeding.
- Allow the plant to rest before the next blooming cycle.
Conclusion
Planting and growing orchids is not as intimidating as it may seem. With the right pot, growing medium, and proper care, your orchid can reward you with vibrant, long-lasting blooms that brighten your home and elevate your gardening skills. By understanding their unique needs—light, humidity, watering, and feeding—you can cultivate orchids that thrive year after year.

Whether you’re a beginner starting with a Phalaenopsis or a seasoned grower expanding to exotic varieties, orchids bring beauty, elegance, and joy to any space. Plant them with patience and care, and you’ll enjoy their stunning flowers for many seasons to come.
Leave A Comment