Indoor plants not only beautify our homes but also purify the air, improve mood, and create a calming environment. However, for plants to stay healthy and thrive, they need more than just sunlight and water—repotting is an essential part of their long-term care. Repotting gives your plants fresh soil, more space for root growth, and a new lease of life. Done incorrectly, though, it can stress or even damage your plants.
This comprehensive guide will walk you through the importance of repotting, how to recognize when it’s time, and a step-by-step process to ensure your plants stay healthy and vibrant after the transition.
Why Repotting Indoor Plants Is Important
Repotting is not just about giving plants a bigger pot—it’s about creating the right environment for them to thrive. Here’s why it matters:

- Encourages Root Growth – Roots need space to spread. A cramped pot limits growth and stunts the plant.
- Refreshes Soil – Over time, soil loses nutrients and becomes compacted, reducing water drainage and oxygen supply.
- Prevents Root Rot – Old soil can hold too much water, leading to decay. Repotting provides better drainage.
- Promotes Healthy Growth – With more room and fresh soil, plants can grow taller, fuller, and stronger.
- Improves Aesthetics – A new pot can complement your home décor and showcase your plants beautifully.
Signs It’s Time to Repot
Not all plants need frequent repotting. Most benefit from being repotted every 12–18 months, but signs may appear sooner:
- Roots are coming out of drainage holes – A clear sign the plant is root-bound.
- Roots circling the surface – When roots push above soil, they’re running out of room.
- Soil dries out too quickly – Indicates the pot is too small for the root mass.
- Yellowing leaves or stunted growth – Suggests nutrient depletion.
- Water pooling on the surface – Old soil may be compacted and no longer draining.
- Pot is cracked or bulging – Roots may have outgrown the container completely.
Choosing the Right Pot
The pot you select is just as important as the soil.
- Size – Choose a pot 1–2 inches larger in diameter than the current one. Oversized pots may hold too much water and cause root rot.
- Material –
- Terracotta – Breathable but dries quickly.
- Plastic – Lightweight, affordable, retains moisture.
- Ceramic/Glazed – Stylish but heavier.
- Drainage Holes – Essential to prevent waterlogging. If the pot has no drainage, add a layer of stones or charcoal at the bottom, though drainage holes are always preferable.
Best Soil for Indoor Plants
Different plants require different soil types, but in general:

- Houseplant Mix – A well-draining potting mix is suitable for most foliage plants.
- Succulents and Cacti – Need sandy, fast-draining soil.
- Orchids – Thrive in bark-based mixes that provide airflow to roots.
- Herbs – Prefer a mix of potting soil and compost.
Adding perlite, vermiculite, or coarse sand can improve aeration and drainage.
Step-by-Step Guide to Repotting Indoor Plants
Repotting doesn’t have to be intimidating if you follow these steps carefully.
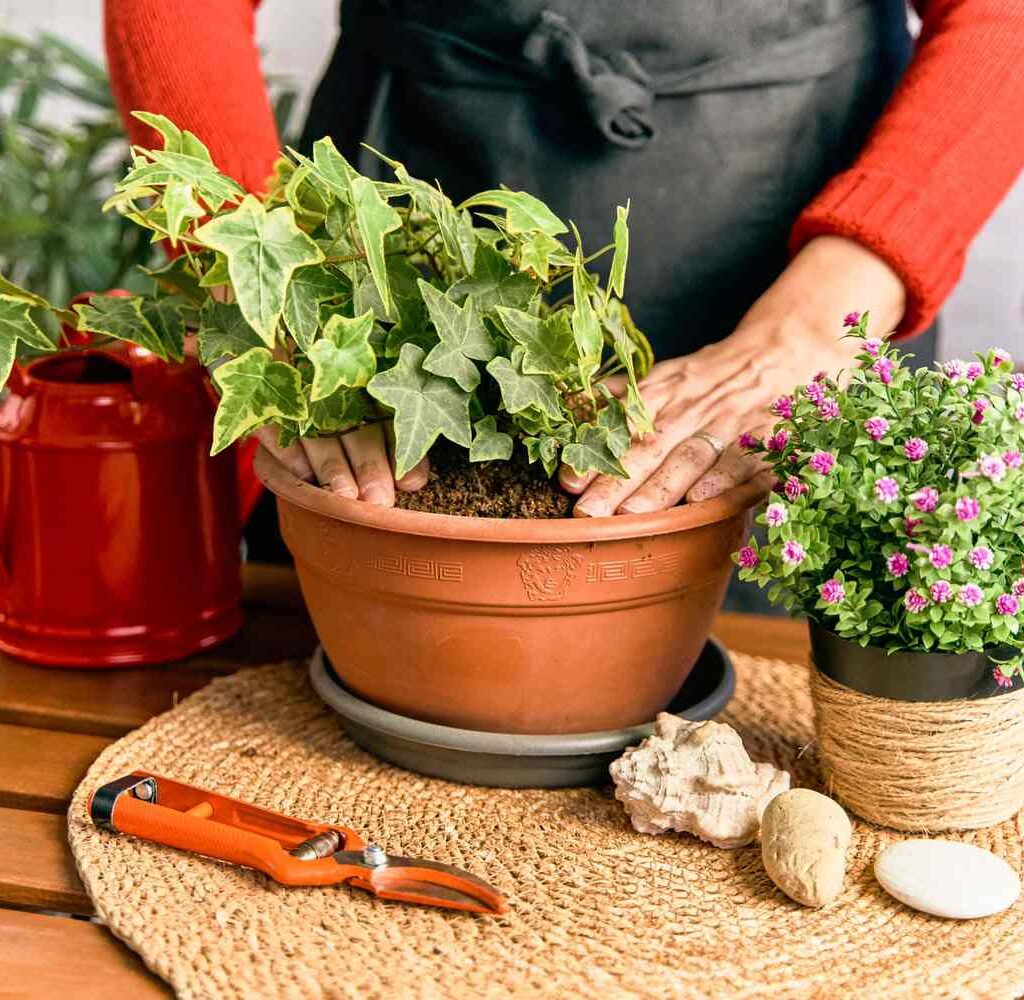
Step 1: Prepare Your Materials
- A new pot (slightly larger than the old one)
- Fresh potting mix suited to your plant type
- Watering can
- Gloves and a small trowel
- Scissors or pruning shears
Step 2: Water Before Repotting
Water the plant thoroughly a day before repotting. Moist soil makes it easier to remove the plant without damaging roots.

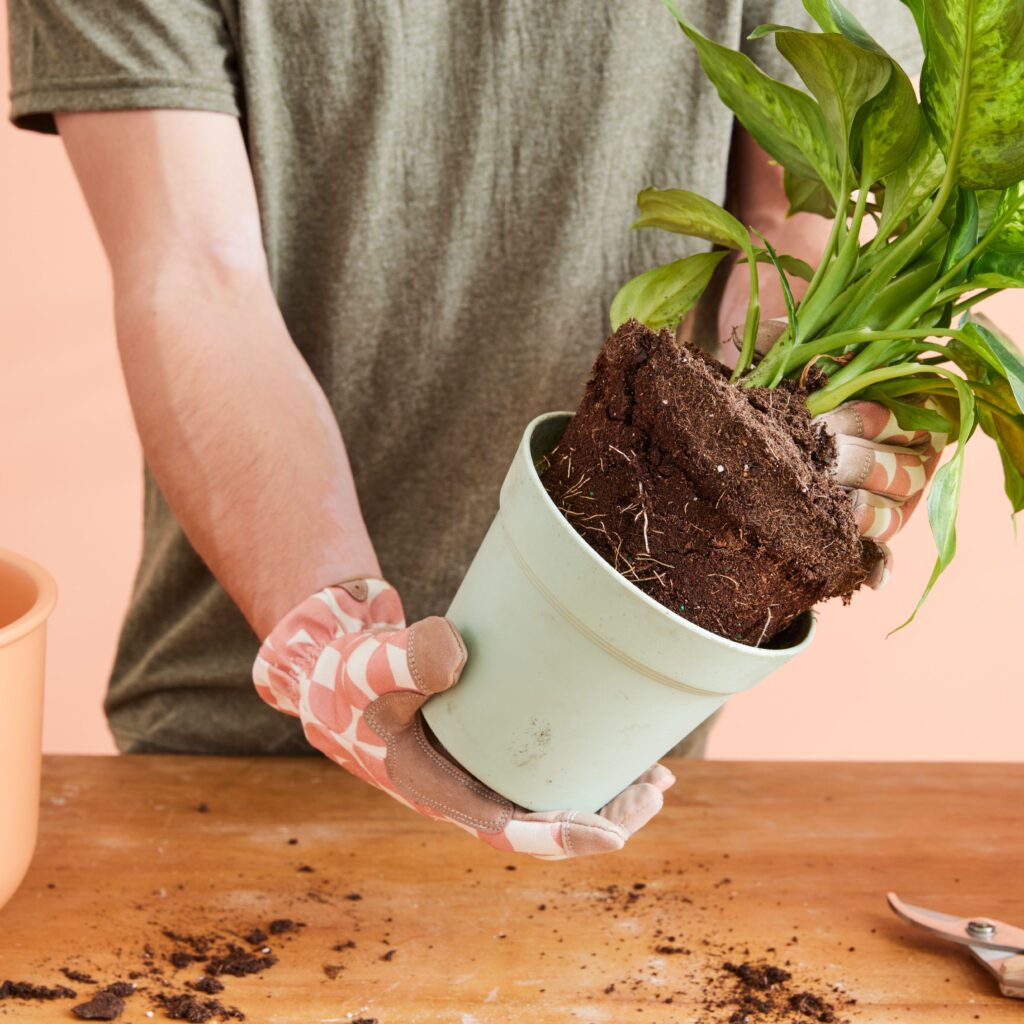
Step 3: Remove the Plant from Its Old Pot
- Gently tip the pot sideways and tap the bottom.
- Hold the plant at its base and carefully slide it out.
- If roots are stuck, tap around the sides or use a knife to loosen the soil.
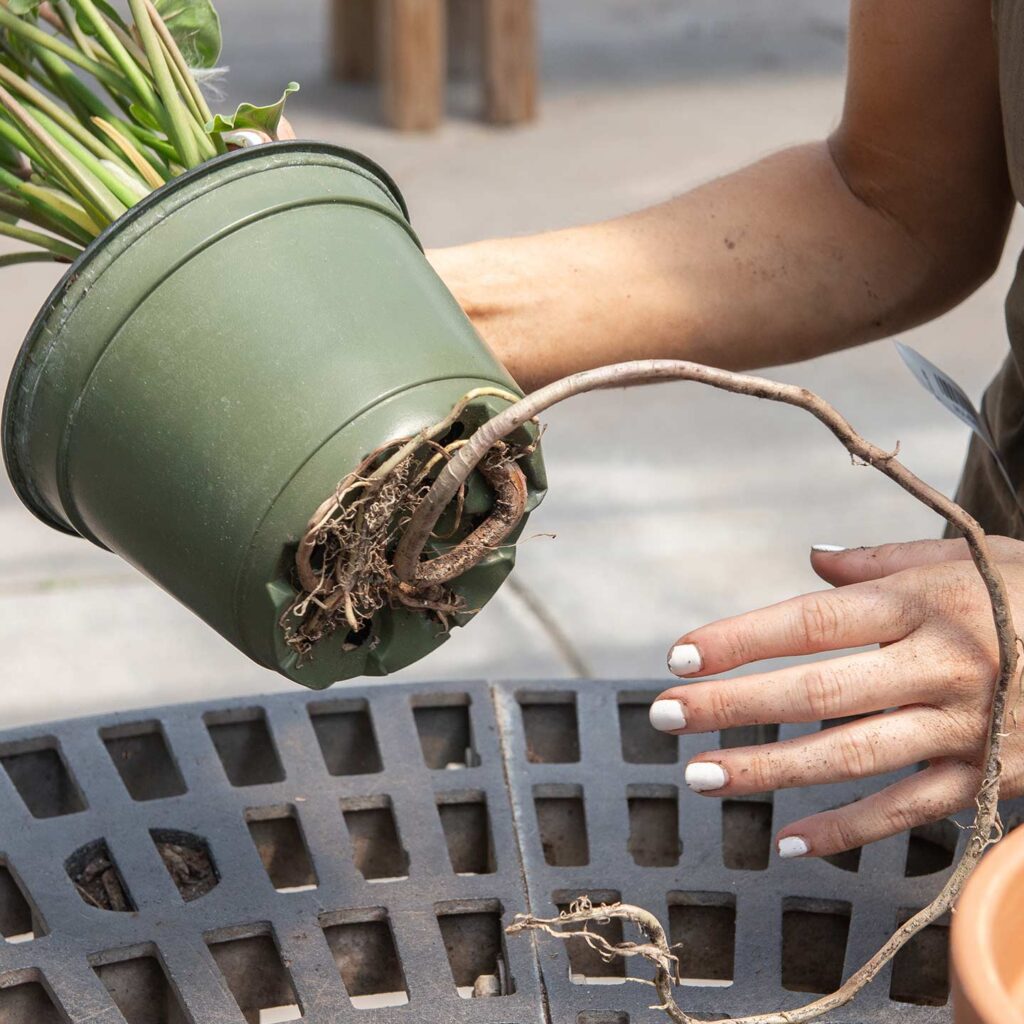
Step 4: Inspect and Prune the Roots
- Check roots for health—white and firm roots indicate good health, while brown, mushy roots suggest rot.
- Trim away dead or rotten roots with sterilized scissors.
- If the plant is root-bound, gently loosen and untangle the roots.
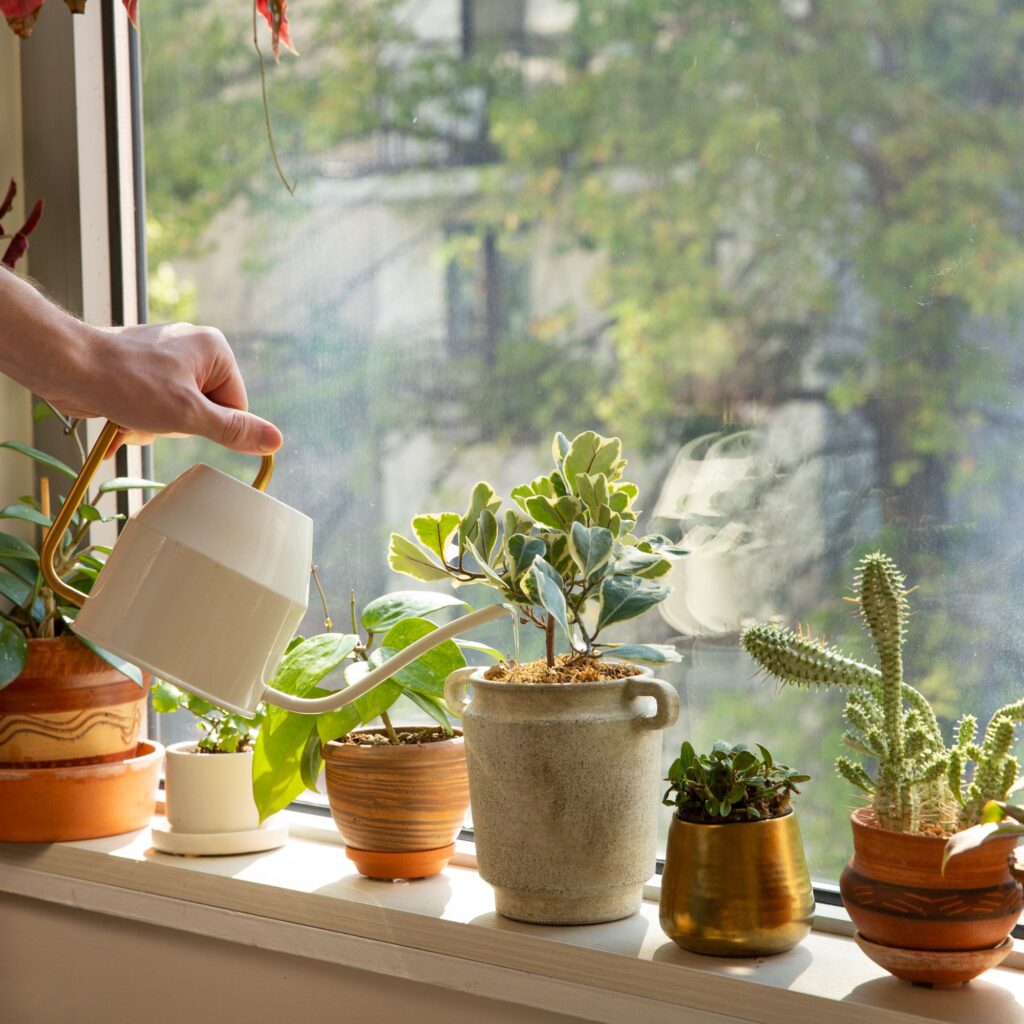
Step 5: Add Fresh Soil to the New Pot
- Place a layer of fresh potting mix at the bottom.
- Position the plant in the center, ensuring the root ball is about an inch below the pot rim.
- Fill around the roots with more soil, pressing lightly to eliminate air pockets.
Step 6: Water Thoroughly
Water the plant deeply after repotting to help the soil settle around the roots. Drain excess water to avoid soggy soil.
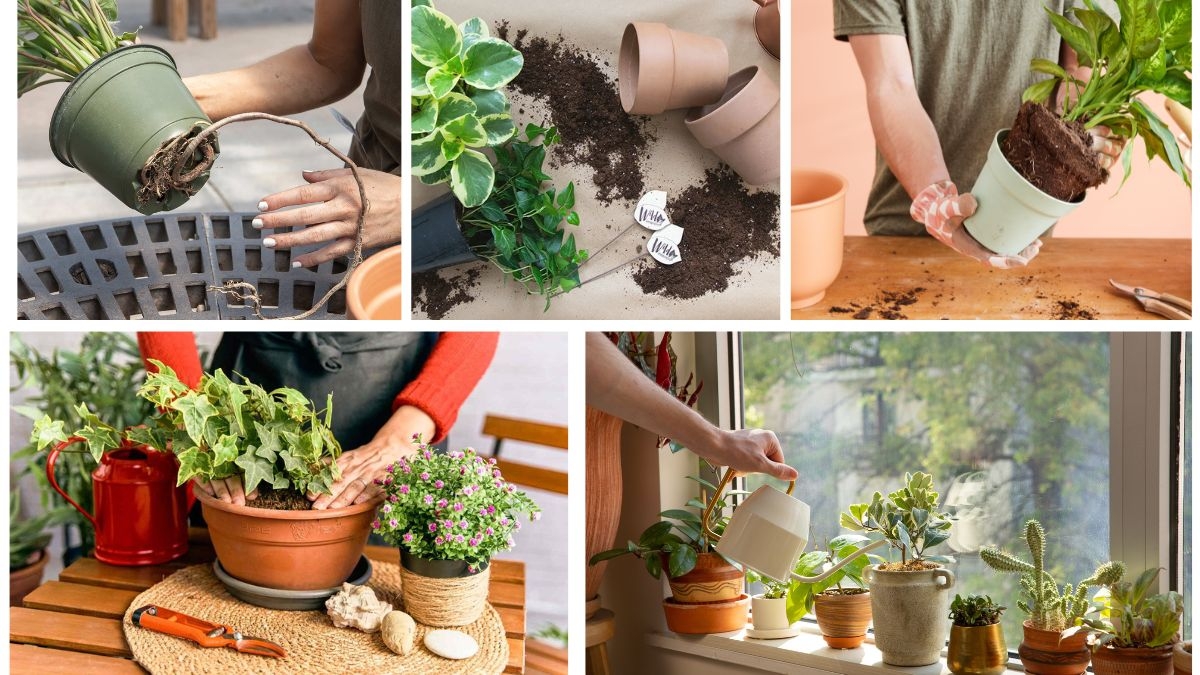
Step 7: Adjust Placement
- Keep the repotted plant in a shaded spot for a few days to recover.
- Gradually move it back to its normal light conditions.
Post-Repotting Care
- Watering – Be cautious not to overwater. Newly repotted plants may not need as much water immediately.
- Fertilizing – Avoid fertilizing for the first 4–6 weeks, as fresh soil already contains nutrients.
- Monitoring – Expect some leaf drop or wilting initially; this is normal stress. Plants usually recover within 1–2 weeks.
Common Mistakes to Avoid
- Choosing a pot that’s too large – This can lead to overwatering and root rot.
- Using garden soil – Too dense and may suffocate indoor plant roots.
- Not loosening root-bound plants – Roots may continue circling and restrict growth.
- Overwatering after repotting – Can suffocate stressed roots.
- Repotting during dormant season – Most plants prefer repotting in spring or early summer when actively growing.
Seasonal Tips for Repotting Indoor Plants
- Spring – Best season to repot, as plants enter active growth.
- Summer – Still good, but protect from direct harsh sunlight after repotting.
- Fall – Repot only if necessary; plants begin slowing down growth.
- Winter – Avoid repotting unless the plant is severely root-bound, as most are dormant.
Plants with Special Repotting Needs
- Succulents and Cacti – Repot every 2–3 years; ensure extra drainage.
- Orchids – Repot every 1–2 years, using bark-based medium.
- Ferns – Handle gently, as roots are delicate; prefer slightly smaller pots.
- Herbs – Basil, mint, and parsley may need more frequent repotting to stay productive.
Benefits of Repotting Done Right
- Healthier Roots – Access to nutrients, air, and moisture.
- Lusher Foliage – Fresh soil and space lead to vibrant growth.
- Better Flowering – Plants bloom more readily with proper nutrition.
- Extended Lifespan – Well-cared plants live longer and remain resilient.
- Improved Indoor Environment – Thriving plants enhance oxygen levels and indoor beauty.
Conclusion
Repotting indoor plants the right way is more than just moving them into a bigger pot—it’s about refreshing their growing environment, improving root health, and ensuring long-term vitality. By choosing the right pot, soil, and timing, and following a careful step-by-step process, you can help your plants thrive for years to come.
With proper post-repotting care, your indoor plants will reward you with lush growth, vibrant leaves, and possibly even flowers. Not only will your plants look better, but your home will also feel fresher, greener, and more alive.

So the next time you notice roots peeking from the pot or soil looking tired, you’ll know exactly what to do—repot the right way, and watch your indoor garden flourish.
Leave A Comment