Pineapples are among the most beloved tropical fruits, known for their juicy sweetness, refreshing flavor, and versatility in both sweet and savory dishes. While most people enjoy pineapples by purchasing them from the store, few realize that this tropical delight can be grown at home—even from the leafy top you usually toss away. With just a bit of patience and care, you can transform a store-bought pineapple top into a thriving plant, and eventually, a fruit-bearing one.
This guide will take you through the fascinating process step by step, offering tips, hacks, and insights to help you grow your very own tropical treasure at home.
Why Grow Pineapples at Home?
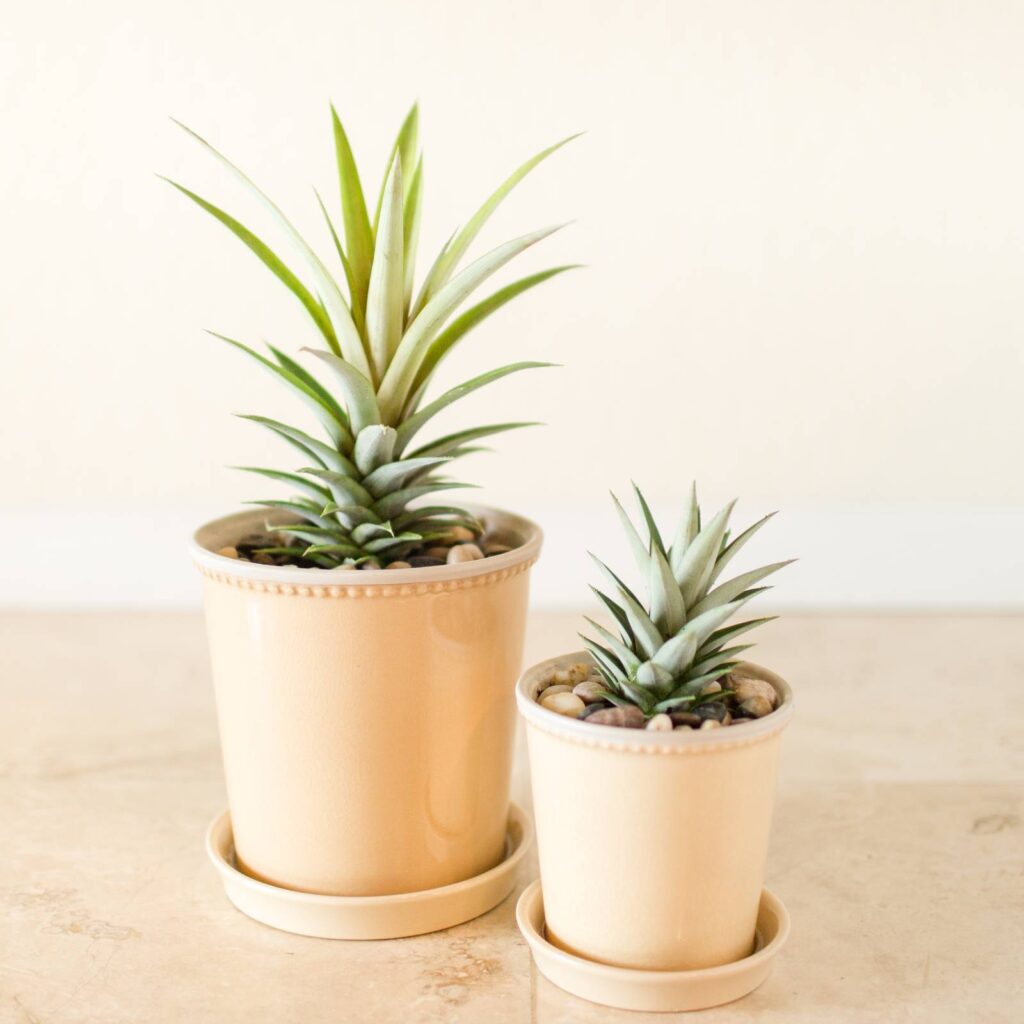
- Sustainable Gardening: Growing pineapples from tops is a way to repurpose waste into a living plant.
- Aesthetic Appeal: Pineapple plants are striking, with long, spiky green leaves that add a tropical vibe to any space.
- Low Maintenance: Unlike some fruit trees, pineapples require minimal care once established.
- Homegrown Satisfaction: There’s nothing like harvesting fruit you’ve grown yourself—it’s fresher, healthier, and more rewarding.
Step 1: Choosing the Perfect Pineapple
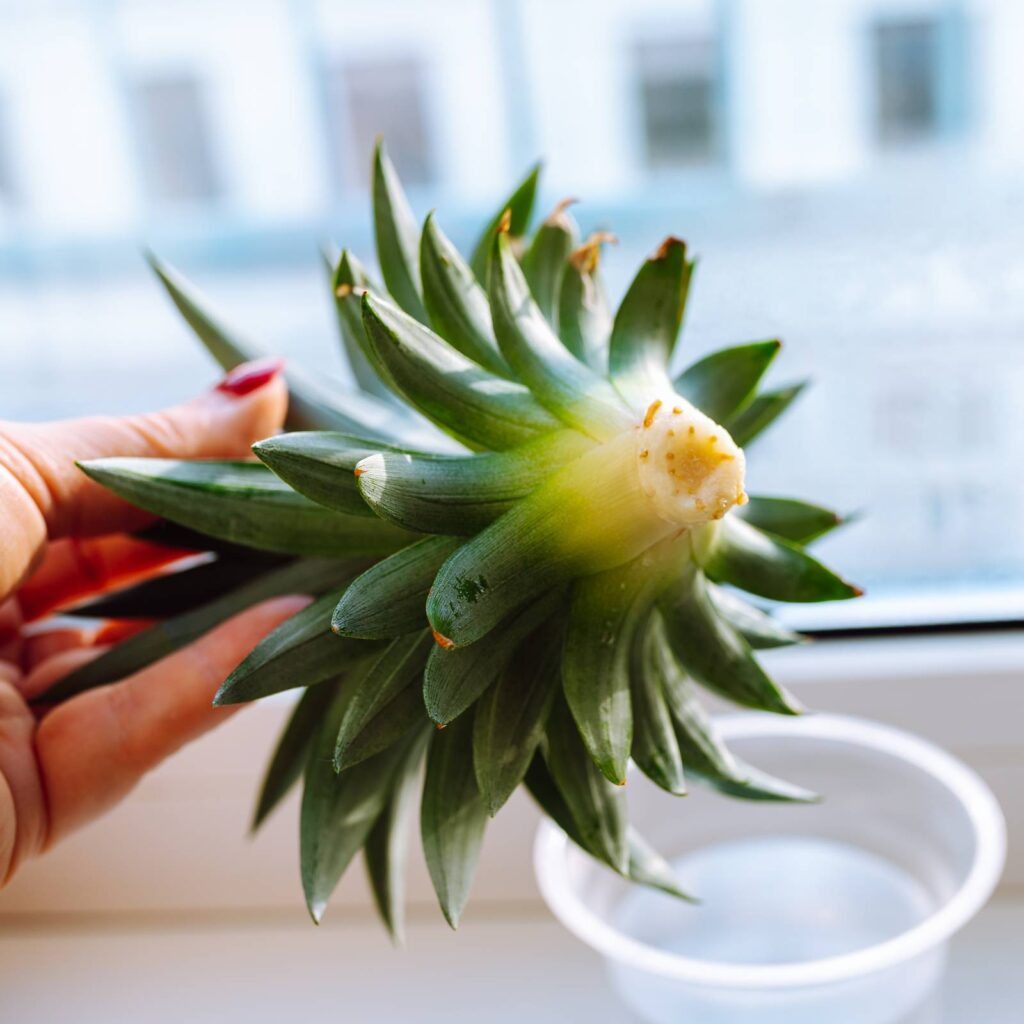
The success of your plant starts with selecting a healthy pineapple from the store. Look for:
- Bright, Green Leaves: Avoid tops with brown, wilted, or mushy foliage.
- Firm Fruit: The fruit should be slightly firm, not overly soft.
- No Rot or Fungus: Inspect the crown and base for mold or rot.
Pro tip: Choose organic pineapples when possible, as they are less likely to have been treated with growth-inhibiting chemicals.
Step 2: Preparing the Pineapple Top
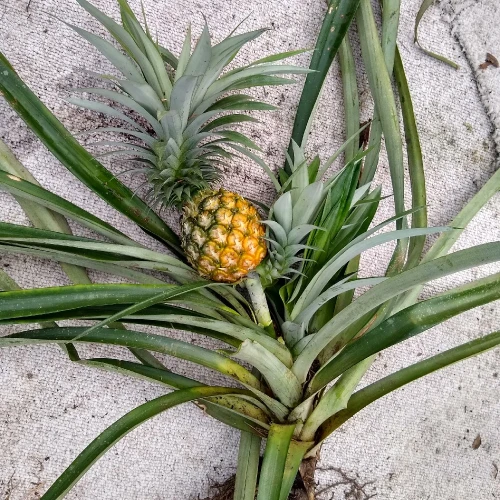
- Remove the Crown: Hold the fruit firmly and twist the leafy top until it detaches. If twisting feels difficult, you can slice off the top with a sharp knife, leaving about an inch of fruit flesh.
- Strip Lower Leaves: Carefully peel off 5–7 layers of leaves from the base of the crown to expose about an inch of the stem. This encourages root development.
- Dry the Crown: Place the crown in a warm, shaded area for 2–3 days to let the cut end dry and callus over. This step prevents rot when planted.
Step 3: Rooting the Pineapple
There are two popular methods for rooting pineapple tops:
1. Water Method
- Place the prepared crown in a glass of water, ensuring only the exposed stem is submerged.
- Position it in a sunny windowsill and change the water every 2–3 days.
- Roots should appear within 2–3 weeks.
2. Soil Method
- Plant the dried crown directly into a small pot filled with well-draining potting mix (cactus or succulent soil works well).
- Keep the soil lightly moist but not soggy.
- Roots may take 3–4 weeks to form.
Pro tip: Tug gently after a month—if the crown resists, it means roots are established.
Step 4: Transplanting into a Larger Pot
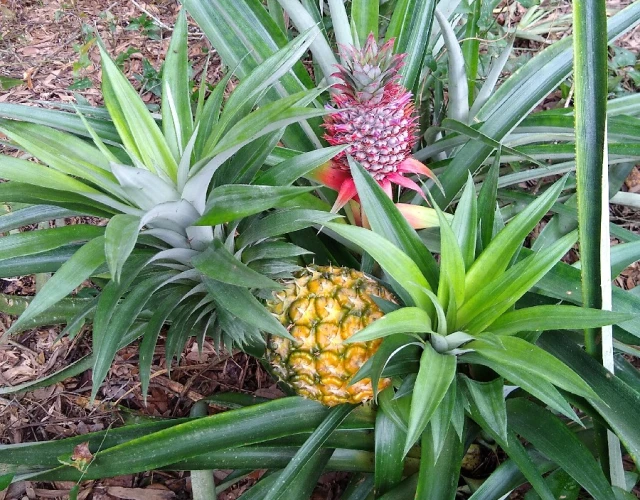
Once your pineapple has rooted, it’s ready for a permanent home.
- Choose a Container: A pot at least 10–12 inches deep with drainage holes is ideal.
- Soil Requirements: Use sandy, loamy soil with good drainage. Pineapples dislike soggy roots.
- Sunlight: Place your pot where it receives at least 6–8 hours of bright sunlight daily.
Step 5: Watering and Feeding
- Watering: Pineapples prefer slightly dry conditions. Water deeply but infrequently, letting the soil dry between waterings. Overwatering is the most common cause of plant failure.
- Leaf Cup Watering: Pour a small amount of water directly into the center rosette of leaves (called the “leaf cup”), mimicking natural rainfall.
- Fertilizing: Use a balanced liquid fertilizer or a slow-release fertilizer every 6–8 weeks. During the growing season, a diluted nitrogen-rich feed helps lush leaf growth.
Step 6: Patience and Care
Growing pineapples requires patience—plants typically take 18–24 months to produce fruit. But the journey is rewarding, and your plant will thrive as long as you provide proper care:
- Temperature: Pineapples love warmth and grow best in temperatures between 65–95°F (18–35°C). Bring potted plants indoors during winter in cooler climates.
- Humidity: While adaptable, they prefer moderate humidity. Misting leaves occasionally helps in dry environments.
- Pruning: Remove dead or damaged leaves to encourage healthy growth.
Step 7: Encouraging Flowering and Fruiting
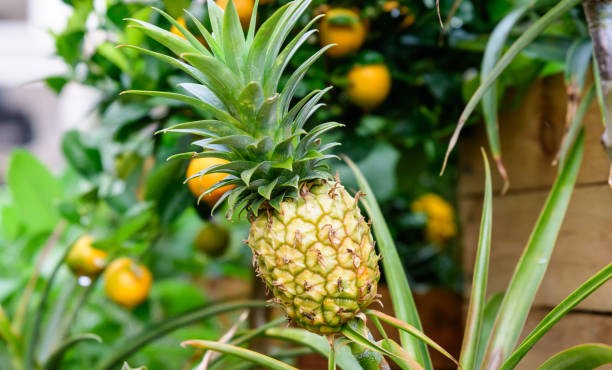
Pineapples naturally flower after about two years, but you can encourage blooming with a simple trick:
- Apple Ethylene Hack: Place a ripe apple next to your pineapple plant and cover both with a clear plastic bag for a week. Apples release ethylene gas, which stimulates the pineapple to flower.
- Flower to Fruit: Once flowers appear, it takes about 5–7 months for the fruit to mature.
Step 8: Harvesting Your Pineapple
- Color Check: The fruit changes from green to golden-yellow, starting at the base.
- Fragrance: A ripe pineapple gives off a sweet tropical aroma.
- Touch Test: The fruit should yield slightly to gentle pressure.
To harvest, cut the fruit with a sharp knife, leaving a few inches of stem.
Step 9: Multiplying Your Pineapple Plants
The magic doesn’t stop at one plant! After fruiting, your pineapple plant produces “suckers” or “pups” at its base. These small shoots can be removed, rooted, and grown into new plants—expanding your mini pineapple garden with ease.
Common Challenges and Solutions
- Rotting Crown: Ensure the crown dries before planting and avoid overwatering.
- Slow Growth: Pineapples grow slowly; consistent sunlight and feeding speed things up.
- Yellowing Leaves: Could indicate overwatering, poor drainage, or nutrient deficiency.
- No Flowers After 2 Years: Use the apple ethylene method to encourage blooming.
Fun Facts About Pineapples
- Pineapples aren’t a single fruit—they’re a cluster of berries fused around a central core.
- Christopher Columbus introduced pineapples to Europe after encountering them in the Caribbean.
- The name “pineapple” comes from their resemblance to pine cones.
Final Thoughts
Transforming a store-bought pineapple top into a thriving plant is not just a gardening project—it’s a magical experience. From the first green shoots of the crown to the long wait for its golden fruit, the process teaches patience, creativity, and the joy of sustainable living.
With proper care, sunlight, and a bit of tropical love, you can turn kitchen scraps into a lush houseplant and eventually harvest your very own sweet, homegrown pineapple.
So next time you enjoy this tropical fruit, don’t throw away the crown—plant it, nurture it, and watch the magic unfold.


Leave A Comment