When it comes to adding flavor, fragrance, and warmth to your cooking, few ingredients can compete with ginger. This knobby root is not only a kitchen staple in cuisines worldwide but also a powerhouse of medicinal benefits. What’s even more exciting is that ginger is surprisingly easy to grow at home, whether you have a sprawling garden or a cozy apartment balcony. By growing fresh ginger, you gain a constant supply of this spice while also enjoying the satisfaction of nurturing a plant that is both ornamental and useful.
In this guide, we’ll explore everything you need to know about cultivating ginger at home—from understanding the plant’s basics to harvesting flavorful roots.
Why Grow Ginger at Home?
Before diving into the “how,” let’s talk about the “why.” Growing ginger at home offers several benefits:

- Freshness on Demand: Nothing beats the taste of freshly harvested ginger compared to store-bought roots that may have been in transit for weeks.
- Cost-Effective: A single ginger root can grow into a cluster of usable rhizomes, saving money in the long run.
- Low Maintenance: Ginger is a hardy plant that requires minimal attention, making it perfect for beginners.
- Medicinal Value: Homegrown ginger can be used to make teas, remedies for colds, and digestive tonics.
- Decorative Appeal: Ginger plants produce lush, tropical-looking foliage, adding greenery to indoor or outdoor spaces.
Understanding the Ginger Plant
Ginger (Zingiber officinale) is a tropical plant native to Southeast Asia. It grows from rhizomes (the underground root structure) rather than seeds. The edible part that we commonly use in cooking is this rhizome.
- Growth Habit: Ginger grows in clumps with long, slender leaves.
- Climate Preference: Warm and humid environments are ideal.
- Time to Harvest: Ginger takes 8–10 months to mature, though you can start harvesting small amounts after 4–5 months.
Step 1: Choosing the Right Ginger Rhizome
The first step in growing ginger at home is sourcing a healthy rhizome.
- Where to Buy: Purchase ginger roots from a local grocery store, farmer’s market, or garden supply shop. Organic ginger is best because it’s less likely to be treated with growth inhibitors.
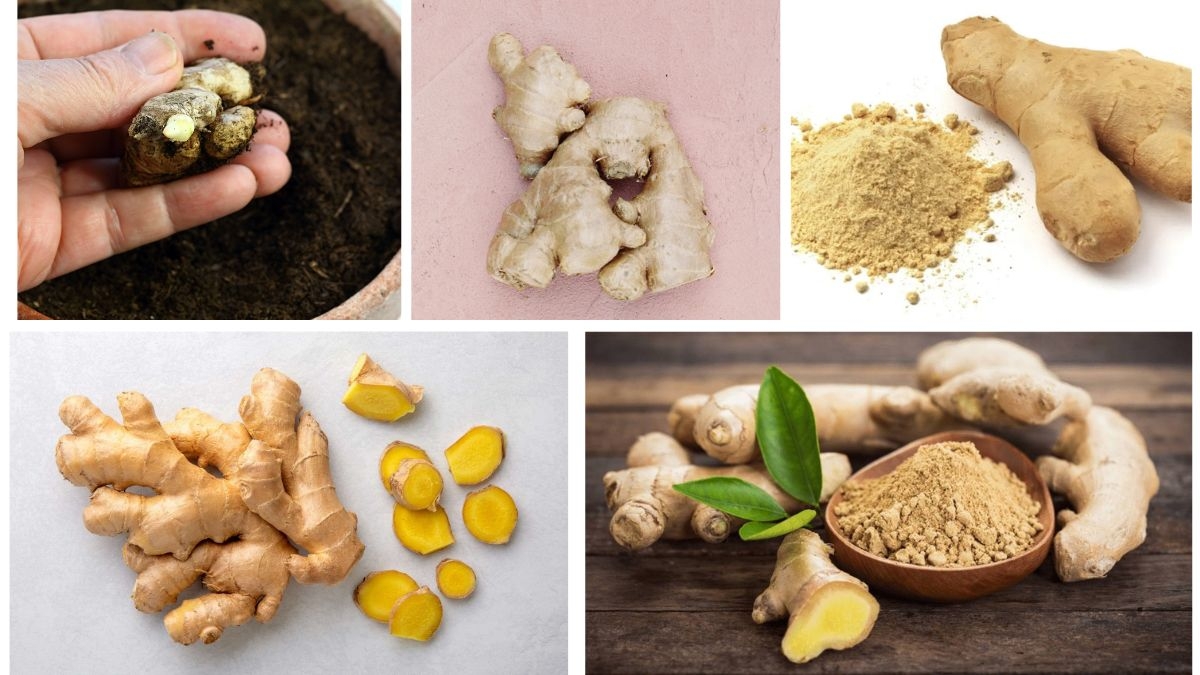
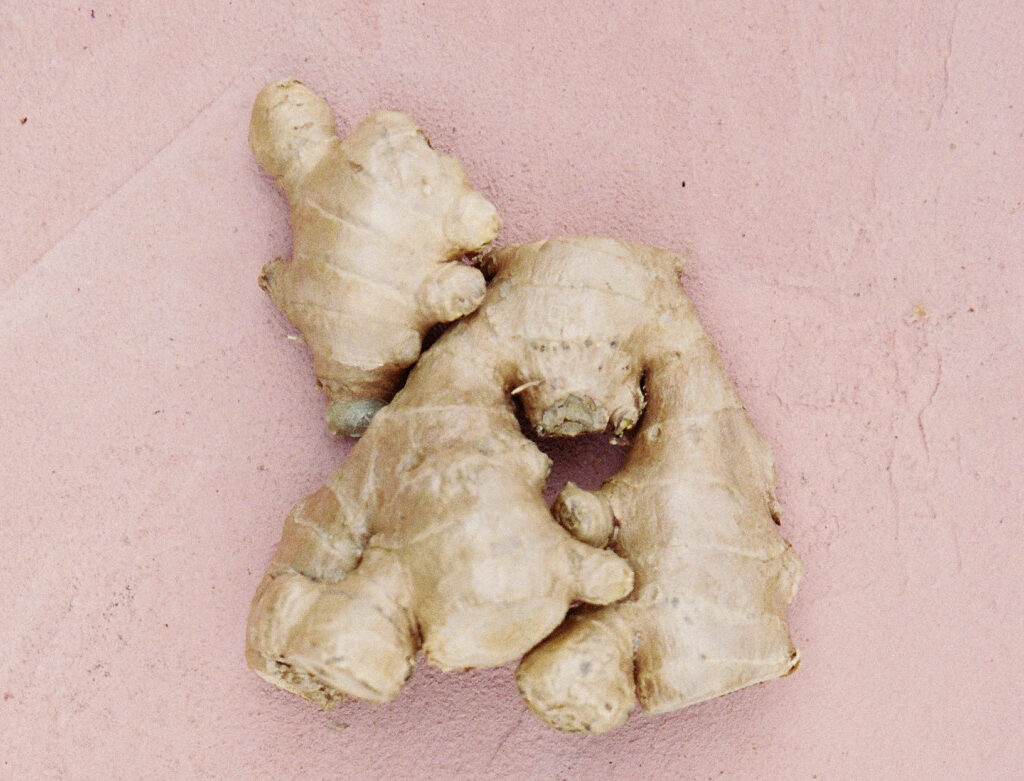
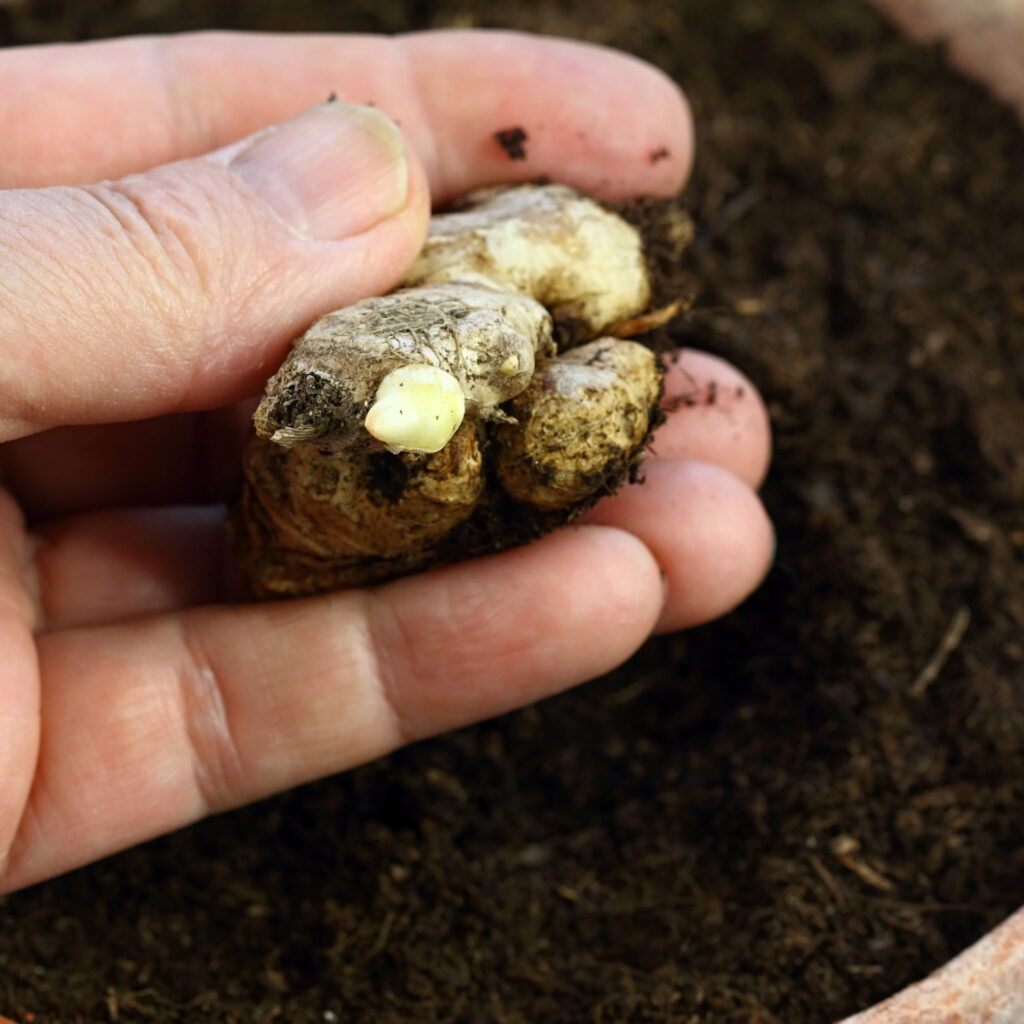
- What to Look For: Choose plump, firm rhizomes with visible “eyes” (small growth buds that look like tiny horns). Avoid shriveled or moldy pieces.
- Optional Prep: Soak the rhizome in water overnight before planting to wash off any growth inhibitors.
Step 2: Preparing the Planting Container or Garden Bed
Ginger thrives in loose, nutrient-rich soil. Since it spreads horizontally, it’s best to use a wide, shallow pot if growing indoors.

- Container Choice: Select a container that is at least 12 inches deep and wide, with good drainage holes.
- Soil Mix: Use loamy soil enriched with compost. Avoid heavy clay soil, as it restricts root expansion. A mix of potting soil, sand, and organic compost works perfectly.
- Location: Place the pot in a warm, shaded spot with indirect sunlight. Ginger does not do well in harsh, direct sun.
Step 3: Planting the Ginger
- Cutting the Rhizome: If your ginger root is large, cut it into sections, ensuring each piece has at least one growth bud. Let the cut sections dry for a day to prevent rotting.
- Planting Depth: Plant each piece about 2–3 inches deep with the buds facing upward.
- Spacing: Leave about 6–8 inches between pieces if planting multiple rhizomes in one container or garden bed.
- Watering After Planting: Water lightly to settle the soil but avoid waterlogging.
Step 4: Caring for Your Ginger Plant
Ginger is relatively easy to care for once planted. Here are the main care routines:
1. Watering
- Keep the soil consistently moist, but never soggy.
- Reduce watering slightly in the cooler months when growth slows.
- Always check the top inch of soil—if it feels dry, it’s time to water.
2. Light Requirements
- Ginger prefers partial shade or indirect sunlight.
- Too much direct sunlight can scorch the leaves, while too little light will stunt growth.
3. Fertilization
- Apply a balanced, organic fertilizer every 4–6 weeks during the growing season.
- Ginger responds well to liquid seaweed or compost tea.
4. Humidity & Temperature
- Ideal temperature: 75–85°F (24–29°C).
- If you live in a dry climate, mist the leaves occasionally to increase humidity.
5. Mulching
- Adding a layer of mulch helps retain soil moisture and keeps the rhizomes cool.
Step 5: Managing Common Issues
Even though ginger is low-maintenance, some issues can occur:
- Yellow Leaves: Often a sign of overwatering or nutrient deficiency.
- Root Rot: Caused by waterlogged soil. Ensure proper drainage.
- Pests: Aphids and spider mites may appear. Use natural neem oil spray to control infestations.
- Slow Growth: Could be due to insufficient warmth or poor soil quality.
Step 6: Harvesting Fresh Ginger
Patience is key when growing ginger. You’ll know it’s ready when the leaves start to yellow and die back, usually around 8–10 months after planting.
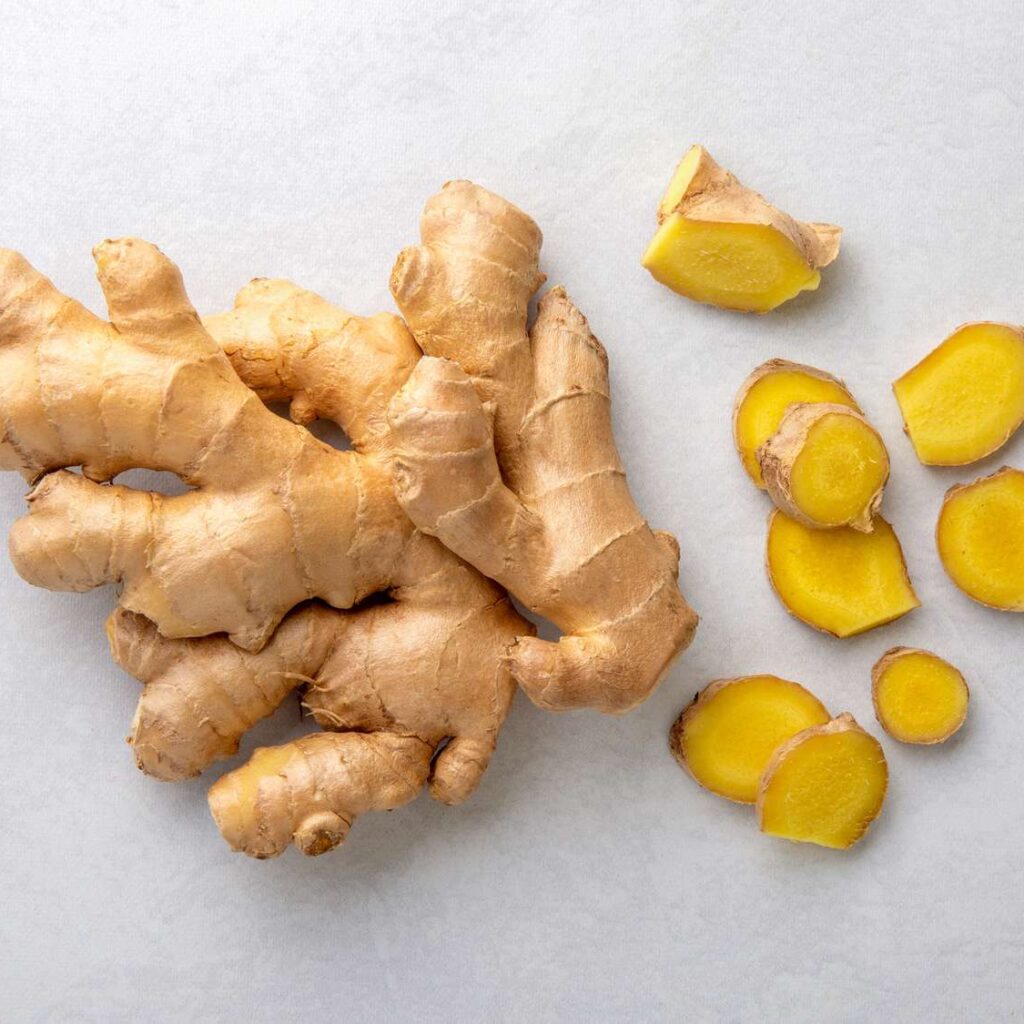
- Partial Harvesting: For young, tender ginger, carefully dig around the base and cut off a small section of rhizome while leaving the rest to continue growing.
- Full Harvesting: Gently lift the entire plant from the soil, shake off the dirt, and separate the rhizomes.
After harvesting, wash and dry the ginger thoroughly. You can store it in a cool, dry place or freeze it for long-term use.
Step 7: Re-Growing Ginger
One of the best parts about growing ginger is its renewable cycle. After harvesting, save a few healthy rhizome pieces with buds. Replant them following the same steps, and you’ll have a continuous supply.
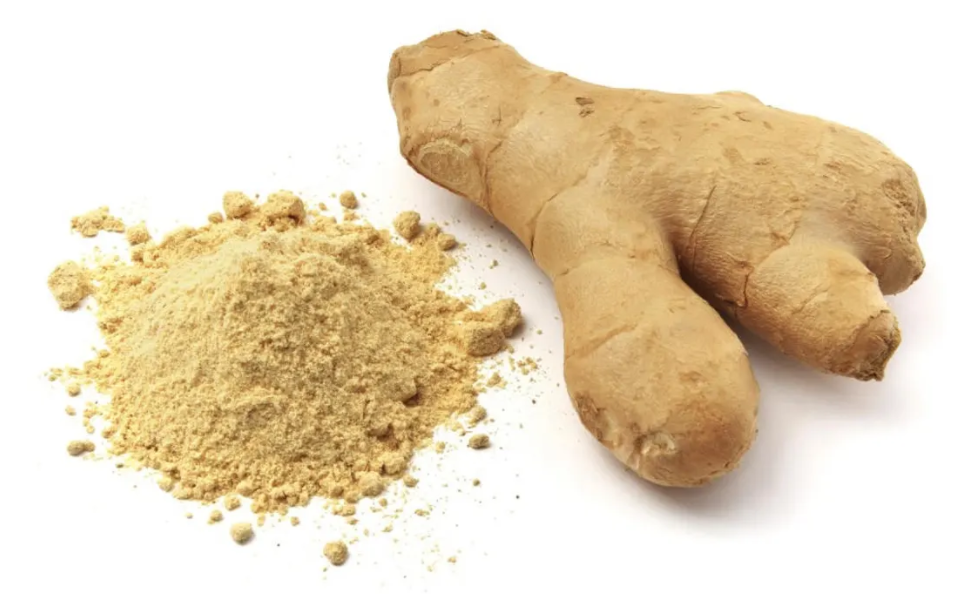
Creative Uses of Fresh Ginger
Once harvested, fresh ginger can be put to use in countless ways:

- Cooking: Add grated ginger to stir-fries, curries, soups, and baked goods.
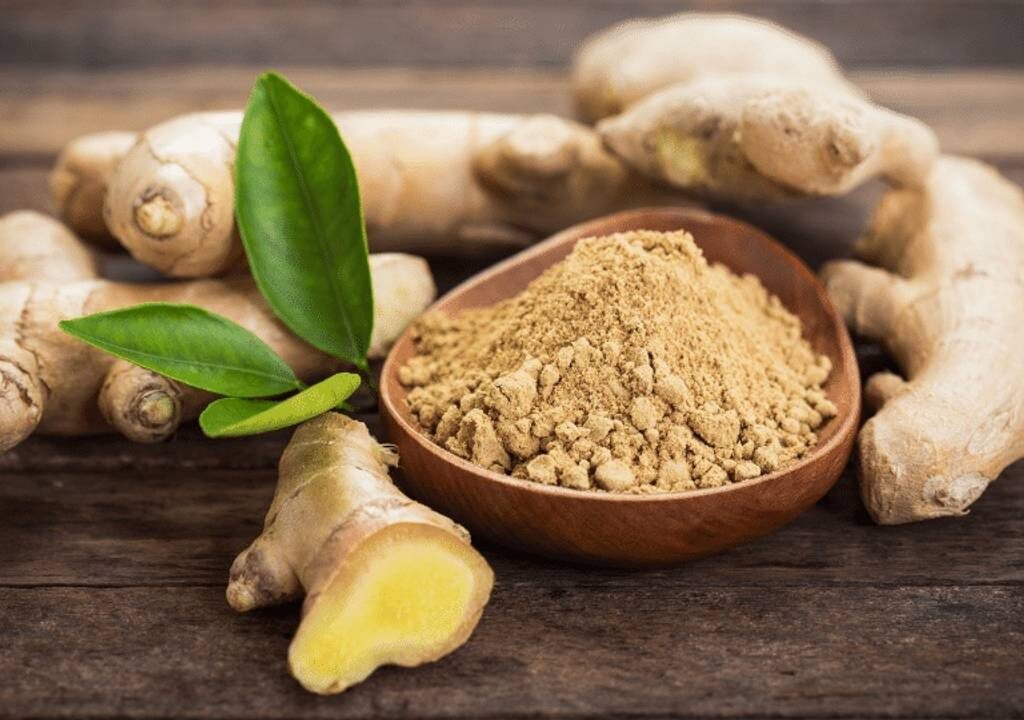
- Tea & Drinks: Brew ginger tea with honey and lemon for a soothing drink. Ginger also makes refreshing infusions for cocktails.
- Medicinal: Use it for natural remedies against nausea, sore throats, and inflammation.
- Preservation: Make ginger pickles, syrups, or candy to extend its use.
Tips for Success
- Start planting in late winter or early spring for best results.
- Keep your ginger away from strong winds and direct harsh sunlight.
- Regularly check for pests and adjust watering habits with seasonal changes.
- Be patient—ginger is slow to sprout, sometimes taking 3–4 weeks before shoots appear.
Conclusion
Growing fresh ginger at home is not only simple but also incredibly rewarding. From adding spice to your favorite dishes to preparing herbal teas and remedies, homegrown ginger ensures freshness, health, and convenience at your fingertips. With just a little patience and care, you can transform a store-bought rhizome into a lush tropical plant and enjoy bountiful harvests right in your kitchen or garden.
So, the next time you’re about to toss a ginger root into your grocery basket, remember—you could be holding the start of your very own indoor spice garden!
Leave A Comment