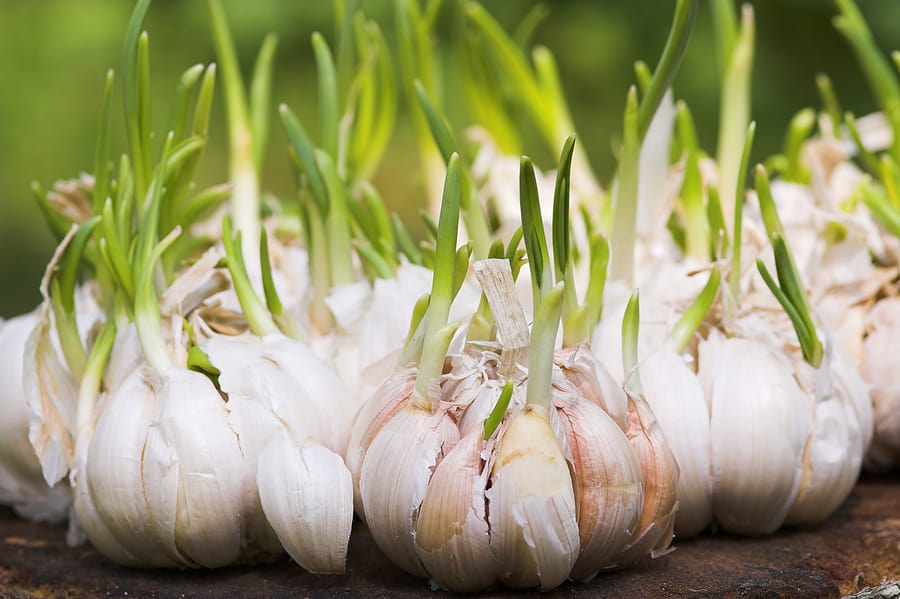
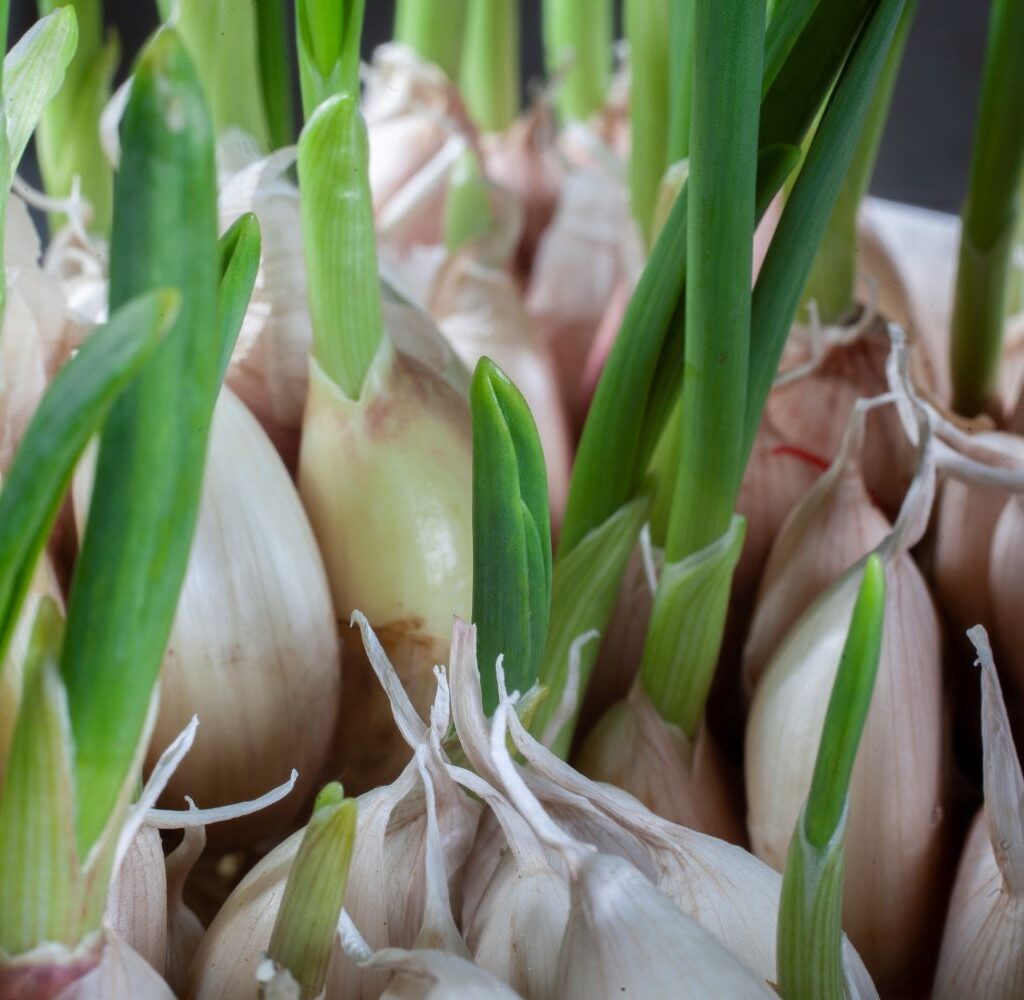
Garlic is one of the most rewarding crops you can grow at home. Known for its bold flavor, medicinal properties, and ability to enhance almost every savory dish, garlic (Allium sativum) is both useful in the kitchen and easy to cultivate in your garden or even in containers. Unlike many vegetables, garlic isn’t grown from seeds—it’s grown from cloves, each of which can develop into a whole new bulb. With a little care and patience, you can harvest a bounty of fresh, flavorful garlic right at home.
In this detailed step-by-step guide, we’ll explore how to grow garlic from cloves successfully, covering everything from choosing the right variety to harvesting and storing your crop.
Why Grow Garlic at Home?
Growing garlic offers a number of benefits that make it a favorite among home gardeners:

- Fresh and Flavorful: Homegrown garlic has a more intense flavor compared to store-bought varieties.
- Health Benefits: Garlic is rich in antioxidants, vitamins, and sulfur compounds known for boosting immunity and reducing inflammation.
- Easy to Grow: Garlic requires minimal space and is relatively low-maintenance.
- Storage-Friendly: Properly cured garlic can last for months, ensuring you have a steady supply.
Step 1: Choosing the Right Garlic Variety
Before planting, you’ll need to decide which type of garlic suits your climate and taste preferences.
- Softneck Garlic (Allium sativum var. sativum)
- Best for mild climates.
- Produces multiple layers of cloves (great for braiding).
- Stores well for up to 8–12 months.
- Hardneck Garlic (Allium sativum var. ophioscorodon)
- Thrives in colder climates.
- Produces fewer but larger cloves.
- Offers more complex flavors but a shorter shelf life (4–6 months).
- Develops flower stalks called scapes, which are edible and delicious.
Tip: If you live in a cold region, hardneck garlic is ideal. For warmer areas, stick with softneck varieties.
Step 2: Preparing the Soil
Garlic grows best in loose, fertile, and well-drained soil. Since garlic bulbs expand underground, compacted soil can restrict growth.
- Soil Type: Loamy soil enriched with organic matter works best.
- pH Level: Slightly acidic to neutral soil (6.0–7.0 pH).
- Amendments: Add compost, well-rotted manure, or organic fertilizer before planting to boost fertility.
Avoid: Heavy clay soils that retain water, as garlic bulbs can rot in soggy conditions.
Step 3: Choosing Planting Cloves
Instead of planting garlic from the grocery store (which may be treated to prevent sprouting), purchase seed garlic from a local nursery or trusted supplier.
- Select large, healthy cloves with intact skins.
- Avoid small or shriveled cloves, as they produce weaker plants.
- Separate the cloves from the bulb just before planting, leaving the papery skin intact.
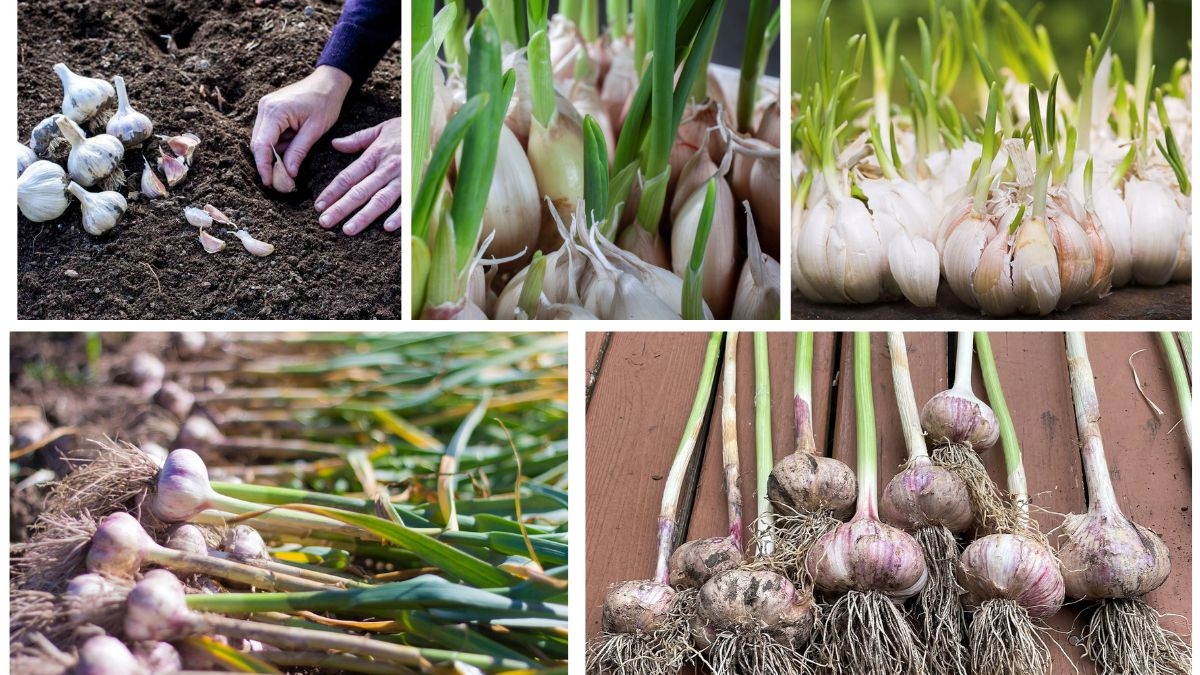
Step 4: Planting Garlic
When to Plant
- In most regions, plant garlic in the fall (September–November) about 4–6 weeks before the ground freezes. This allows the cloves to establish roots before winter.
- In warmer climates, garlic can also be planted in late winter or early spring.
How to Plant
- Loosen the soil to a depth of 8–10 inches.
- Place cloves with the pointed end facing up and the flat root side down.
- Plant cloves about 2 inches deep in mild climates (4 inches in colder areas).
- Space cloves 4–6 inches apart in rows 12 inches apart.
- Cover with soil and apply a thick mulch layer (straw, leaves, or grass clippings) to insulate against cold and suppress weeds.
Step 5: Watering and Fertilizing
- Watering: Garlic prefers consistent moisture but not waterlogged soil. Water deeply once a week, especially during dry spells. Reduce watering as bulbs mature (about 2–3 weeks before harvest).
- Fertilizing: Garlic is a heavy feeder.
- Early Growth: Apply nitrogen-rich fertilizer (e.g., fish emulsion or blood meal).
- Midseason: Switch to a balanced organic fertilizer to encourage bulb growth.
Step 6: Caring for Growing Garlic
- Weeding: Garlic does not compete well with weeds, so keep the bed weed-free. Mulching helps reduce the need for frequent weeding.
- Mulching: Retains soil moisture, regulates temperature, and suppresses weeds.
- Scape Removal (Hardneck Varieties): In early summer, hardneck garlic produces curly flower stalks called scapes. Snap or cut them off to redirect energy into bulb growth. Bonus: garlic scapes are edible and have a mild garlic flavor, perfect for stir-fries and pesto.
Step 7: Harvesting Garlic
Signs of Readiness
- Garlic is usually ready for harvest in mid to late summer (July–August).
- Leaves start turning yellow and drying from the bottom up.
- When 3–4 green leaves remain, it’s time to harvest.
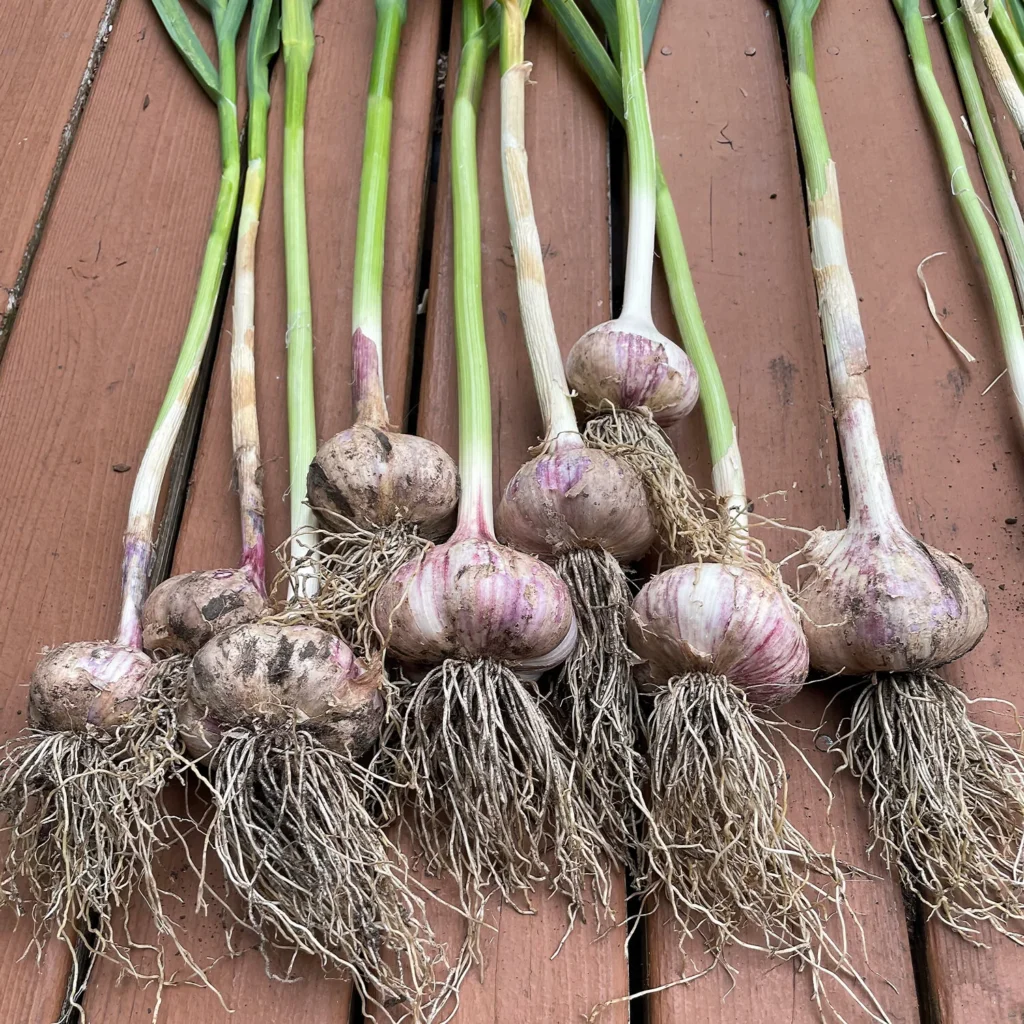
How to Harvest
- Gently loosen soil around the bulbs with a garden fork.
- Lift bulbs carefully—avoid pulling by the stems, which may cause damage.
- Shake off excess soil but do not wash bulbs at this stage.
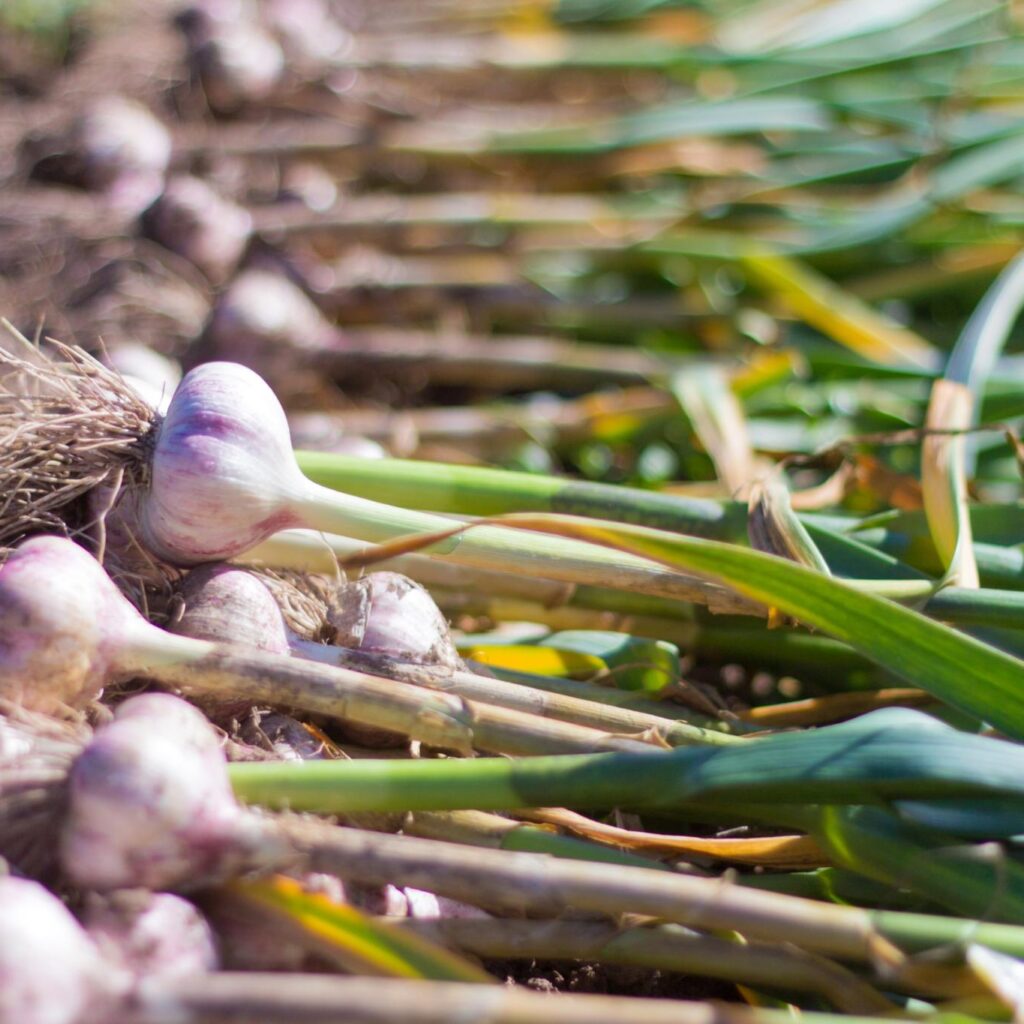
Step 8: Curing and Storing Garlic

Freshly harvested garlic needs curing to extend its storage life.

- Bundle or spread garlic bulbs in a well-ventilated, dry, and shady area.
- Let them cure for 2–3 weeks until the outer skins are papery and dry.
- Trim roots and cut stems to about 1 inch (or braid softneck garlic for decorative storage).
- Store bulbs in a cool, dark, dry place with good air circulation.
Storage Tip: Avoid refrigerators, as the moisture can trigger premature sprouting.
Step 9: Saving Garlic for Next Season
One of the most rewarding aspects of growing garlic is its self-sufficiency. Simply save a few of your largest, healthiest bulbs to plant next season. Over time, your garlic adapts to your garden’s soil and climate, improving with each generation.
Common Problems and Solutions
- Yellowing Leaves: Could indicate nitrogen deficiency—apply compost tea or fish emulsion.
- Bulb Rot: Caused by overwatering or poorly drained soil. Improve drainage and water moderately.
- Pests: Onion thrips and nematodes can attack garlic. Crop rotation and neem oil sprays help manage infestations.
- Small Bulbs: May result from overcrowding, late planting, or inadequate sunlight. Ensure proper spacing and at least 6–8 hours of sun daily.
Companion Planting with Garlic
Garlic is also an excellent companion plant. Its strong smell repels pests like aphids, Japanese beetles, and even rabbits. Planting garlic near roses, tomatoes, or peppers can help protect them naturally.
Conclusion
Growing garlic from cloves is a simple and satisfying process that rewards you with flavorful, nutrient-rich bulbs to enjoy year-round. By carefully selecting cloves, preparing the soil, providing consistent care, and timing your harvest properly, you can achieve an abundant garlic crop right at home.
Whether you’re a beginner gardener or an experienced grower, garlic offers an easy yet highly rewarding addition to your garden. Start with a few cloves, and in just a few months, you’ll be enjoying the unbeatable taste of fresh, homegrown garlic in your favorite dishes.
Leave A Comment