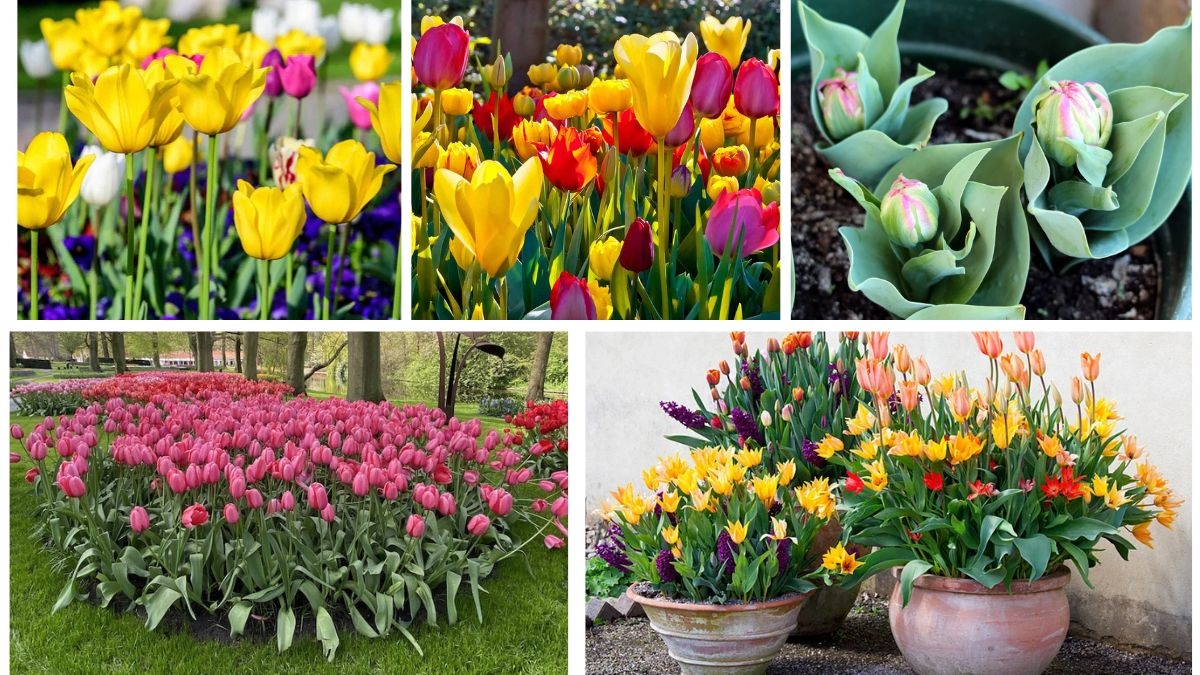
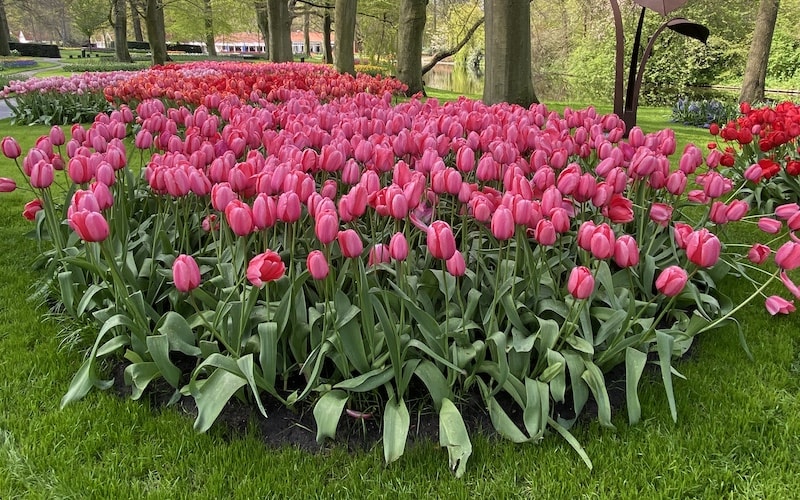
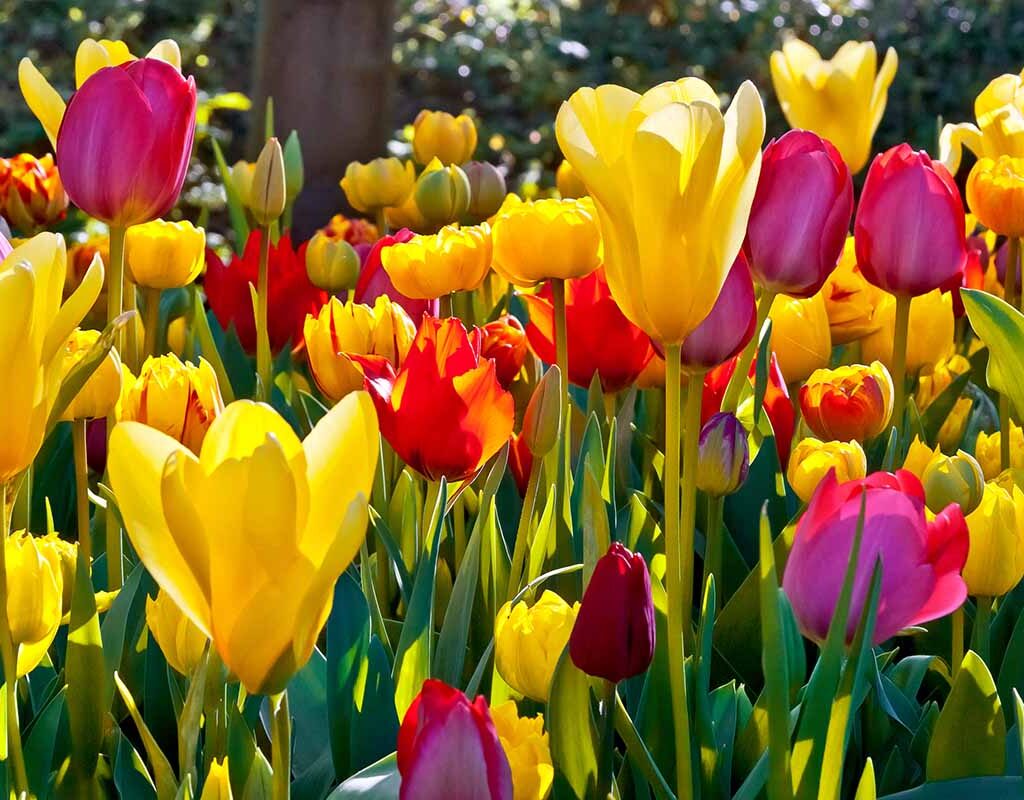
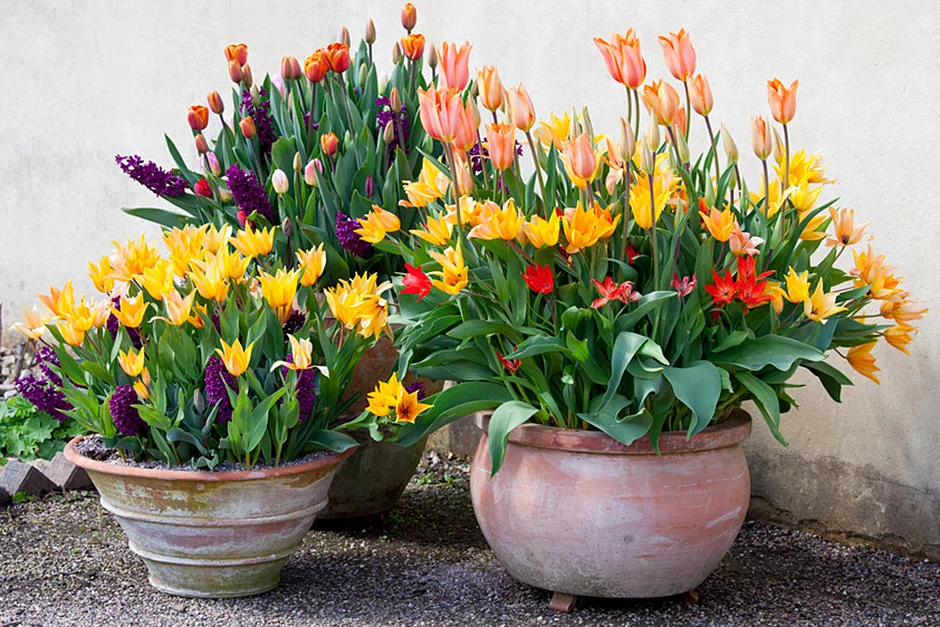
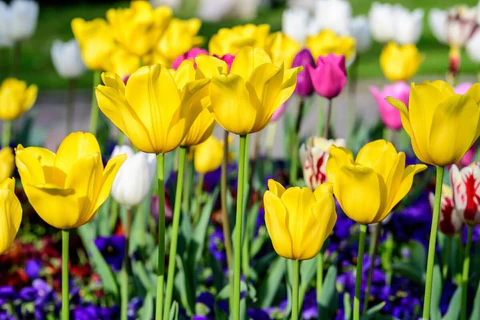
Tulips are among the most beloved spring-blooming flowers, cherished for their vibrant colors, elegant shapes, and timeless beauty. Often seen as a symbol of renewal, they bring fresh energy to any garden after the long, dull months of winter. While tulips are traditionally planted in the fall for spring blooms, many gardeners wonder if they can plant tulip bulbs in the spring instead. The answer is yes—but with a few key considerations.
This step-by-step guide will take you through the process of planting tulip bulbs in spring, ensuring that you enjoy their stunning blooms, whether this season or the next.
Understanding Tulip Growth Basics
Before diving into the steps, it’s important to understand how tulips grow. Tulip bulbs need a cold dormancy period (called vernalization) to bloom properly. Typically, this is achieved when bulbs are planted in the fall, allowing them to rest in the cold soil throughout winter.
When planted in the spring, tulips may not bloom immediately since they haven’t had enough time to go through that cold period. However, they can still establish roots, store energy, and prepare to bloom beautifully the following year. With some preparation and care, you can still grow tulips successfully when planting in spring.
Step 1: Choose the Right Tulip Bulbs
The success of your spring planting begins with selecting healthy bulbs. When shopping, look for:

- Firmness: Avoid bulbs that feel soft or squishy, as this indicates rot.
- Size: Larger bulbs generally produce stronger, more vibrant flowers.
- No Damage: Check for signs of mold, cuts, or bruises.
Tip: If possible, buy bulbs that have been pre-chilled, as these are more likely to bloom when planted in spring.
Step 2: Pre-Chill Your Bulbs (If Needed)
Since tulips require cold dormancy, bulbs planted in spring should ideally be chilled in advance. If your bulbs haven’t been pre-chilled by the supplier, you can mimic winter conditions by:
- Placing bulbs in a paper bag or mesh sack.
- Storing them in the refrigerator at 35–45°F (1–7°C) for 8–12 weeks.
- Keeping them away from fruits like apples or bananas, which release ethylene gas and can damage bulbs.
If your spring planting is early and you live in a cool climate, natural outdoor temperatures may still provide this chilling effect.
Step 3: Prepare the Soil
Tulips thrive in well-drained soil with a neutral to slightly acidic pH (6.0–7.0). Poor drainage can cause bulbs to rot. Here’s how to prepare your garden bed:
- Choose a sunny spot — tulips love at least 6 hours of sunlight daily.
- Loosen the soil to a depth of about 12 inches.
- Amend the soil with compost, peat moss, or sand to improve drainage.
- Mix in fertilizer — a balanced bulb fertilizer (like 10-10-10) works well.
Container option: If your soil is heavy clay or prone to waterlogging, consider planting tulips in raised beds or large containers.

Step 4: Planting the Bulbs
Now comes the exciting part—planting your tulip bulbs!
- Dig holes about 6–8 inches deep (measured from the bulb’s base, not the top).
- Space bulbs about 4–6 inches apart, depending on the variety.
- Place the bulb in the hole with the pointed side facing upward.
- Cover with soil and press gently to remove air pockets.
- Water thoroughly after planting to help bulbs settle in.
If planting in containers, ensure drainage holes are present, and use a lightweight potting mix.
Step 5: Watering and Care
Tulip bulbs don’t require excessive watering. Here’s the right approach:
- Right after planting: Water thoroughly.
- Ongoing: Keep soil lightly moist but not soggy. Overwatering encourages rot.
- Mulching: Apply a light layer of mulch to help retain moisture and regulate soil temperature.
Tip: In spring, rainfall often provides enough water, but check soil moisture weekly.
Step 6: Boosting Growth with Fertilizer
For spring-planted bulbs, fertilizer can make a big difference. Use:

- Bulb fertilizer high in phosphorus to promote root development.
- Slow-release fertilizer at planting time.
- Avoid high-nitrogen fertilizers, as they encourage leaf growth rather than blooms.
Fertilize again after flowering (if blooms occur), to help bulbs store energy for next year.
Step 7: Managing Expectations
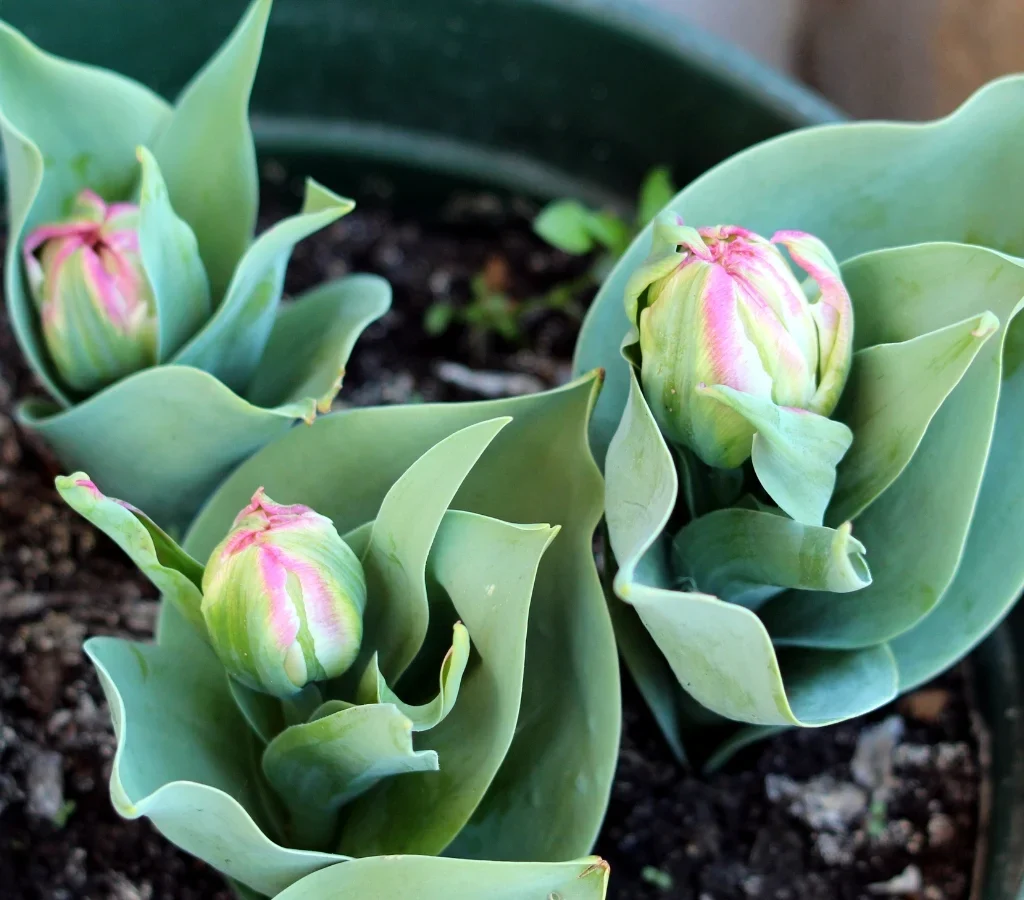
One of the most important aspects of planting tulips in spring is realistic expectations. While some bulbs may bloom if they were pre-chilled, many will not produce flowers until the following spring. Instead, you’ll likely see leafy growth as the bulbs establish themselves underground.
Think of spring planting as an investment in next year’s beauty. By giving your tulips the right conditions now, you set the stage for a stunning display in future seasons.
Step 8: Post-Bloom Care
If your tulips do bloom, proper aftercare ensures bulbs remain strong:
- Deadhead spent flowers to prevent energy from going into seed production.
- Leave the foliage until it yellows and withers naturally—this allows bulbs to photosynthesize and recharge.
- Trim dead leaves at soil level once they have dried.
- Consider lifting bulbs in warmer climates where summer heat may damage them. Store them in a cool, dry place until fall.
Step 9: Protecting Tulips from Pests
Tulip bulbs and flowers are irresistible to some animals, particularly squirrels, deer, and rabbits. Protect your bulbs by:

- Laying chicken wire or mesh over planting beds.
- Using natural repellents like garlic spray or blood meal.
- Planting tulips among less appetizing flowers (like daffodils) for protection.
Step 10: Companion Planting
Tulips look even more stunning when planted with complementary flowers. Consider pairing them with:
- Hyacinths — for fragrance and contrasting blooms.
- Daffodils — natural deer-resistant companions.
- Pansies or violas — for ground-level color.
- Perennials — to keep your garden lively after tulip season ends.
Common Mistakes to Avoid
When planting tulips in spring, avoid these pitfalls:
- Planting too shallowly: Leaves bulbs vulnerable to frost and pests.
- Overwatering: Leads to bulb rot.
- Expecting full blooms immediately: Remember, many will bloom next year.
- Storing bulbs incorrectly: Avoid warm or damp storage areas.
Final Thoughts
Planting tulip bulbs in spring may require a little extra patience, but it’s still a rewarding gardening project. By selecting healthy bulbs, pre-chilling when necessary, preparing the soil properly, and managing expectations, you can establish a thriving tulip bed that rewards you with breathtaking blooms for years to come.
Tulips symbolize hope, renewal, and beauty—qualities every gardener can appreciate. With the right care, your tulip bulbs will flourish, bringing bursts of vibrant color to your garden each spring.

Leave A Comment